
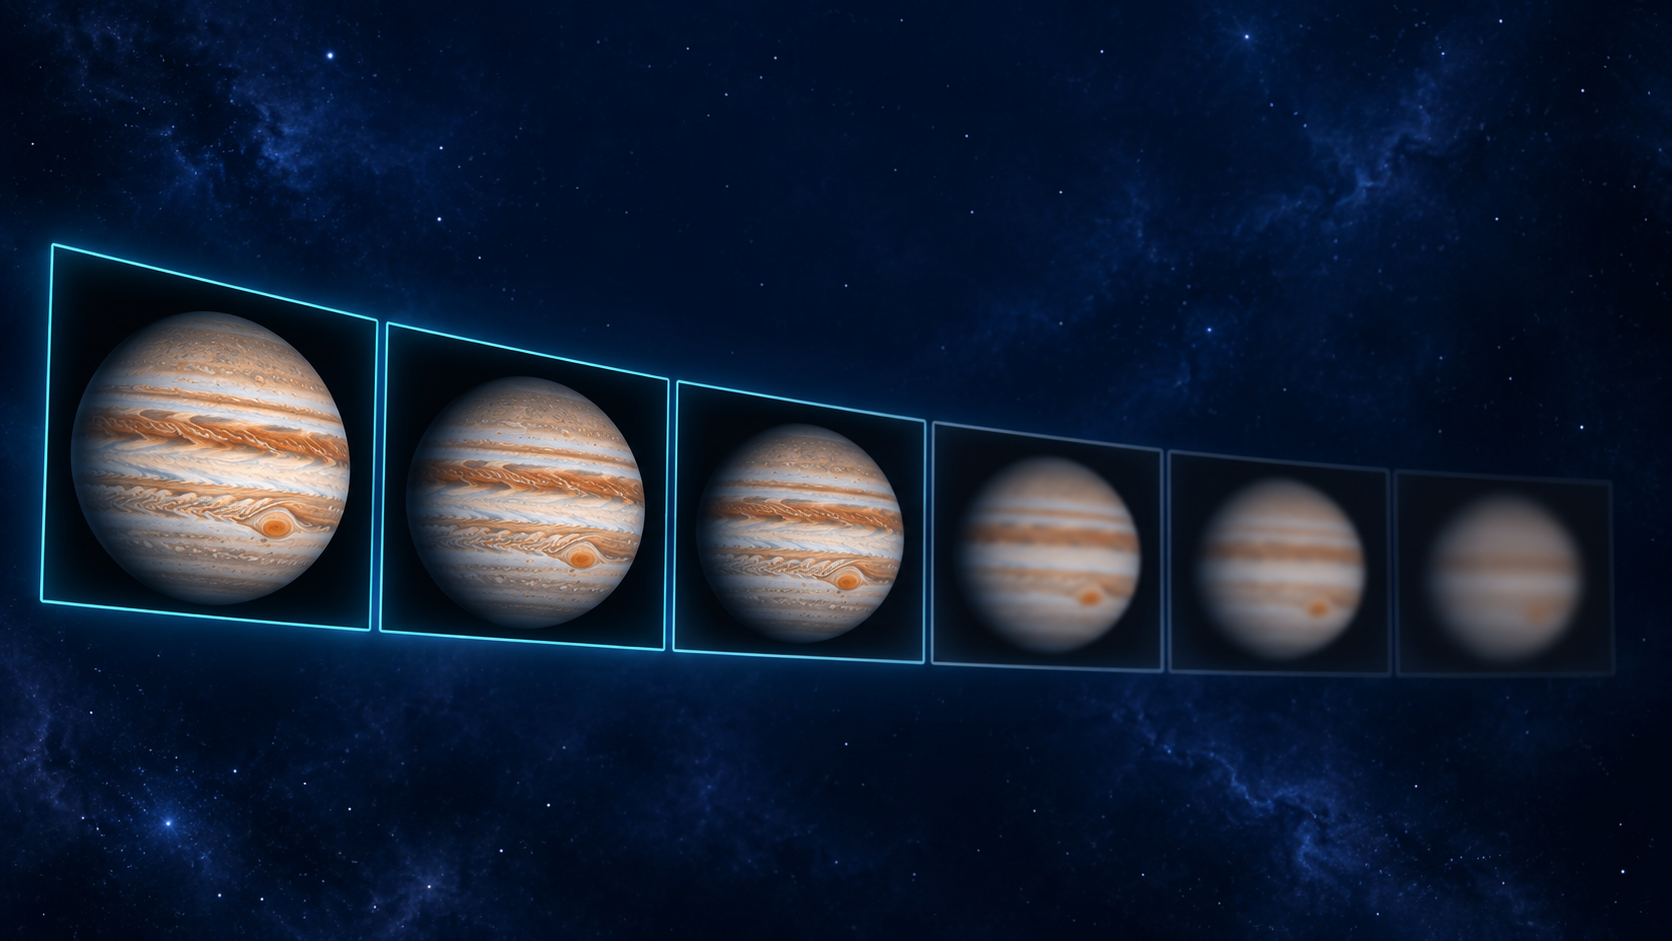
No single percentage of frames produces the best planetary stack. The right selection depends on how many frames a capture holds, how steady the air was while you recorded it, and how hard you plan to sharpen, so the reliable way to choose is to stack the same capture a few ways and compare the results under identical processing. This Mac Observatory guide explains the tradeoff, shows how to read a quality curve, and walks through that comparison in Strata, the native Mac planetary stacker I build, with notes for AutoStakkert! and Planetary System Stacker users.
If you want a place to start, stack the best 10%, 25% and 50% of one clip, apply the same restrained sharpening to each, and compare them at the same scale. Those are test points, not targets. The winner is the stack that shows the most real detail with noise you can live with, and on a different night the winner can change.
What does a stacking percentage actually mean?
A stacking percentage is the share of frames you keep after the software ranks them by a sharpness score. If a clip holds 10,000 usable frames, 10% keeps the 1,000 highest-scoring frames, 25% keeps 2,500 and 50% keeps 5,000. Even the top 10% isn't uniformly sharp. It runs from the single best frame down to whichever frame sits at the cutoff, and all of them go into the stack. The percentage marks where you drew the line in the ranking, not how good the frames above it are, and the ranking is only as reliable as the score behind it.
That distinction trips up experienced imagers, because every stacker also shows a quality score. The score ranks the frames. The percentage decides how far down the ranking you go. A Cloudy Nights thread on AutoStakkert!'s quality graph shows how easily the two get mixed up, with long-time planetary imagers debating whether the "frame percentage to stack" box meant frames or quality. It means frames. AutoStakkert! developer Emil Kraaikamp, quoted in that thread, explained years ago that he chose not to stack by quality threshold because one exceptional or one terrible frame can throw the whole selection off. One veteran in the same thread, Kokatha man, said he sidesteps the question entirely by typing the number of frames he wants.
He has a point, because a percentage hides the frame count, and the count is what drives noise. Ten percent of 2,000 frames is 200. Ten percent of 20,000 is 2,000. An experienced member on IceInSpace imaging Jupiter with a 9.25-inch SCT records about 27,000 frames in three minutes at 150 frames per second, stacks 3,000, 5,000 and 7,500 of them depending on the seeing, and processes all three to see which wins. That's 11% to 28% of the clip, chosen by count.
Modern stackers add one more wrinkle. Planetary System Stacker ranks frames separately at each alignment point, so the frames behind one part of the image can differ from the frames behind another. AutoStakkert!'s Local (AP) quality setting and Strata Warp+ work on the same idea. The percentage still sets how deep you go. It just no longer names one fixed set of frames for the whole disk.
Why do more frames help, and when do they hurt?
Averaging aligned frames beats down random noise. According to the Siril documentation, the signal-to-noise gain from stacking grows with the square root of the number of images. Four times as many comparable frames gives you about half the random noise.
Relative random noise in an ideal average, with 500 accepted frames as the baseline. Shorter bars mean a cleaner stack.
That chart assumes every frame is equally good, which is exactly what planetary video isn't. Moving air smears some frames and leaves others crisp, which is why lucky imaging works at all. In a 2009 study of bright stars recorded with a high-speed camera, Andrew Smith and colleagues found that aligning frames and keeping the best improved Strehl ratio (a measure of how close an image gets to the telescope's theoretical sharpness) by a factor of 4 to 6. The biggest gains came at exposures of 10 ms or less, and the benefit depended on how bad the seeing was relative to the aperture. Frame selection works. How much it gives you depends on the night.
So every extra frame you accept trades a little sharpness for a little less noise. Stack too few and the result can look crisp before sharpening, then break into grain the moment you push the wavelets. Stack too many and it sharpens cleanly, but the fine detail you were after is softer. The Jupiter imager above made the same point: a leaner stack may be sharper, but it's noisier, so it won't take as much sharpening and can end up looking worse.
Experienced imagers land all over the map on this. In that same IceInSpace thread, one member found that stacks below about 4% fell apart while anything past 10% looked the same, another preferred 5% over 10%, and a third saw 50% edge out 10% under identical processing, by a margin he thought processing could close. None of them is wrong. They were imaging different targets, on different nights, with different gear.
How do you read a quality curve?
After analysis, most stackers draw a quality curve: every frame's score, sorted from best on the left to worst on the right. Its shape tells you more than any single number.
Two captures with their frames ranked from sharpest to softest. Where a curve bends is a place to test a cutoff, not the answer.
A gentle, steady slope means the clip is full of broadly similar frames, so going deeper costs little sharpness and buys real noise reduction. A curve that falls off a cliff after a small sharp group means the seeing settled briefly, and pushing the cutoff far past the bend mostly adds softer frames. Keep in mind that your selection is everything to the left of the cutoff, so on a steep curve even a small percentage mixes very sharp frames with noticeably softer ones. An AutoStakkert!3 tutorial on AstroForum Space puts it in practical terms: around 50% often works when frame quality is similar across the video, and a smaller share makes sense when it varies a lot.
Two cautions. The scores are relative to the best frame in that one clip, so a flat curve means the frames are alike, not that they're good. And a frame can score well for the wrong reason, like a noise spike or a satellite trail. Treat the bend as a place to test, not an answer.
In Strata, the Analyze phase scores the frames on the GPU and draws the ranking as its selection curve. Since version 1.4.3 the score is measured on the subject itself (the planet, Moon or Sun) with the sky left out, so a change in sky brightness no longer reads as a change in sharpness. A frame score is still a prediction made from the incoming frames, and it can disagree with what the finished stack shows. That's why the stacks, not the score, get the final vote.
One honest limitation: Strata's curve is a chart of the ranking, not a frame browser, so it can't show you the frame sitting at your cutoff. AutoStakkert!'s frame viewer can step through frames sorted by quality, and that's worth doing if you use it. In Strata, the test stacks below do that job. Experienced imagers disagree on numbers, but they agree on method.
"...depends on the quality of the video but 25% is a good starting point."
SharpCap's guide to processing Jupiter in AutoStakkert!
"...too easily fooled by a single really good frame..."
Emil Kraaikamp, AutoStakkert! developer, on stacking by quality threshold, as quoted on Cloudy Nights
"...if you capture 1000000 evenly terrible frames, the quality graph will look great..."
Tulloch, IceInSpace forum
How do you compare stacks fairly in Strata?
Strata is Mac Observatory's native macOS app for planetary, lunar and solar processing, taking a capture from import through analysis, stacking, derotation, sharpening, color and export in one app. Its Frame Selection card gives you three ways to decide how many frames go into a stack.
Strata proposes a selection from the capture's frame scores. Treat it as your first test stack, not the answer.
Keeps the best fraction of whatever the clip holds. The right mode for comparing selections within one capture.
{frames} writes 25pctStacks an exact number of frames from every clip. A clip with fewer frames stacks everything it has and tells you so.
{frames} writes 2000fAuto is where most people start, and I'd rather you treat it as your first test stack than as the answer. I spent part of September trying to teach Strata to judge on its own which of two stacks was better. The measure agreed with known answers only about three times in four, and some of its misses were confident ones, so I shelved it. That's why Strata now labels its suggestion a starting point.
Here's the comparison I'd run on any new capture.
Keep everything except the selection identical: the same stacking method, the same alignment point size and the same drizzle setting. Change two things at once and you can't tell which one helped. Strata keeps the records for you. In Settings > File Names, the {frames} token writes the setting into the filename (25pct or 2000f) and {framecount} writes the number of frames actually stacked. Every TIFF and FITS export also carries the selection, the frame count and the stacking method in its metadata, so a stack you liked in March can still tell you how it was made.
Judge the raw stacks first, at the same scale. Then give all three the same modest sharpening and compare identical crops: persistent structure in Jupiter's belts, crater rims on the Moon, filaments on the Sun. Check quiet areas for grain and the limb for halos or ringing. A harder edge on its own isn't proof of more detail, because sharpened noise makes edges too.
Once you've picked a winner, optimize it on its own. The cleanest stack can usually take more sharpening than the leanest one, so the controlled comparison tells you which stack to keep, not how far to push it.
Does Strata Warp+ change the answer?
Strata Warp+ ranks frames separately at each alignment point by local sharpness instead of choosing one best set for the whole frame, so a crater rim, a sunspot group and the limb can each keep their own sharpest moments. It's slower, particularly on lunar and solar captures, where it measures the whole analyzed capture to find them, and it's a choice you make per capture rather than a new default. The selection test works the same way with either method. Pick one and hold it constant across your 10%, 25% and 50% stacks. I covered how Warp+ behaved on a Moon capture in the Strata 1.3 write-up.
When is an exact frame count better than a percentage?
When you're comparing across clips. The same percentage gives a different frame count for every clip of a different length, and in a series you'll combine later (a derotation set, a rotation animation, a mosaic, an eclipse sequence) those differences show up as noise that changes from one frame of the result to the next. Strata's Frame Count mode stacks the same number of frames from every clip. It exists because a tester asked to type 1,000 frames instead of 20%, and it turned out to be the right tool for eclipse and time-lapse sequences too. If you open a capture from a Batch Analysis table that holds one night's run, Strata suggests Frame Count under the selection control. It advises and never switches the mode for you.
Two caveats. Equal counts don't guarantee equal noise, because exposure, gain and transparency still change through the night, and Strata describes Frame Count as keeping the frame count equal and nothing more. And pick a count every clip can supply without scraping the bottom of its ranking. A clip holding fewer frames than you asked for stacks everything it has and tells you so rather than failing. If one recording simply has fewer good frames, accept that instead of padding it with bad ones.
For a batch, save the selection in a processing profile. A profile saved in Frame Count mode shows its count, and a batch run applies the profile's stacking method and selection to every file. If you capture with Laminar, Mac Observatory's native planetary capture app for Apple Silicon Macs, its sequences record a derotation set as a run of clips of the same length, which makes equal frame counts easy to hit. Order matters once those stacks are headed for derotation.
Capture the set as clips of equal length. Stack every clip with the same Frame Count and the same stacking method, and leave the stacks unsharpened, because Strata's derotation phase works on stills and wants unsharpened input. Derotate, then sharpen the combined result once.
What if every stack looks soft?
Then the selection isn't your problem. No percentage can rescue detail the recording never resolved, and more sharpening only makes the noise louder. Look upstream: focus, collimation, a telescope that hasn't cooled to ambient, an exposure short enough to freeze the seeing, and whether the planet drifted toward the edge of the capture area. Capture length matters too. Jupiter rotates fast enough to smear fine detail in a long recording, and Christophe Pellier has written a useful piece on how long a Jupiter video can run before that happens.
On the AutoStakkert! site, Emil Kraaikamp describes planetary imagers doing lucky imaging twice: within a recording, by stacking the sharpest frames, and between recordings, by keeping only the best captures from a night. If you shot several clips, compare those before you fine-tune percentages. At the telescope, Laminar's live frame-quality readout and focus tracking are there so the frames are worth selecting in the first place.

The same handful of questions comes up in almost every planetary processing thread, so here are short answers.
Common questions about choosing how many planetary frames to stack.
How many frames should I stack for Jupiter?
Is it better to stack more frames or fewer?
Does the AutoStakkert frame percentage mean frame quality?
Should I use a percentage or a fixed number of frames?
Can Strata pick the best percentage for me?
Do I need Windows to stack planetary video on a Mac?
Why does my stack look sharp until I sharpen it?
What should you do on your next clear night?
Save three stacks from one clip, sharpen them the same way, and write down what changed as you went deeper. After a few sessions you'll have a starting point for your own scope, camera and sky, which is worth more than any number you read here. The Mac planetary imaging software list covers the other stackers if you want to run the same test elsewhere.