
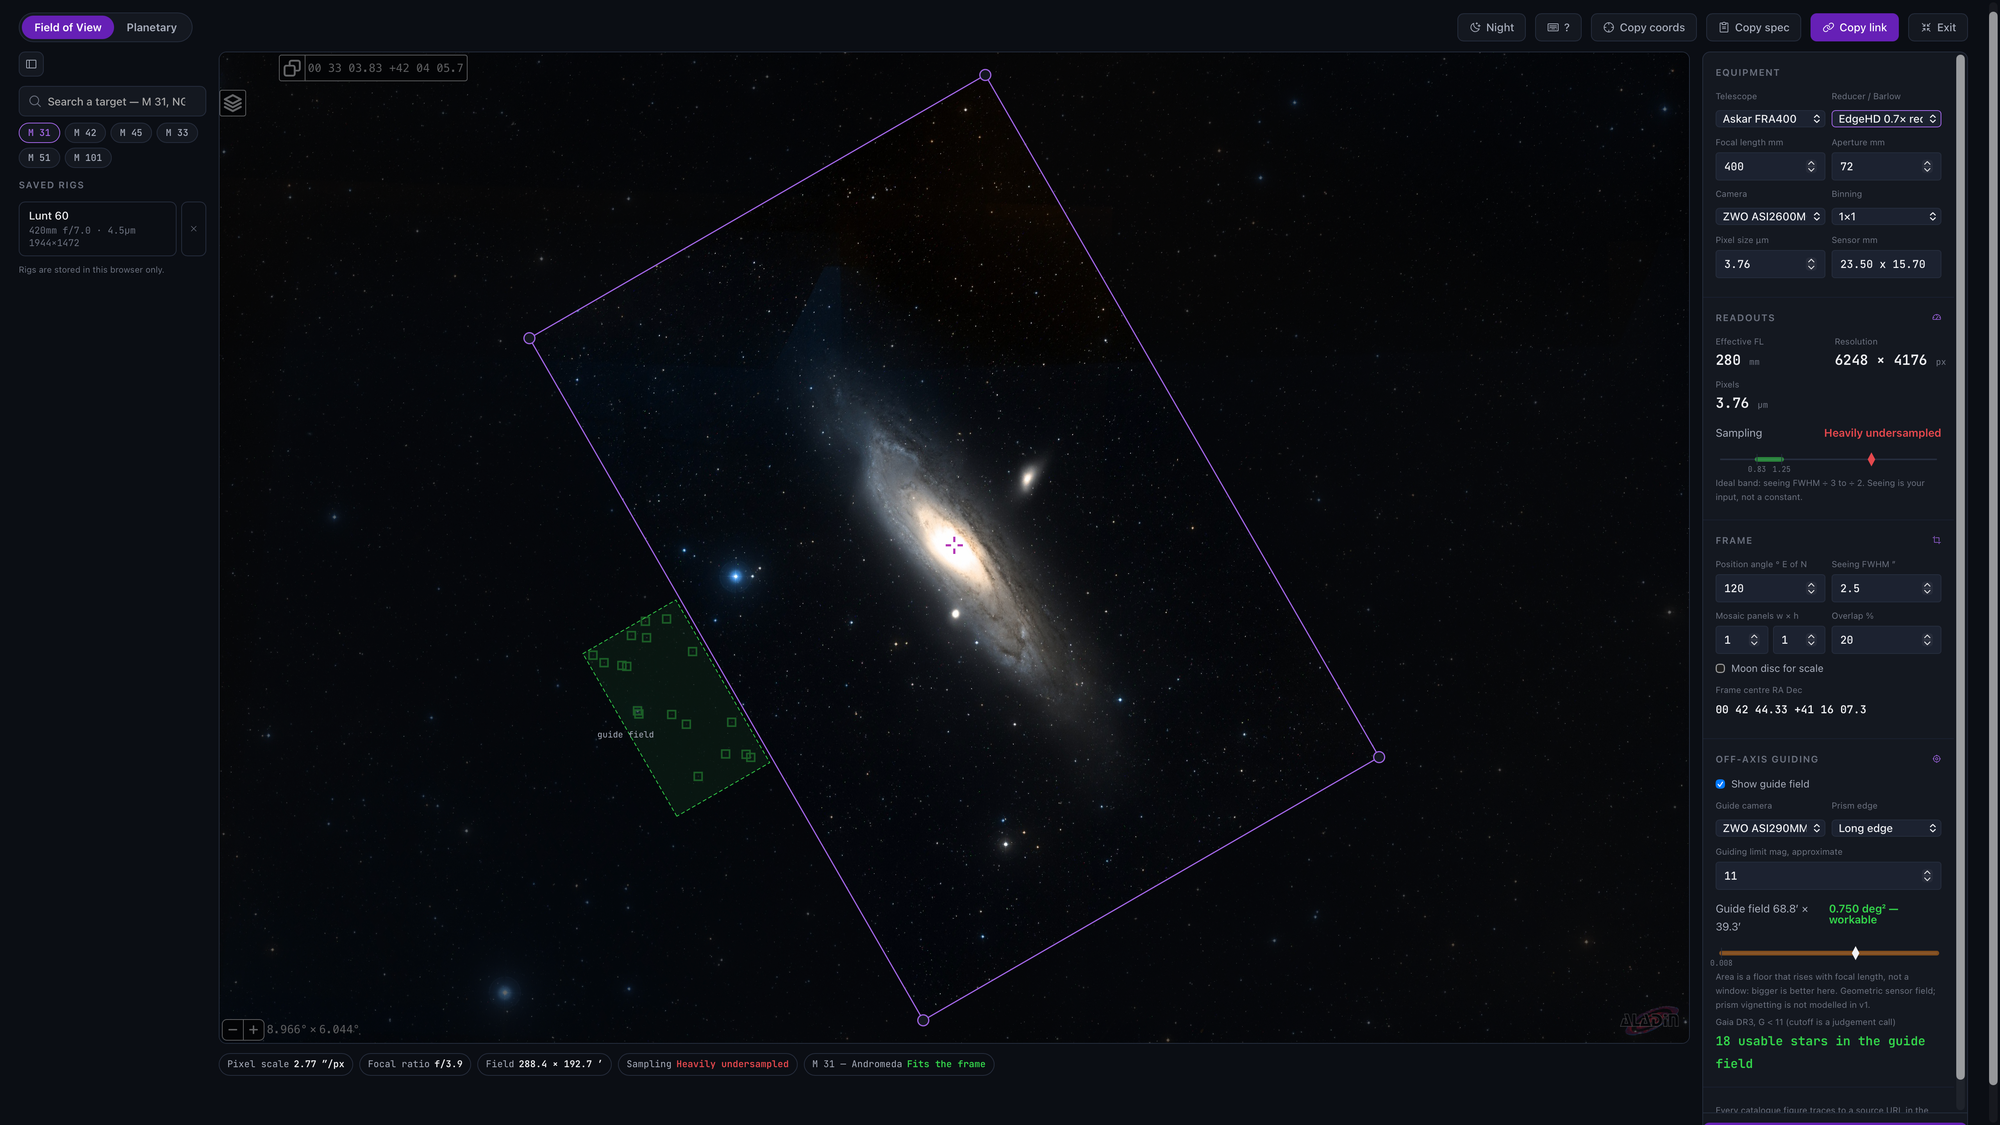
Mac Observatory now has two free planning calculators, and neither one asks you to make an account. The deep-sky framing calculator drops your sensor's footprint at true scale onto real survey imagery, checks your sampling against the seeing you actually get, and counts the usable guide stars inside an off-axis guide field. The planetary calculator draws any planet and its moons on your chip at their true positions for any date and time, then works out which of three ceilings is capping your frame rate.
Both are live now: the Deep-Sky Framing Calculator and the Planetary Capture & Framing Calculator, with a shared Astrophotography Tools hub.
I built these because I got tired of doing the same arithmetic in three places before every session. Both follow the same conventions as my Mac apps, run full screen on a desktop or laptop, and work on a phone or tablet at the telescope.
Will this target fit my frame?
Pick a target and your sensor appears over the sky, at true scale, on DSS2 survey imagery served through the Aladin Lite viewer from CDS in Strasbourg. Not a rectangle on a star chart. The actual nebulosity and star field you'll be shooting, with your frame drawn on top of it.
Drag it, rotate it, and every readout follows. In the screenshot below I've got the Askar FRA400 with a 0.7x reducer at 280mm, feeding a ZWO ASI2600MM. That works out to 2.77 arcseconds per pixel across a field of 288.4 by 192.7 arcminutes. M31 fits, with room.
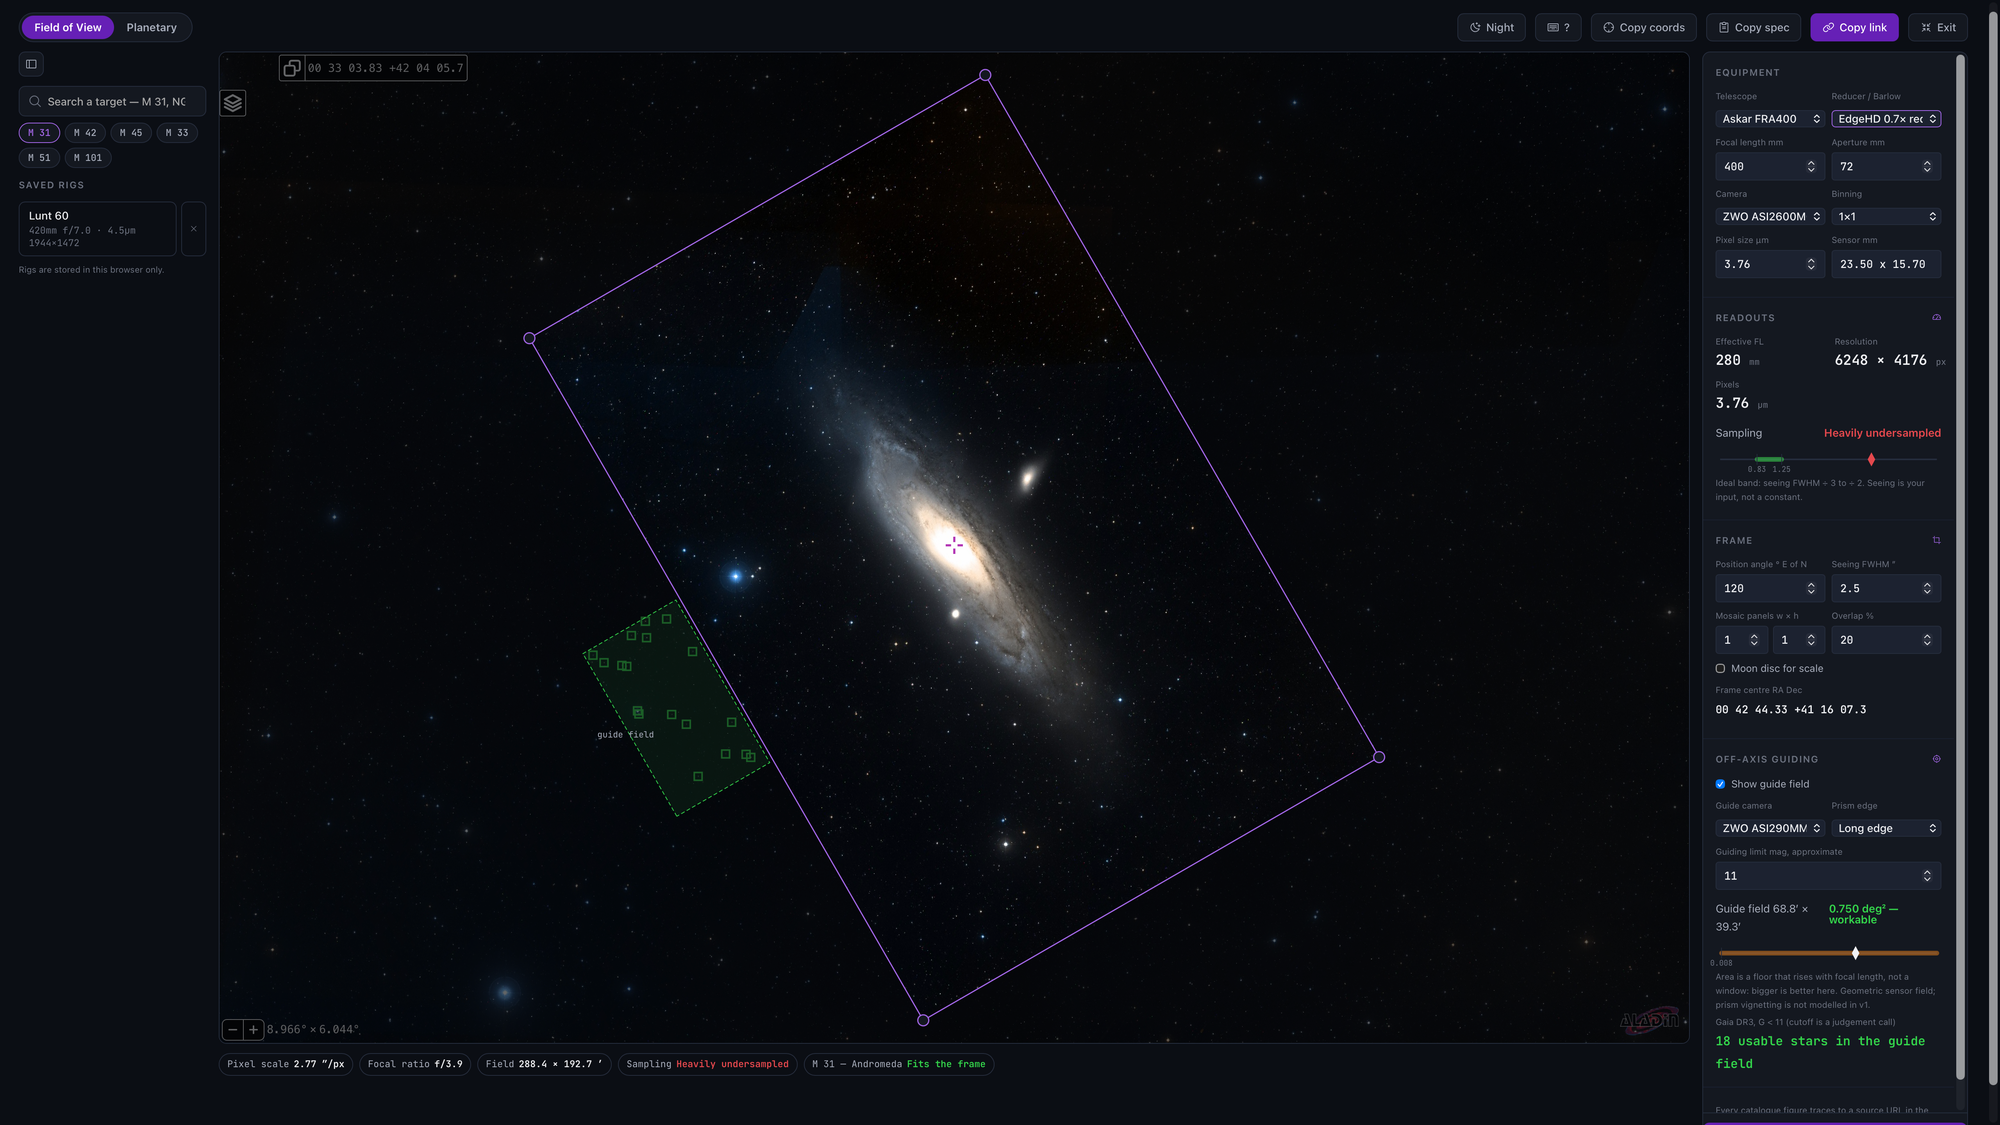
The sampling verdict is where I broke from the usual approach. Most calculators compare your pixel scale to a fixed rule and hand back a pass or fail. This one asks for your seeing FWHM and measures against that. At 2.5 arcseconds, the ideal band runs 0.83 to 1.25 arcseconds per pixel, so 2.77 comes back as heavily undersampled. Change your seeing input and the verdict moves, because seeing is a site condition, not a constant.
Targets come from a curated set of quick picks plus live SIMBAD search, so anything with a catalog designation is one Cmd-K away. Mosaic panels and overlap draw every frame on the sky. One click copies the frame center in the sexagesimal format your capture and planetarium software will take for a slew.
Are there guide stars where my prism sits?
This is the part I'm proudest of, and the reason the tool exists at all.
Turn on the guide field, pick your guide camera and which edge your off-axis prism sits on, and the calculator queries the Gaia DR3 catalog and counts the stars inside that field at your actual rotation. In the M31 example, an ASI290MM behind a long-edge prism gives a guide field of 68.8 by 39.3 arcminutes, 0.750 square degrees, and 18 usable stars down to G magnitude 11.
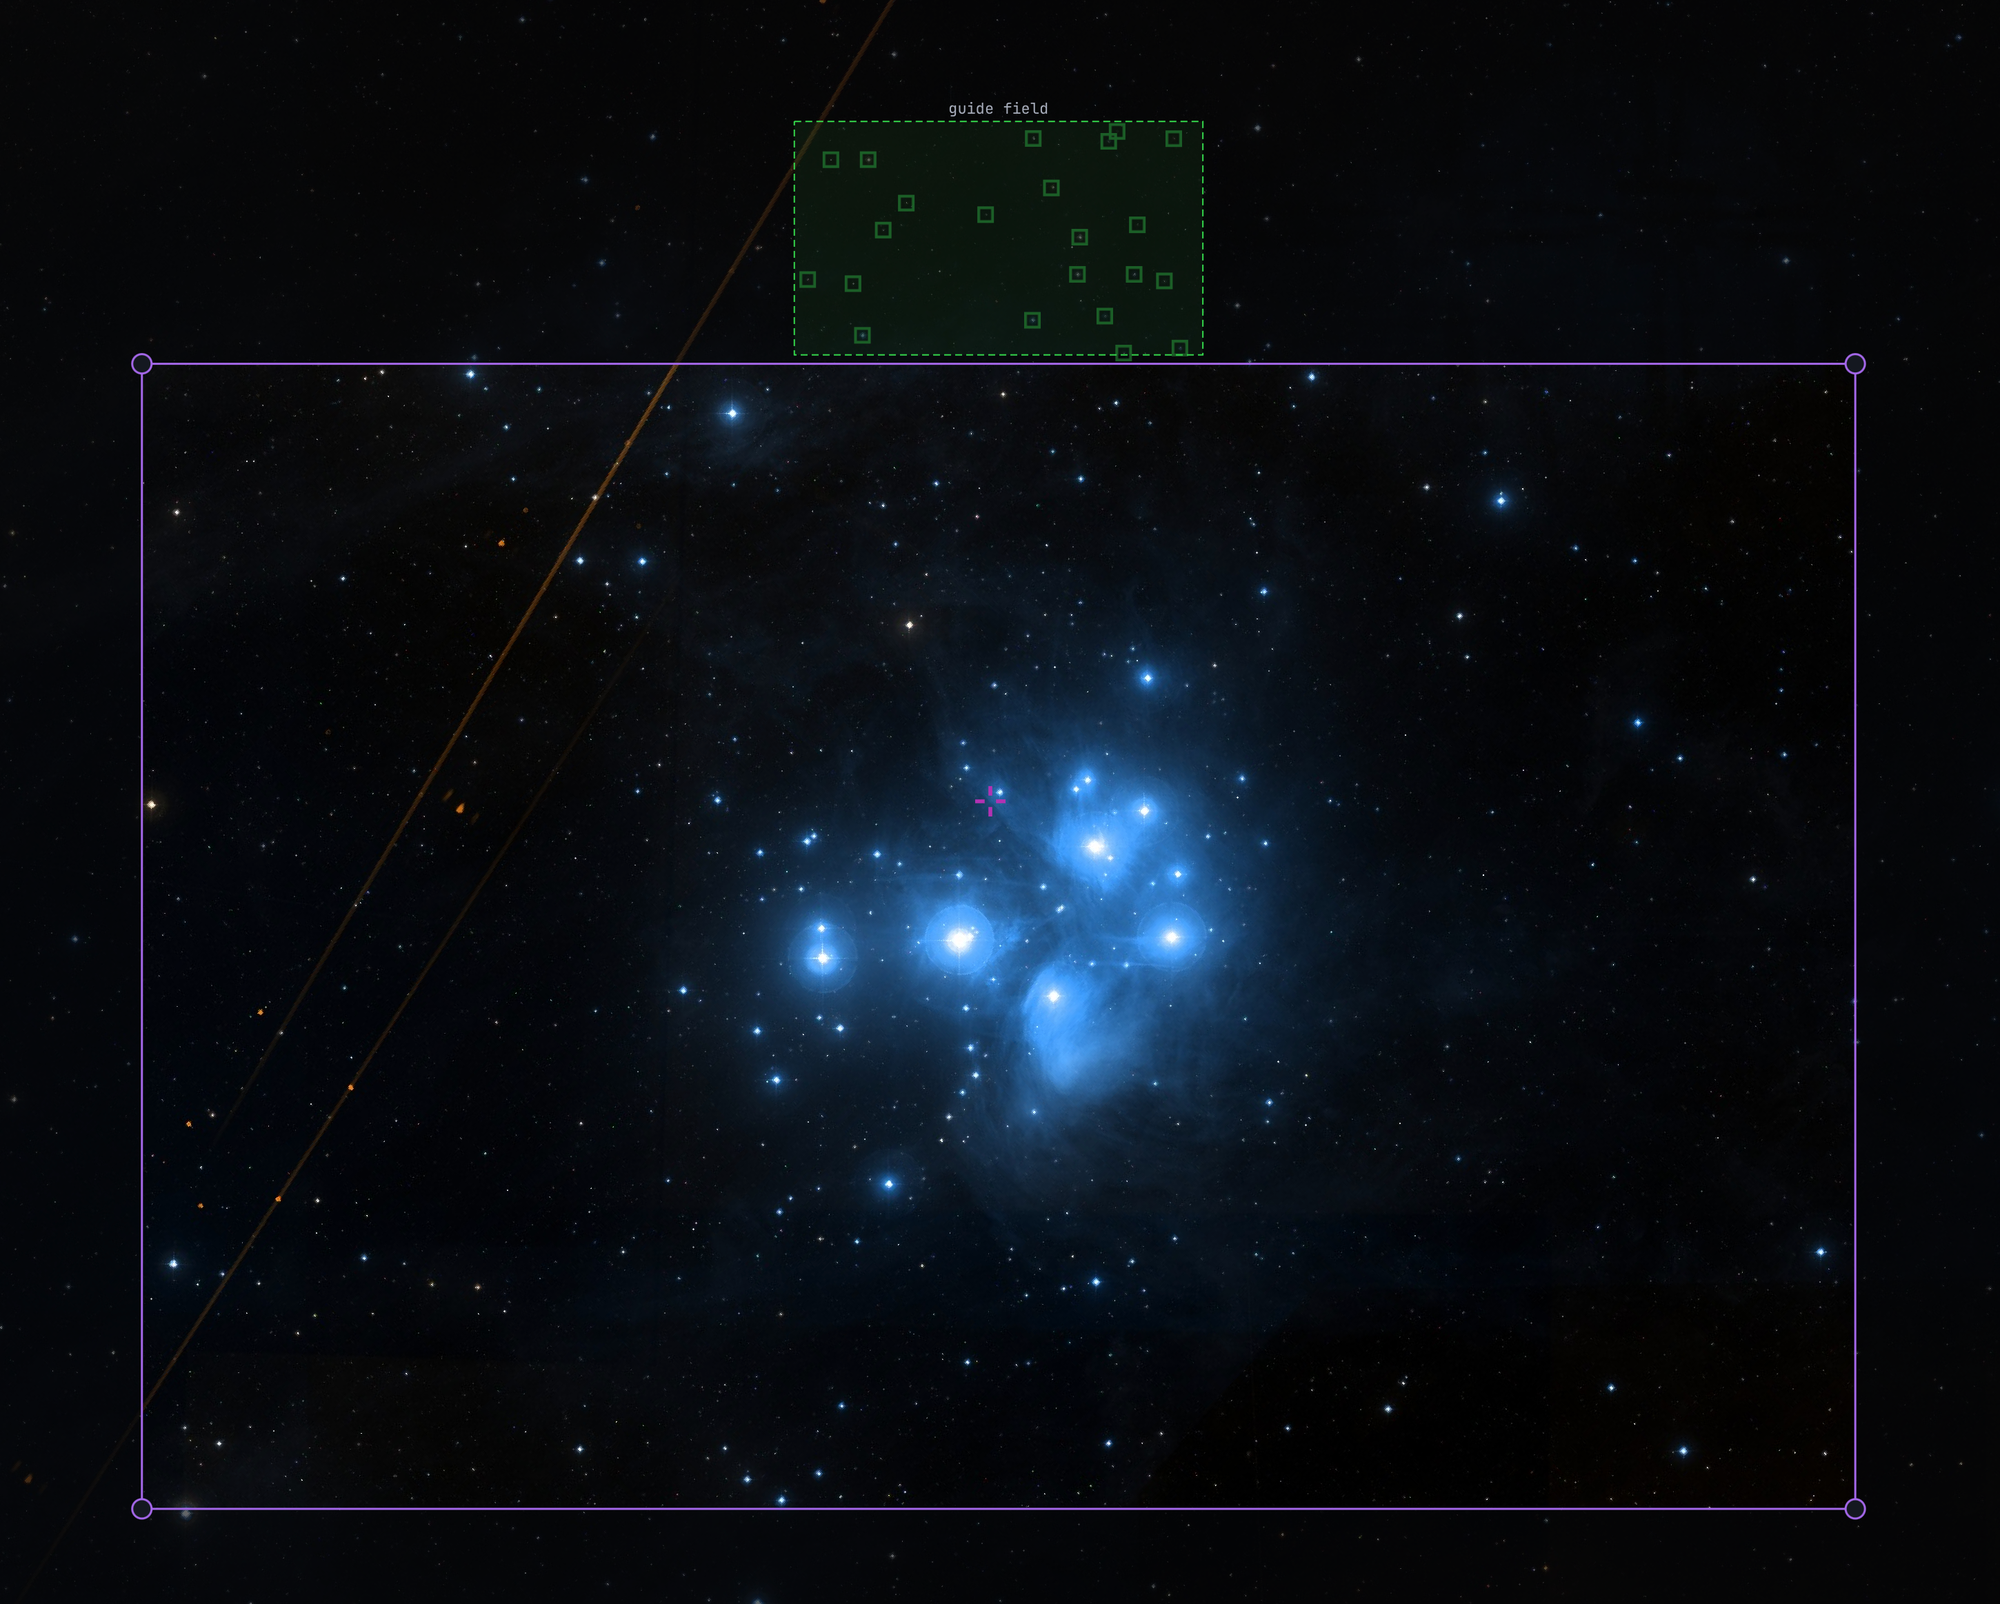
Rotate the frame and that number changes. That's the whole point. Guide star availability is a function of position angle, and position angle is the one thing you pick at 1 a.m. while the mount is already slewing. Knowing you have 18 stars before you leave the house beats discovering an empty field after setup.
How big will Jupiter actually be?
The planetary side answers a different question with the same honesty about scale. Pick a body and the disc is drawn on your sensor at true size for the date you set, not the maximum-diameter figure the spec sheets quote.
An Askar 185APO with a 5x Powermate lands at 6,475mm and f/35. With an ASI462MC at 2.9 micron pixels, that's 0.09 arcseconds per pixel, and Jupiter at 31.3 arcseconds covers 339 pixels of a 1936 by 1096 chip. Seeing the disc sit in that crop tells you more than the number does.
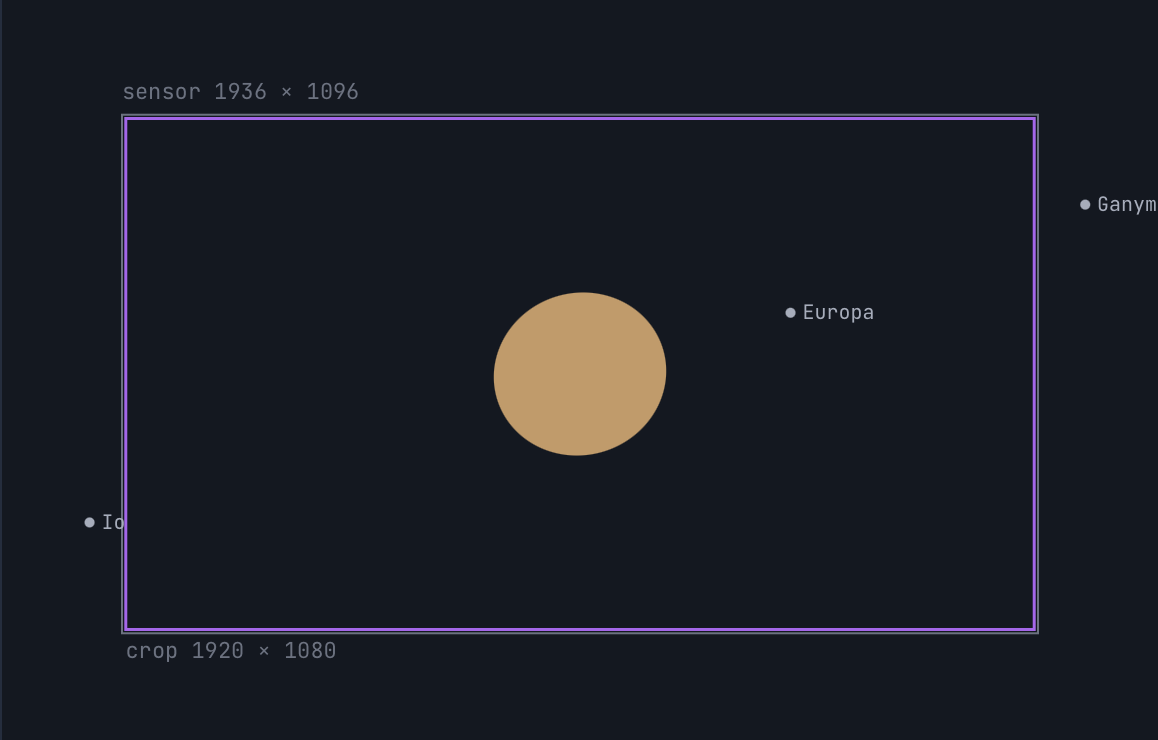
Sampling here gets measured against your aperture's Rayleigh limit rather than the seeing, because that's where planetary sampling actually lives. For 185mm of aperture the band is 0.25 to 0.37 arcseconds per pixel, so 0.09 comes back as heavily oversampled. The Powermate is doing more than the optics can support.
Change the date and every disc resizes. Set the field to 11 February 2027, Jupiter's next opposition, and that same rig gets 45.2 arcseconds instead of 31.3, a disc 1.44 times larger in every dimension. The stage disc grows, the pixels-across readout grows, and every planet card in the rail recomputes with it. The chain runs from your date to a light-time corrected geocentric position, to the actual Earth to Jupiter distance for that moment, to an angular size derived from the planet's real equatorial radius. There is no table of typical values anywhere in it.
Jupiter's disc, drawn to relative scale. Nothing about the equipment changed.
1.44× larger in every dimension. Computed from Jupiter's actual geocentric distance on each date, not a table of typical values.
That turns the body rail into an opposition planning tool on its own. Scrub the date and watch which planet is worth pointing at. Saturn's ring opening angle is computed from the IAU pole orientation for the date you choose, so the rings sit near edge-on through 2025 and 2026 and visibly reopen after. The Moon's diameter is libration aware, so perigee and apogee dates change its size too.
Will Callisto fit in my crop?
Select Jupiter and the four Galilean moons appear as labeled dots at their true positions on your sensor. Select Saturn and you get Tethys, Dione, Rhea, and Titan the same way, propagated from JPL orbital elements. Everything is drawn at sensor scale with north up and east left, so the question stops being abstract: you can see whether Callisto clears your capture crop or only the inner moons fit inside it. A moon passing behind the planet renders hollow, so you know it's hidden rather than missing.
Here's my EdgeHD 11 with a 2.5x behind it, 7,000mm at f/25.1, feeding an ASI462MC. Saturn comes in at 18.6 arcseconds and 218 pixels across with the rings drawn at their opening for the date, and Titan, Rhea, Dione, and Tethys sit scattered across the frame at their real separations. That layout is the thing you can't get from a number. Titan alone is most of the reason you'd frame Saturn off center.
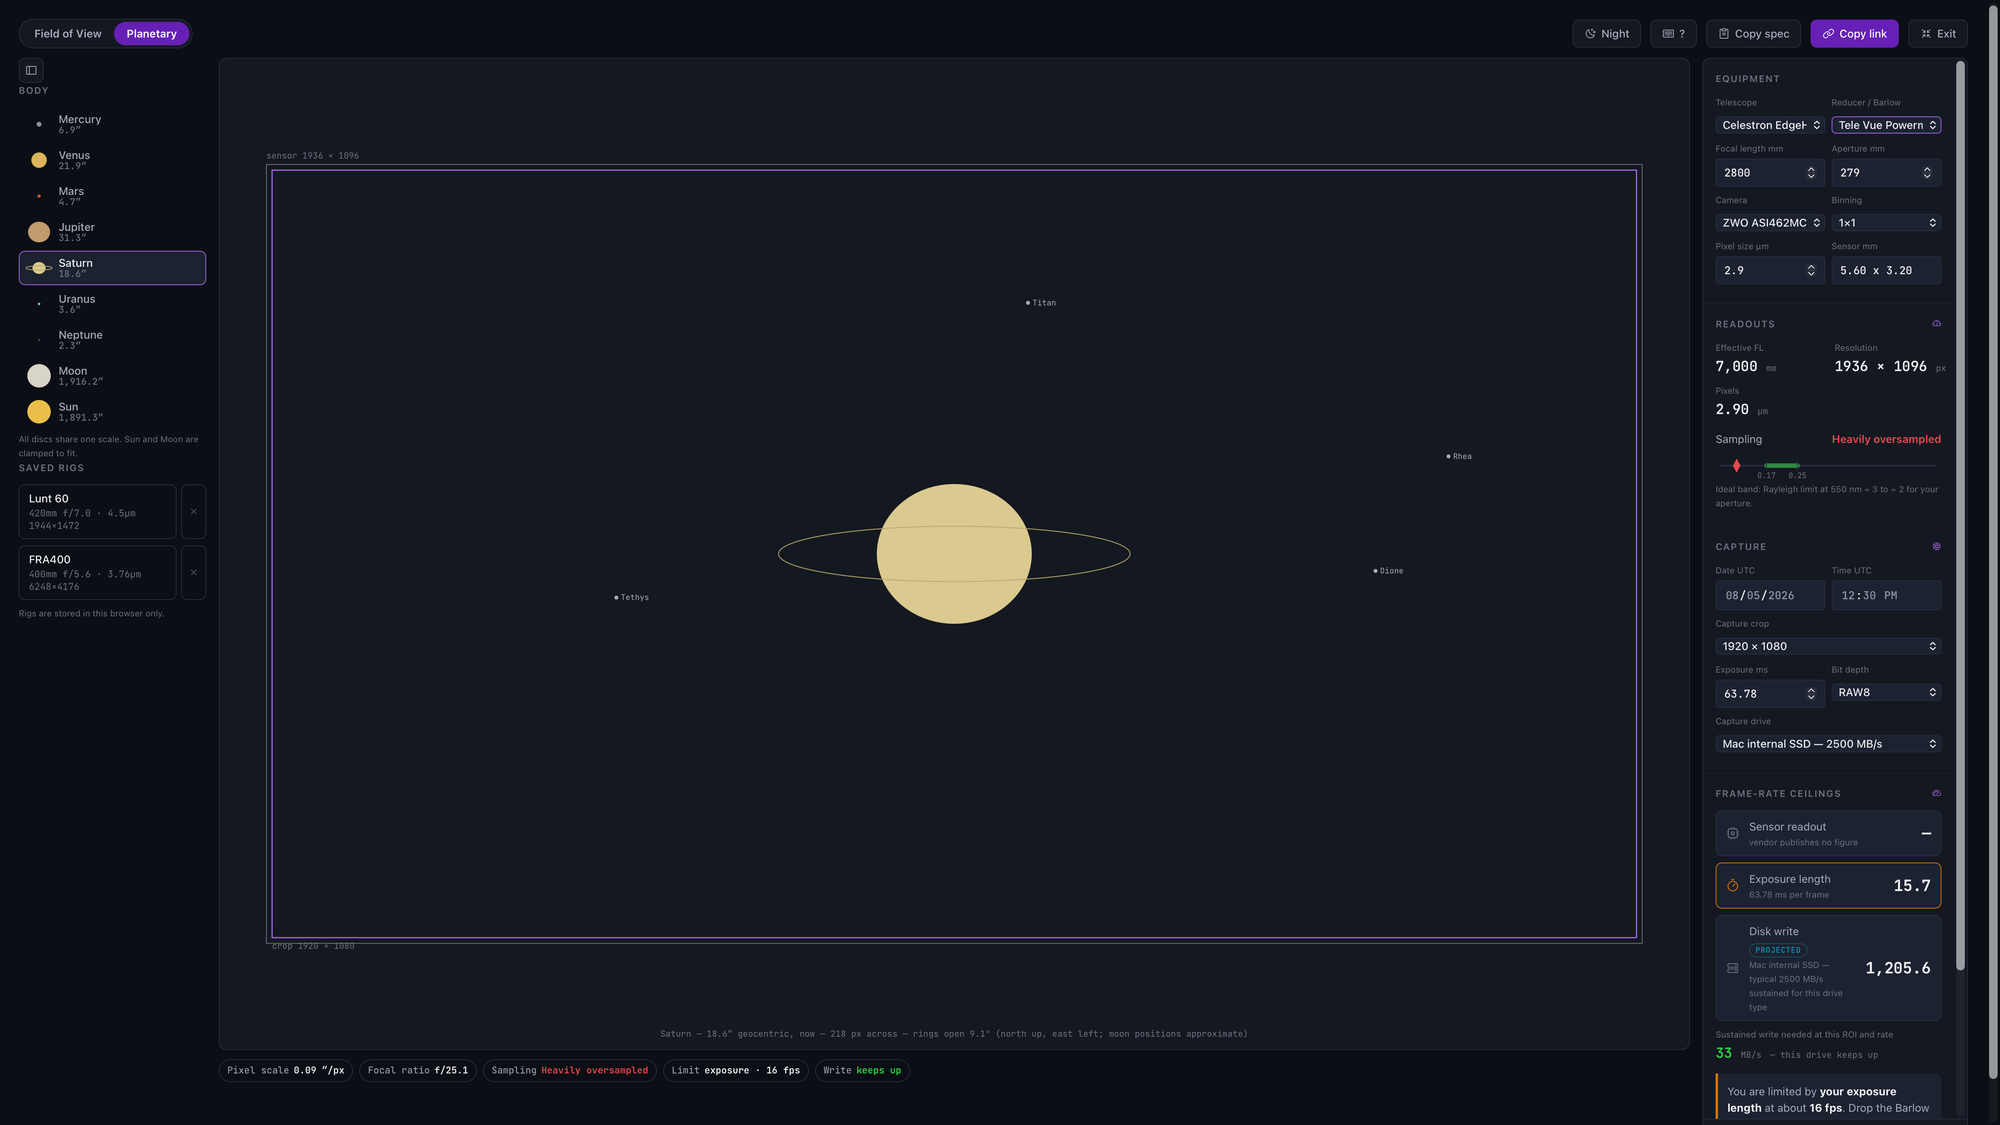
Alongside the date there's now a Time UTC field, and that's what makes this useful for planning rather than trivia. Io moves noticeably inside an hour. Scrub the time and you can watch a transit line up before you've carried anything outside, then work backward to when you need to be set up and cooled down.
Saturn's moon positions are labeled approximate in the interface, which is the honest label for orbital element propagation. For what it's worth, I checked Titan against JPL Horizons and it agrees to within a few arcseconds across a 26 year span, which is far tighter than anything you could resolve at the eyepiece or on a chip. Everything is geocentric at the date and time you set, and the stage caption says so rather than making you assume it.
Which ceiling is capping my frame rate?
Planetary capture runs into three separate limits, and most of us only think about one at a time. How fast the sensor reads out at your ROI. How long your exposures are. How fast your drive can absorb the data.
The calculator puts all three side by side and calls out which one binds. In that Jupiter setup, 125ms exposures cap you at 8 frames per second. The drive would happily take 1,964, and the sustained write needed at that ROI and rate is 10 MB/s, which any Mac internal SSD swallows without noticing. So the exposure is the ceiling, and dropping the Barlow raises it fast, since exposure scales with the square of focal ratio.
Jupiter on the Askar 185APO at 6,475mm, ASI462MC, 1304 × 976 RAW8, 125ms exposures.
Bars are log scale. Drop the Barlow and the exposure ceiling rises fast, since exposure goes with the square of focal ratio.
The sensor readout row is honest about what it doesn't know. Not every manufacturer publishes ROI frame-rate tables, and when there's no published figure for your camera, that row says so instead of inventing a number. You still get a verdict from the two ceilings that can be calculated.
Notice what the date and time fields don't do here. Sky geometry changes with the clock; equipment physics doesn't. The disc size, the ring tilt, and the moon positions all move when you scrub, and the sampling verdict and all three ceilings stay put, because your aperture's diffraction limit and your drive's write speed don't care what night it is.
- Apparent disc size
- Saturn's ring opening
- Moon positions and occultations
- Lunar diameter at perigee and apogee
Sky geometry. Changes with the calendar.
- Pixel scale and focal ratio
- Sampling verdict
- All three frame-rate ceilings
- Sustained write required
Equipment physics. Doesn't care what night it is.
What carries over between the two tools?
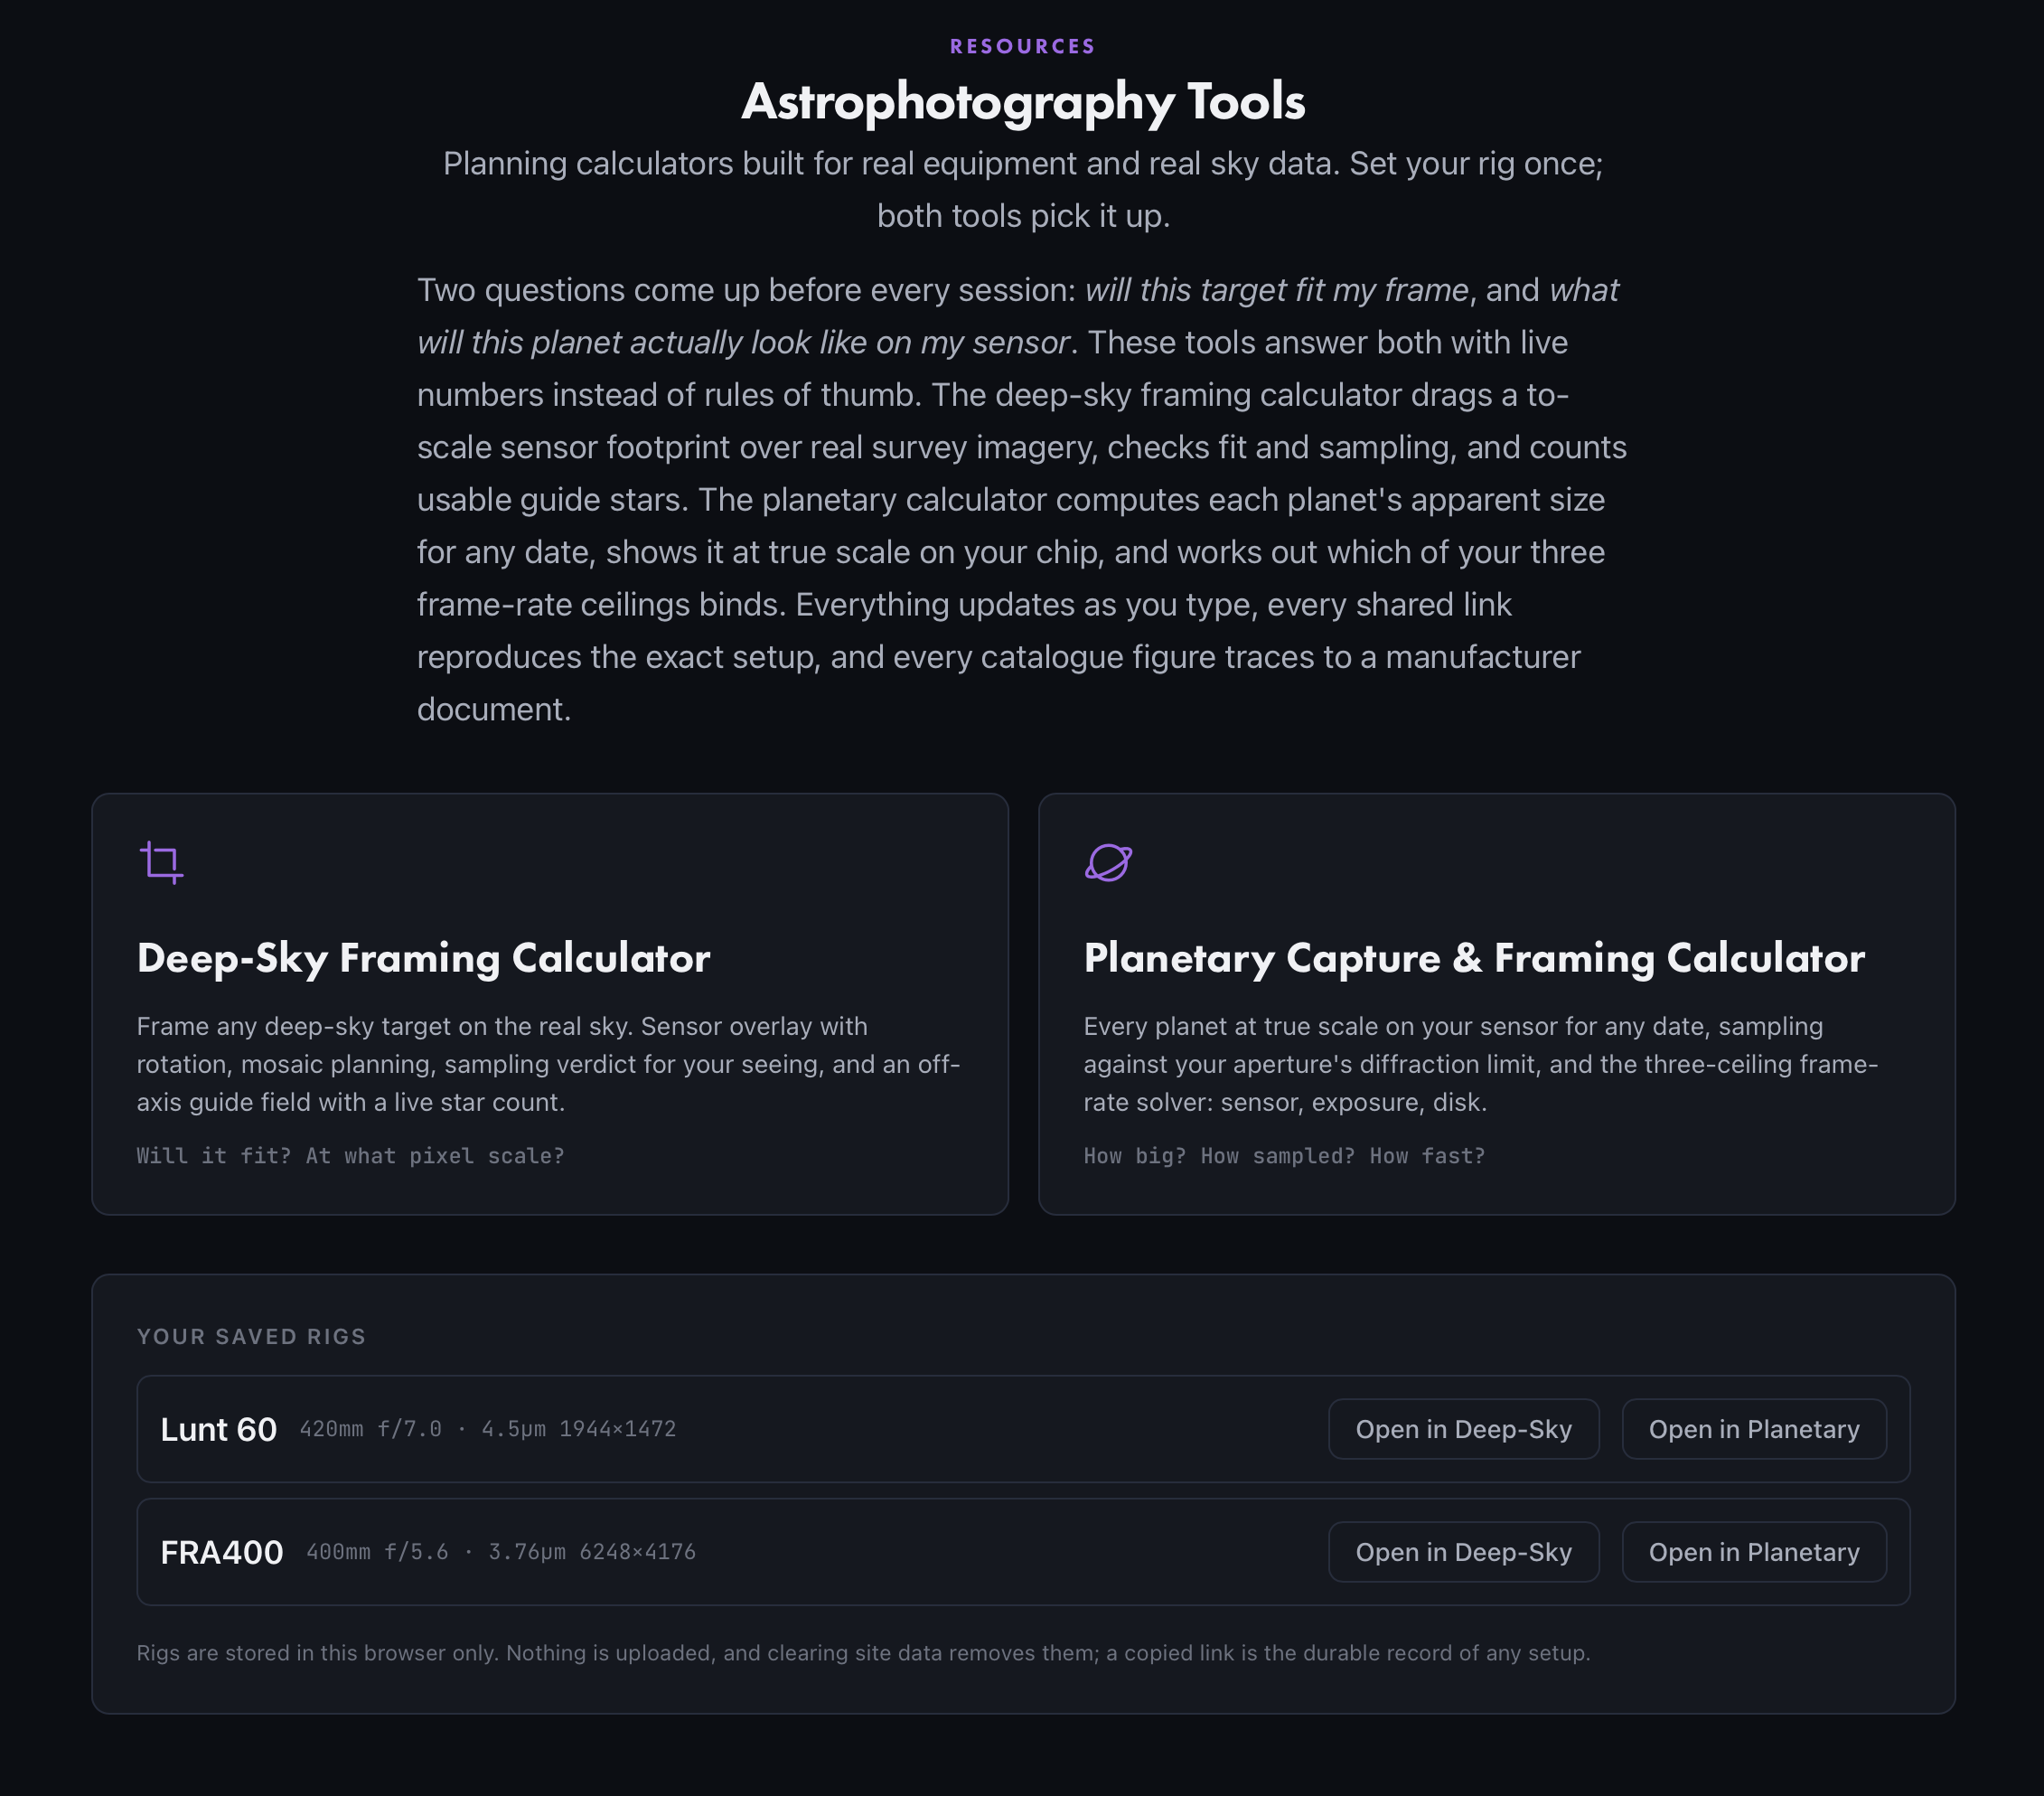
Save a telescope, camera, corrector, and guide camera combination as a named rig, and it shows up in both calculators and on the tools hub, where each rig gets an Open in Deep-Sky and an Open in Planetary button. Set up your gear once.
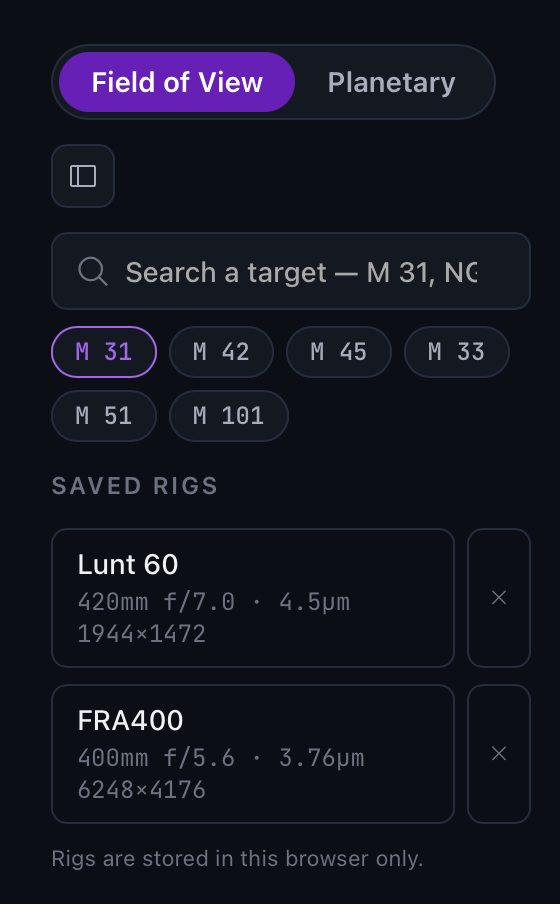
Rigs are stored in your browser only. Nothing is uploaded, and clearing site data removes them, so a copied link is the durable record of any setup. Every change you make is encoded in the URL. Send that link and whoever opens it sees your exact framing, rotation, equipment, and settings. Copy spec gives you the same thing as plain text for a forum post.
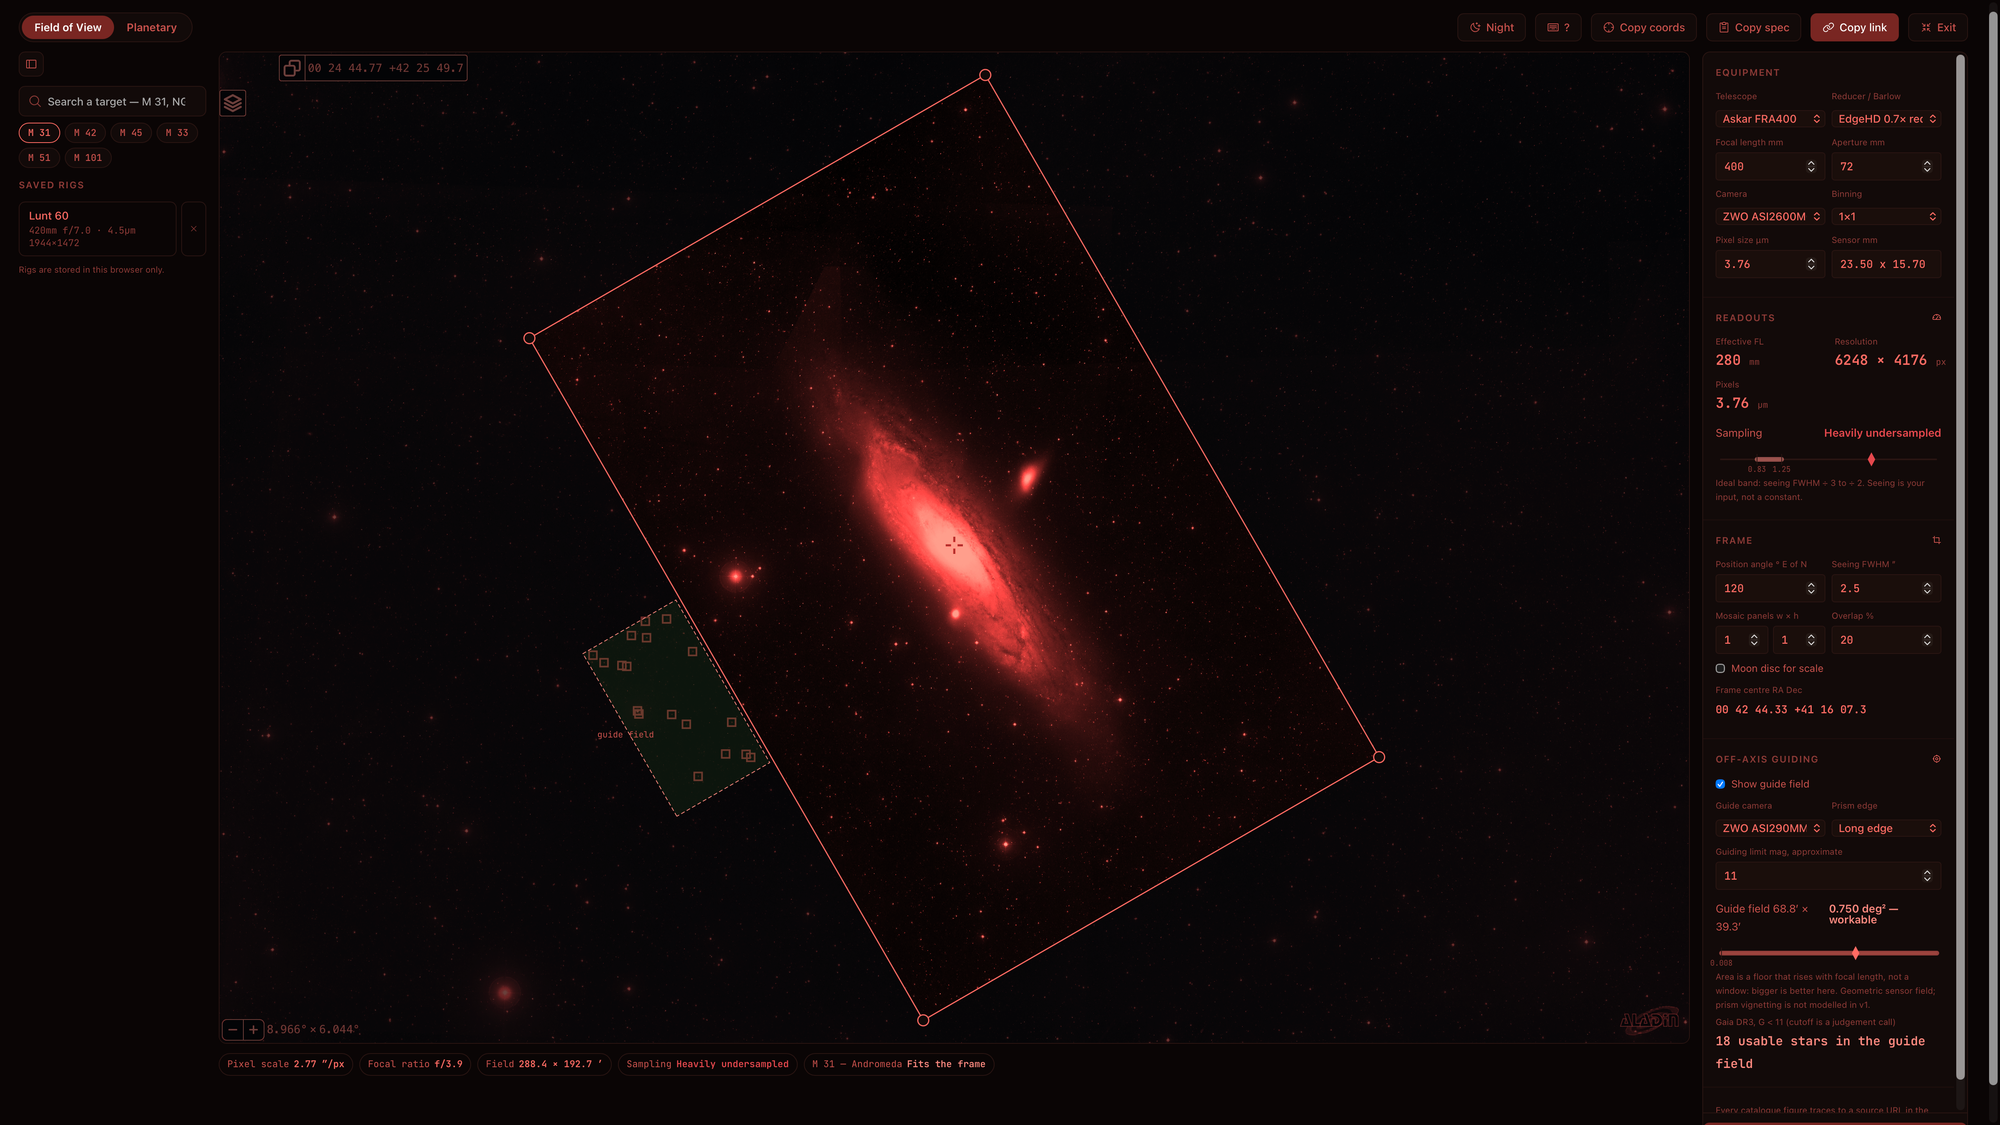
There's a full screen mode that takes the calculator over the whole display with the controls in slim rails on either side, and a night mode that shifts the entire interface to red so you can plan at the scope without wrecking your dark adaptation. Cmd-K searches, arrow keys rotate, Cmd-Z undoes, Cmd-C copies your spec.
Where the numbers come from, and what they don't
Nothing on the planetary side is canned. The calculator loads Astronomy Engine v2.1.19, an open-source ephemeris library built on VSOP87 and NOVAS C 3.1 and unit-tested against JPL Horizons, and computes each body's position for the date you set.
On the deep-sky side, the imagery is DSS2 through the Aladin Lite viewer from CDS in Strasbourg, targets resolve through SIMBAD, and the guide star counts come from Gaia DR3.
The equipment database covers over 130 telescopes and more than 100 cameras, including the solar lineup from Lunt, Coronado, Sky-Watcher, and Player One. Every figure traces to a manufacturer document. Custom entry is always there for anything not listed, which will be plenty.
Two things aren't modeled in this first version. The guide field is geometric: it assumes the full sensor area, and prism vignetting isn't accounted for, so treat the star count as a floor rather than a promise. And the G magnitude 11 cutoff for usable guide stars is a judgment call, not physics. Faint stars work on short exposures with a sensitive guide camera and don't on longer ones. If that threshold is wrong for your setup, tell me and I'll make it adjustable.
The frame-rate ceilings assume uncompressed SER capture and decimal megabytes. A real capture can also be held back by host bandwidth or by the CPU, and neither of those is something a browser can measure for you. The ceilings are the top of what your equipment allows, not a promise about what your session will hit.
Both tools are free and stay free. If you find a target that won't fit, a guide field that comes back empty when it shouldn't, or a catalog figure that looks wrong, send it over. Corrections ship fast.
Clear skies.