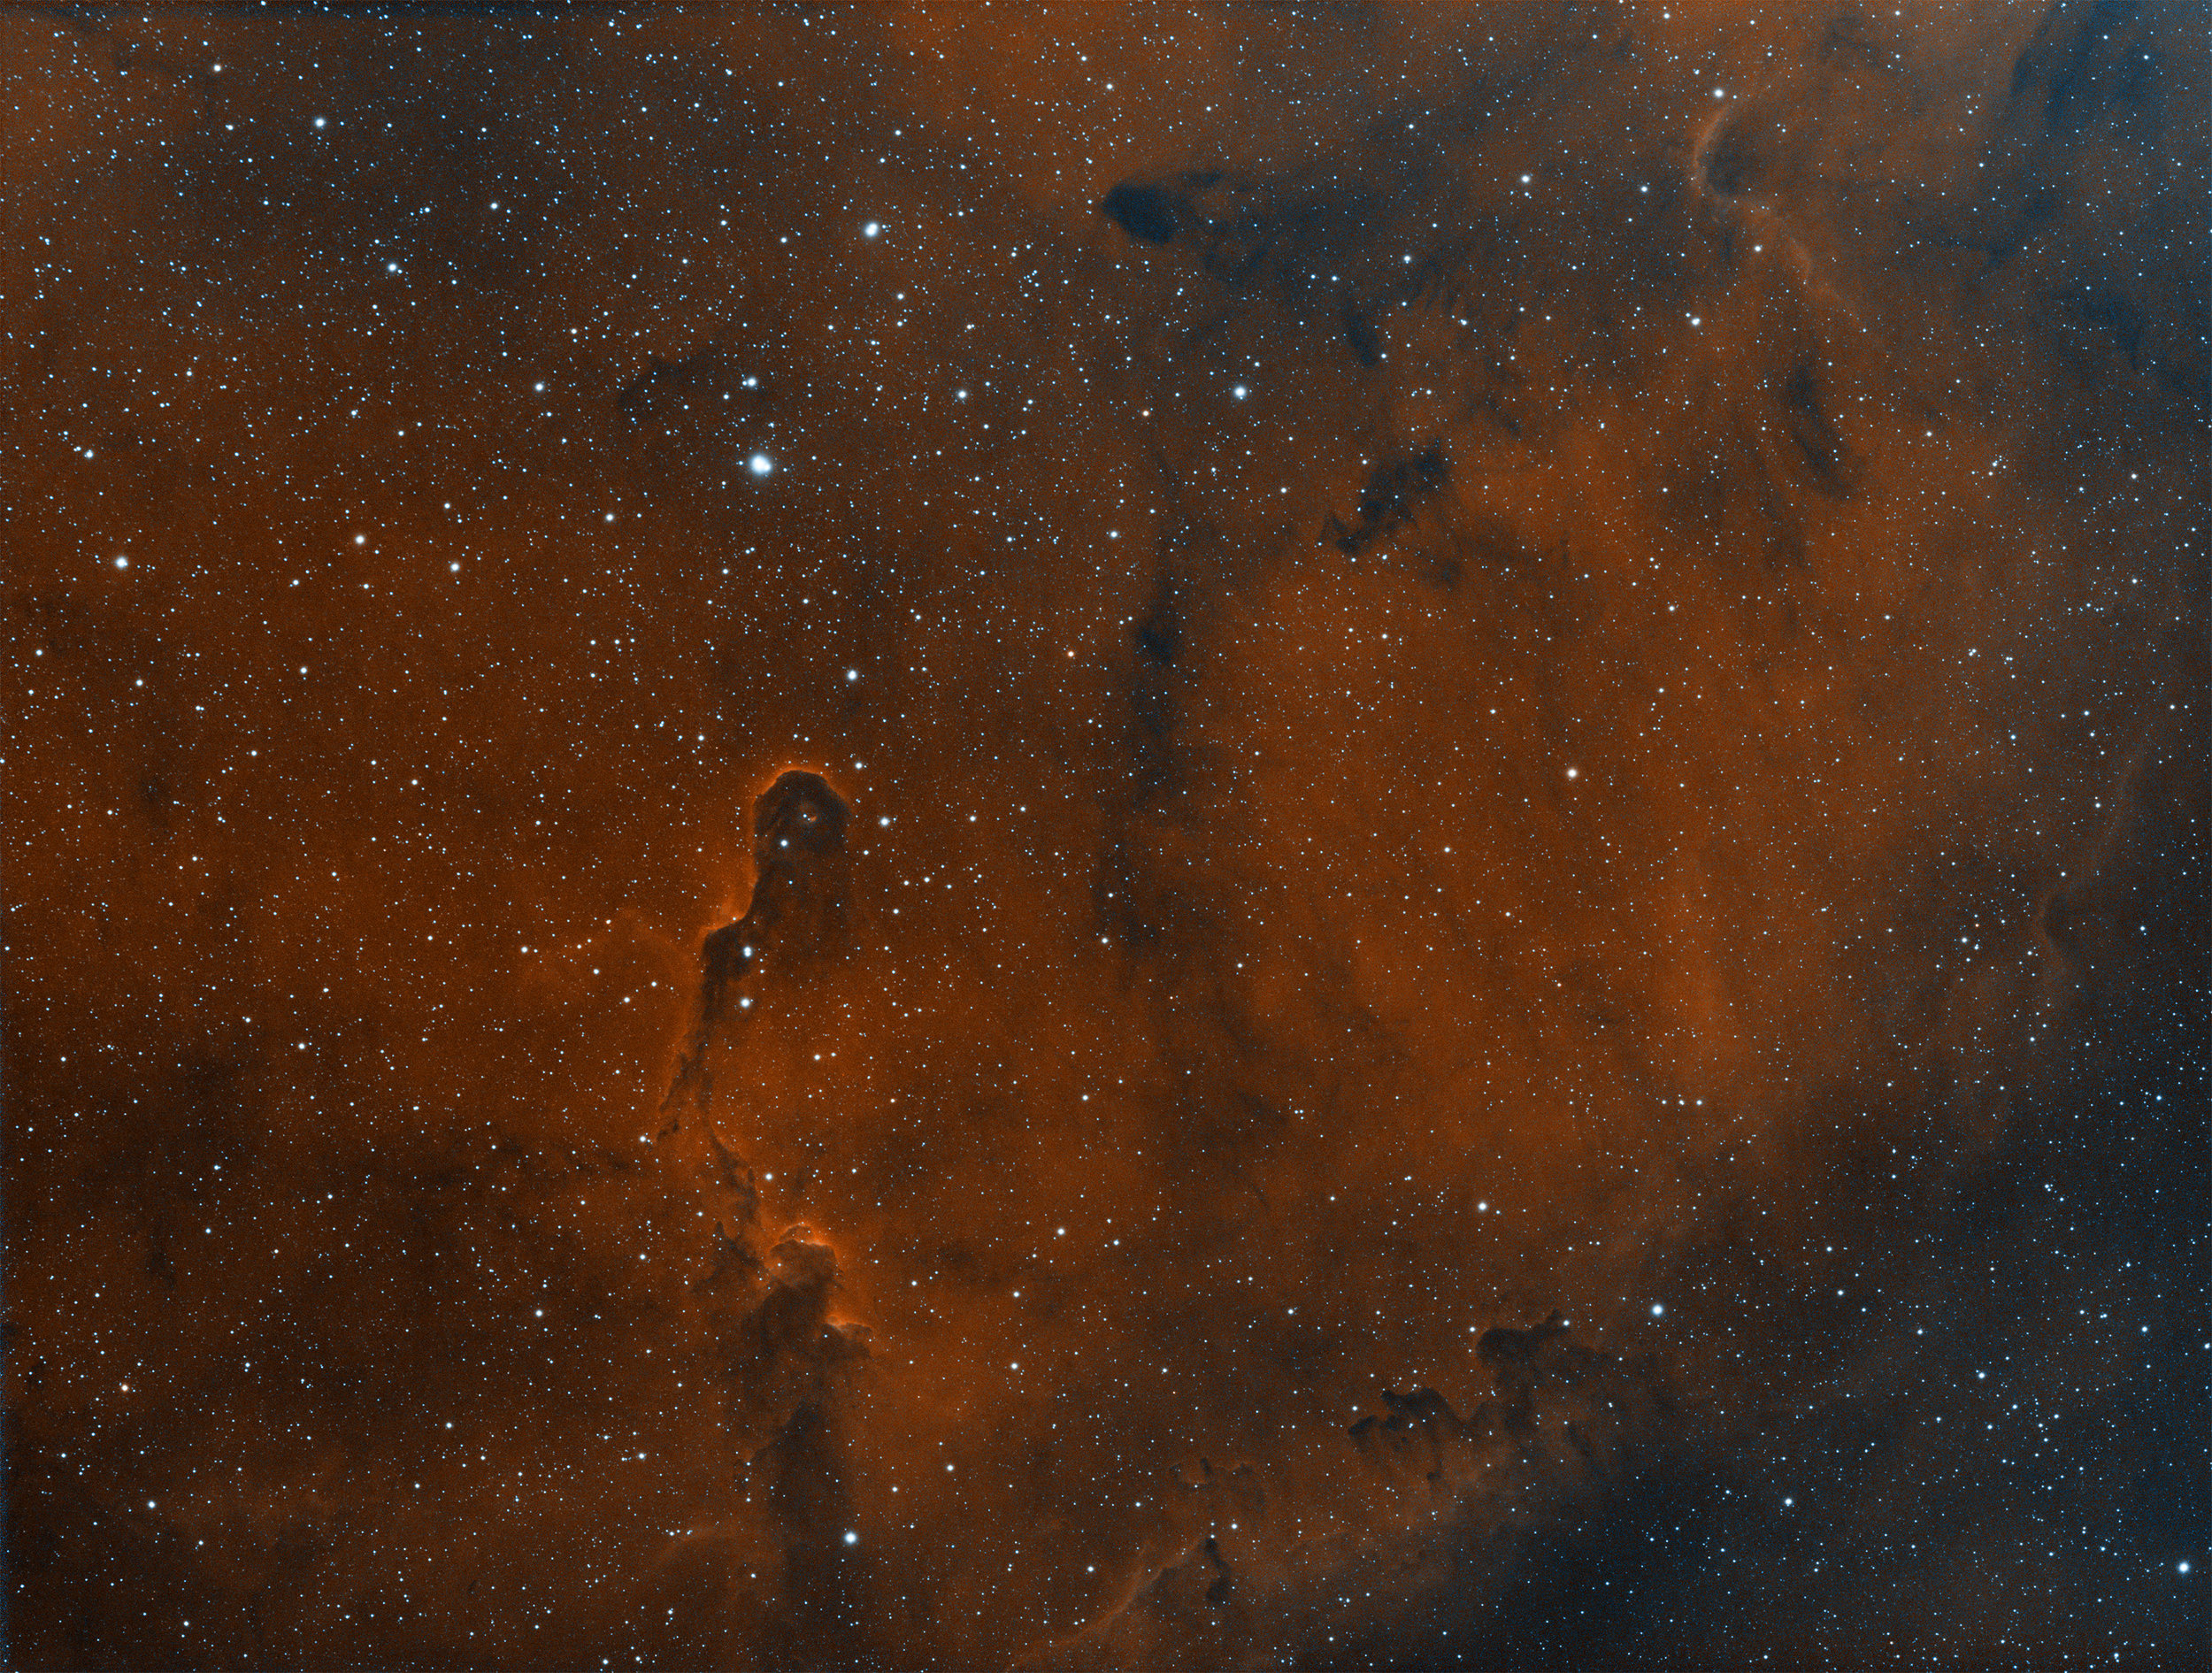
There were no satellites in the vicinity according to Orbitrack. Was this an asteroid? UFO?
The bloodiest of moons.
Revisiting IC 417 on the ES 102mm
I decided to revisit IC 417 but this time with a wider field of view. The image was previously taken with my AT6RC, and it focused primarily on IC 417. But this time I was able to frame it such that I also got the open cluster NGC 1907, as well as the smaller nebula below IC 417, NGC 1931. I’m really happy with how it turned out.
Imaging details
Imaging telescope or lens:Explore Scientific ED102 FCD-100 CF
Imaging camera:ZWO ASI1600MM-Cool
Mount:Celestron CGX
Guiding telescope or lens:Stellarvue F050G
Guiding camera:ZWO ASI290MM Mini
Focal reducer:Stellarvue SFFR102-2
Software:Kstars/Ekos, Astro Pixel Processor, PixInsight 1.8 Ripley
Accessories:Moonlite High res stepper motor and Mini-V2 controller, MoonLite CF 2" Focuser
Resolution: 4432x3235
Dates:Jan. 4, 2019, Jan. 5, 2019
Frames:
Astrodon Tru-Balance H-a 5nm: 125x180" (gain: 200.00) -15C bin 1x1
Astrodon Tru-Balance OIII 5nm: 112x180" (gain: 200.00) -15C bin 1x1
Astrodon Tru-Balance SII 5nm: 80x180" (gain: 200.00) -15C bin 1x1
Integration: 15.8 hours
Darks: ~50
Flats: ~50
Bias: ~50
Avg. Moon age: 28.56 days
Avg. Moon phase: 1.31%
Bortle Dark-Sky Scale: 6.00
Astrometry.net job: 2454319
RA center: 82.351 degrees
DEC center: 34.736 degrees
Pixel scale: 1.380 arcsec/pixel
Orientation: 92.987 degrees
Field radius: 1.051 degrees
Locations: Home Observatory, Pearland, Texas, United States
Data source: Backyard
Narrowband Imaging IC410 and IC417
IC410 imaged on the Explore Scientific 102mm FCD100 APO refractor.
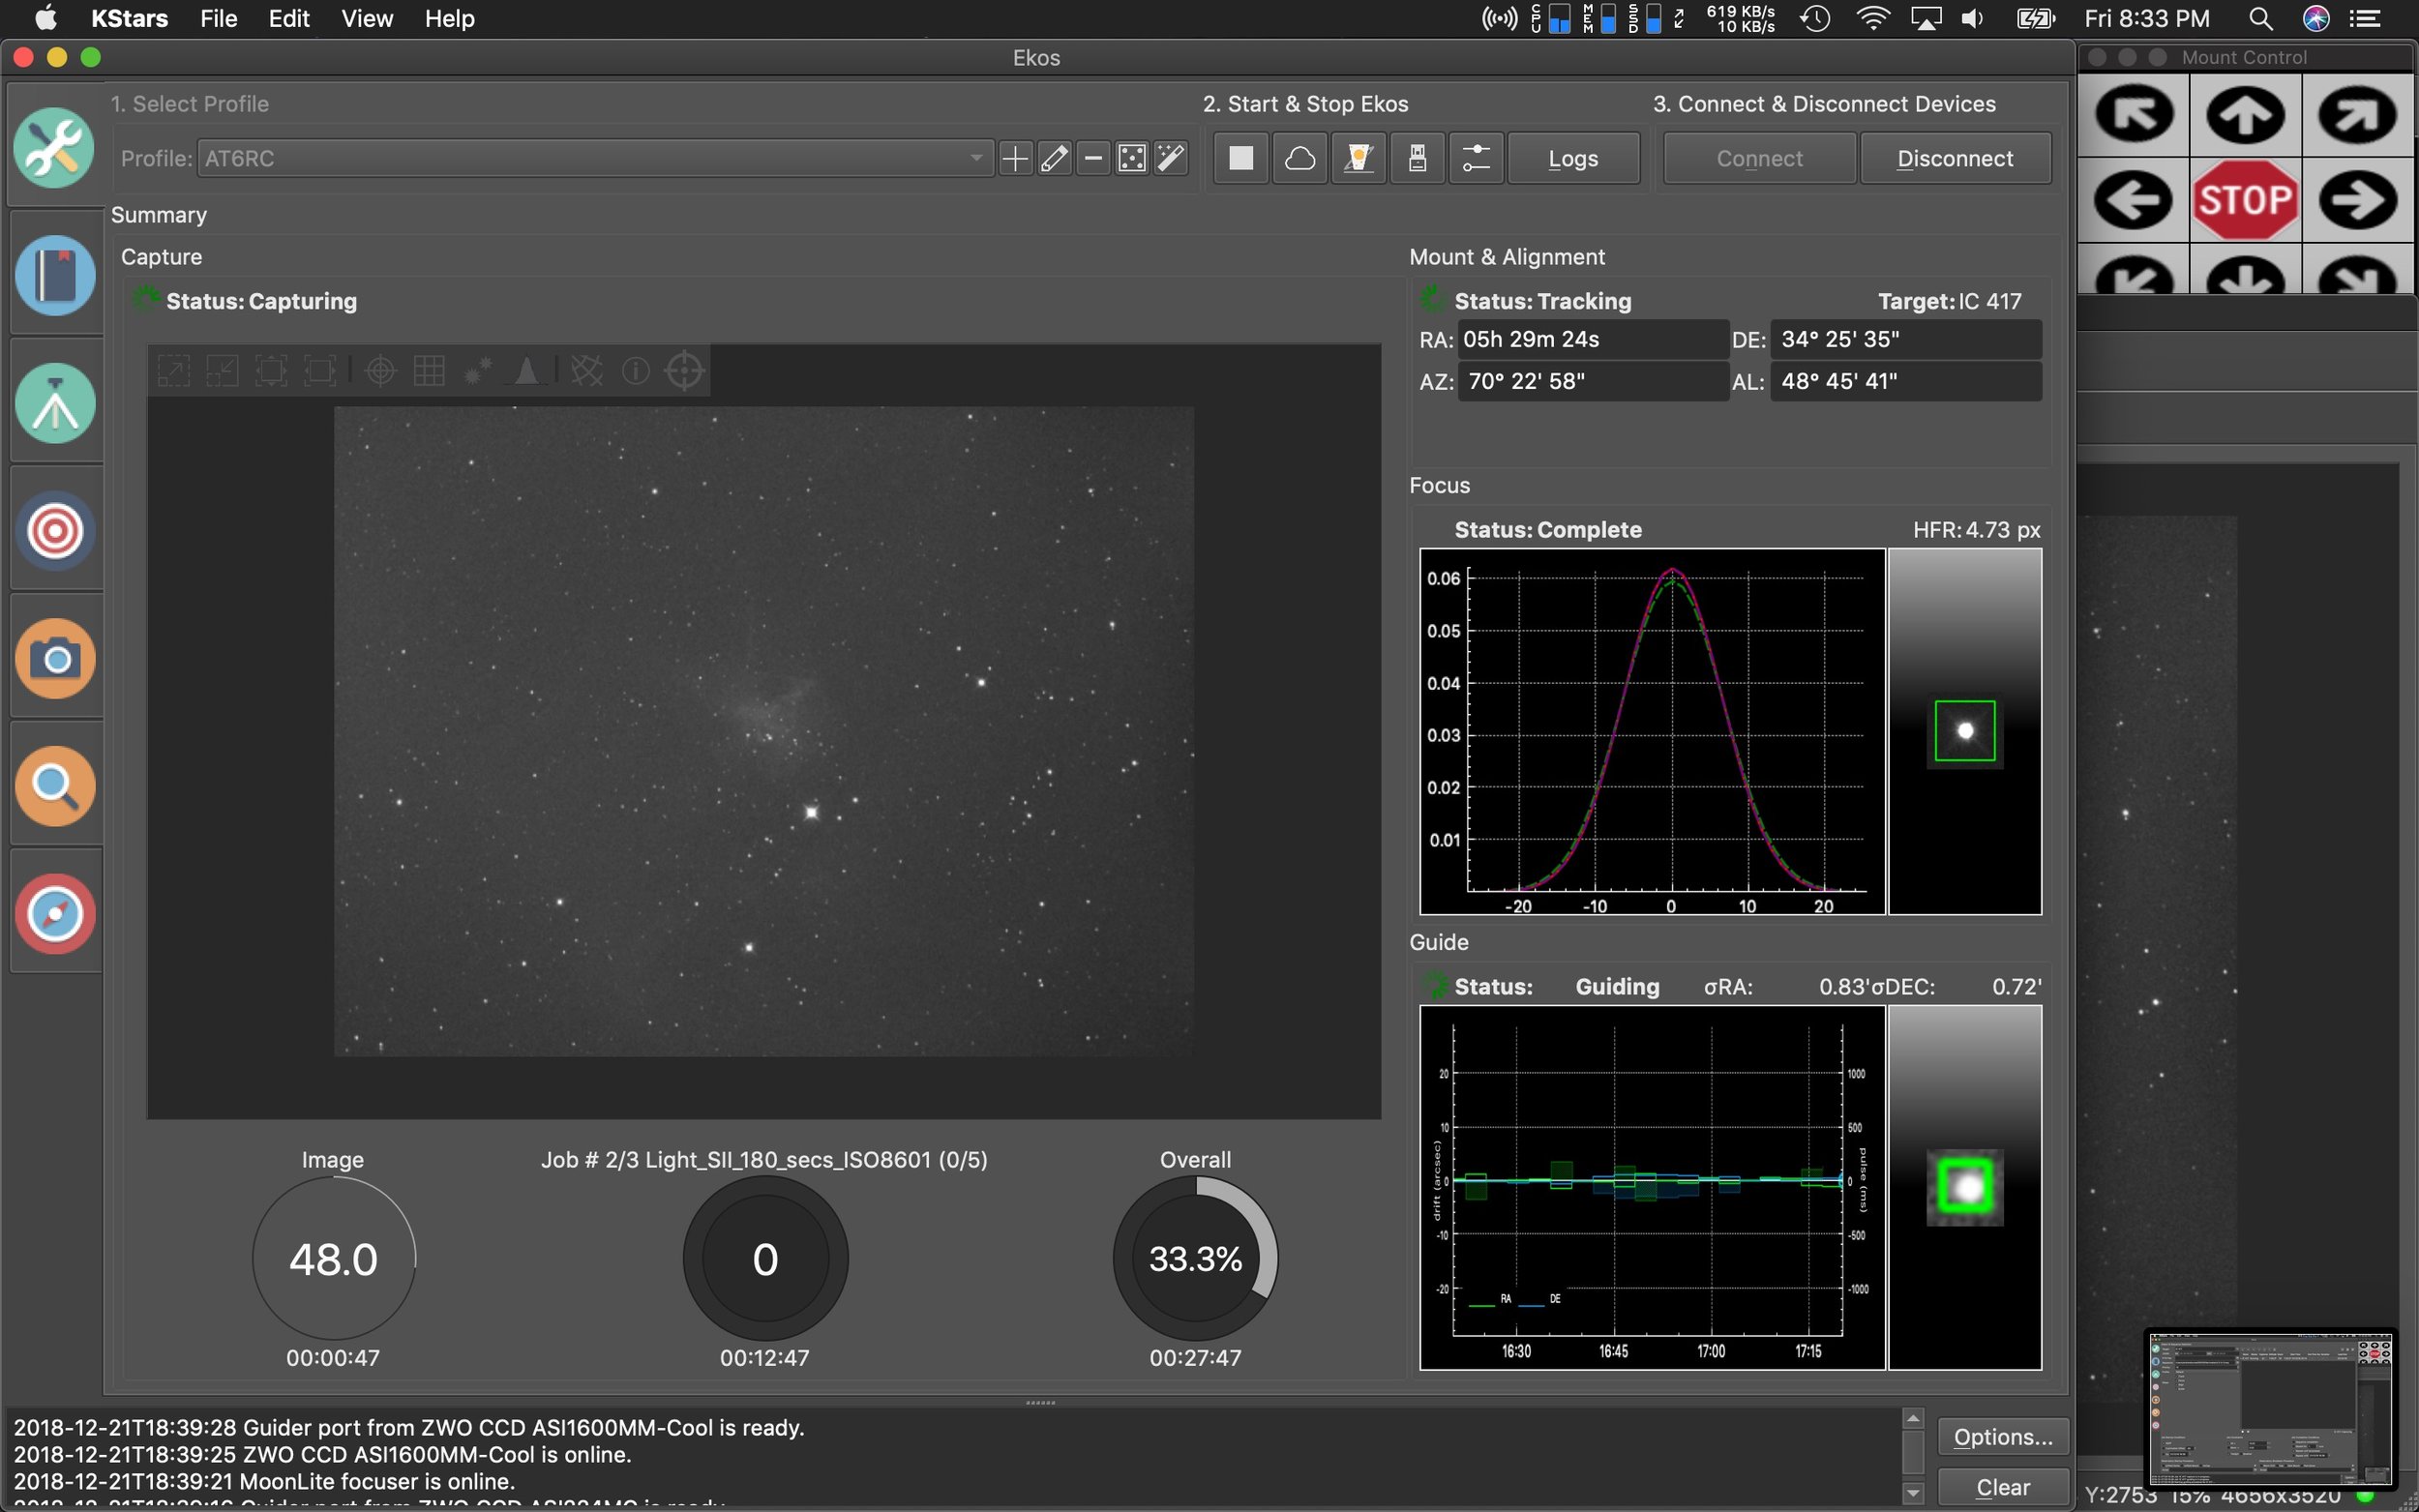
Over the last two weeks, I’ve had 3 imaging nights. KStars & EKOS 3.0 were released which fixed a ton of long standing issues with the scheduler. In addition to that nice software update, I got a Celestron CGX for Christmas! So, those two things combined and I set my sights on the only northern region available to me from the back yard and imaged IC417 on my AT6RC, and IC410 on my Explore Scientific 102mm FCD100 scope.
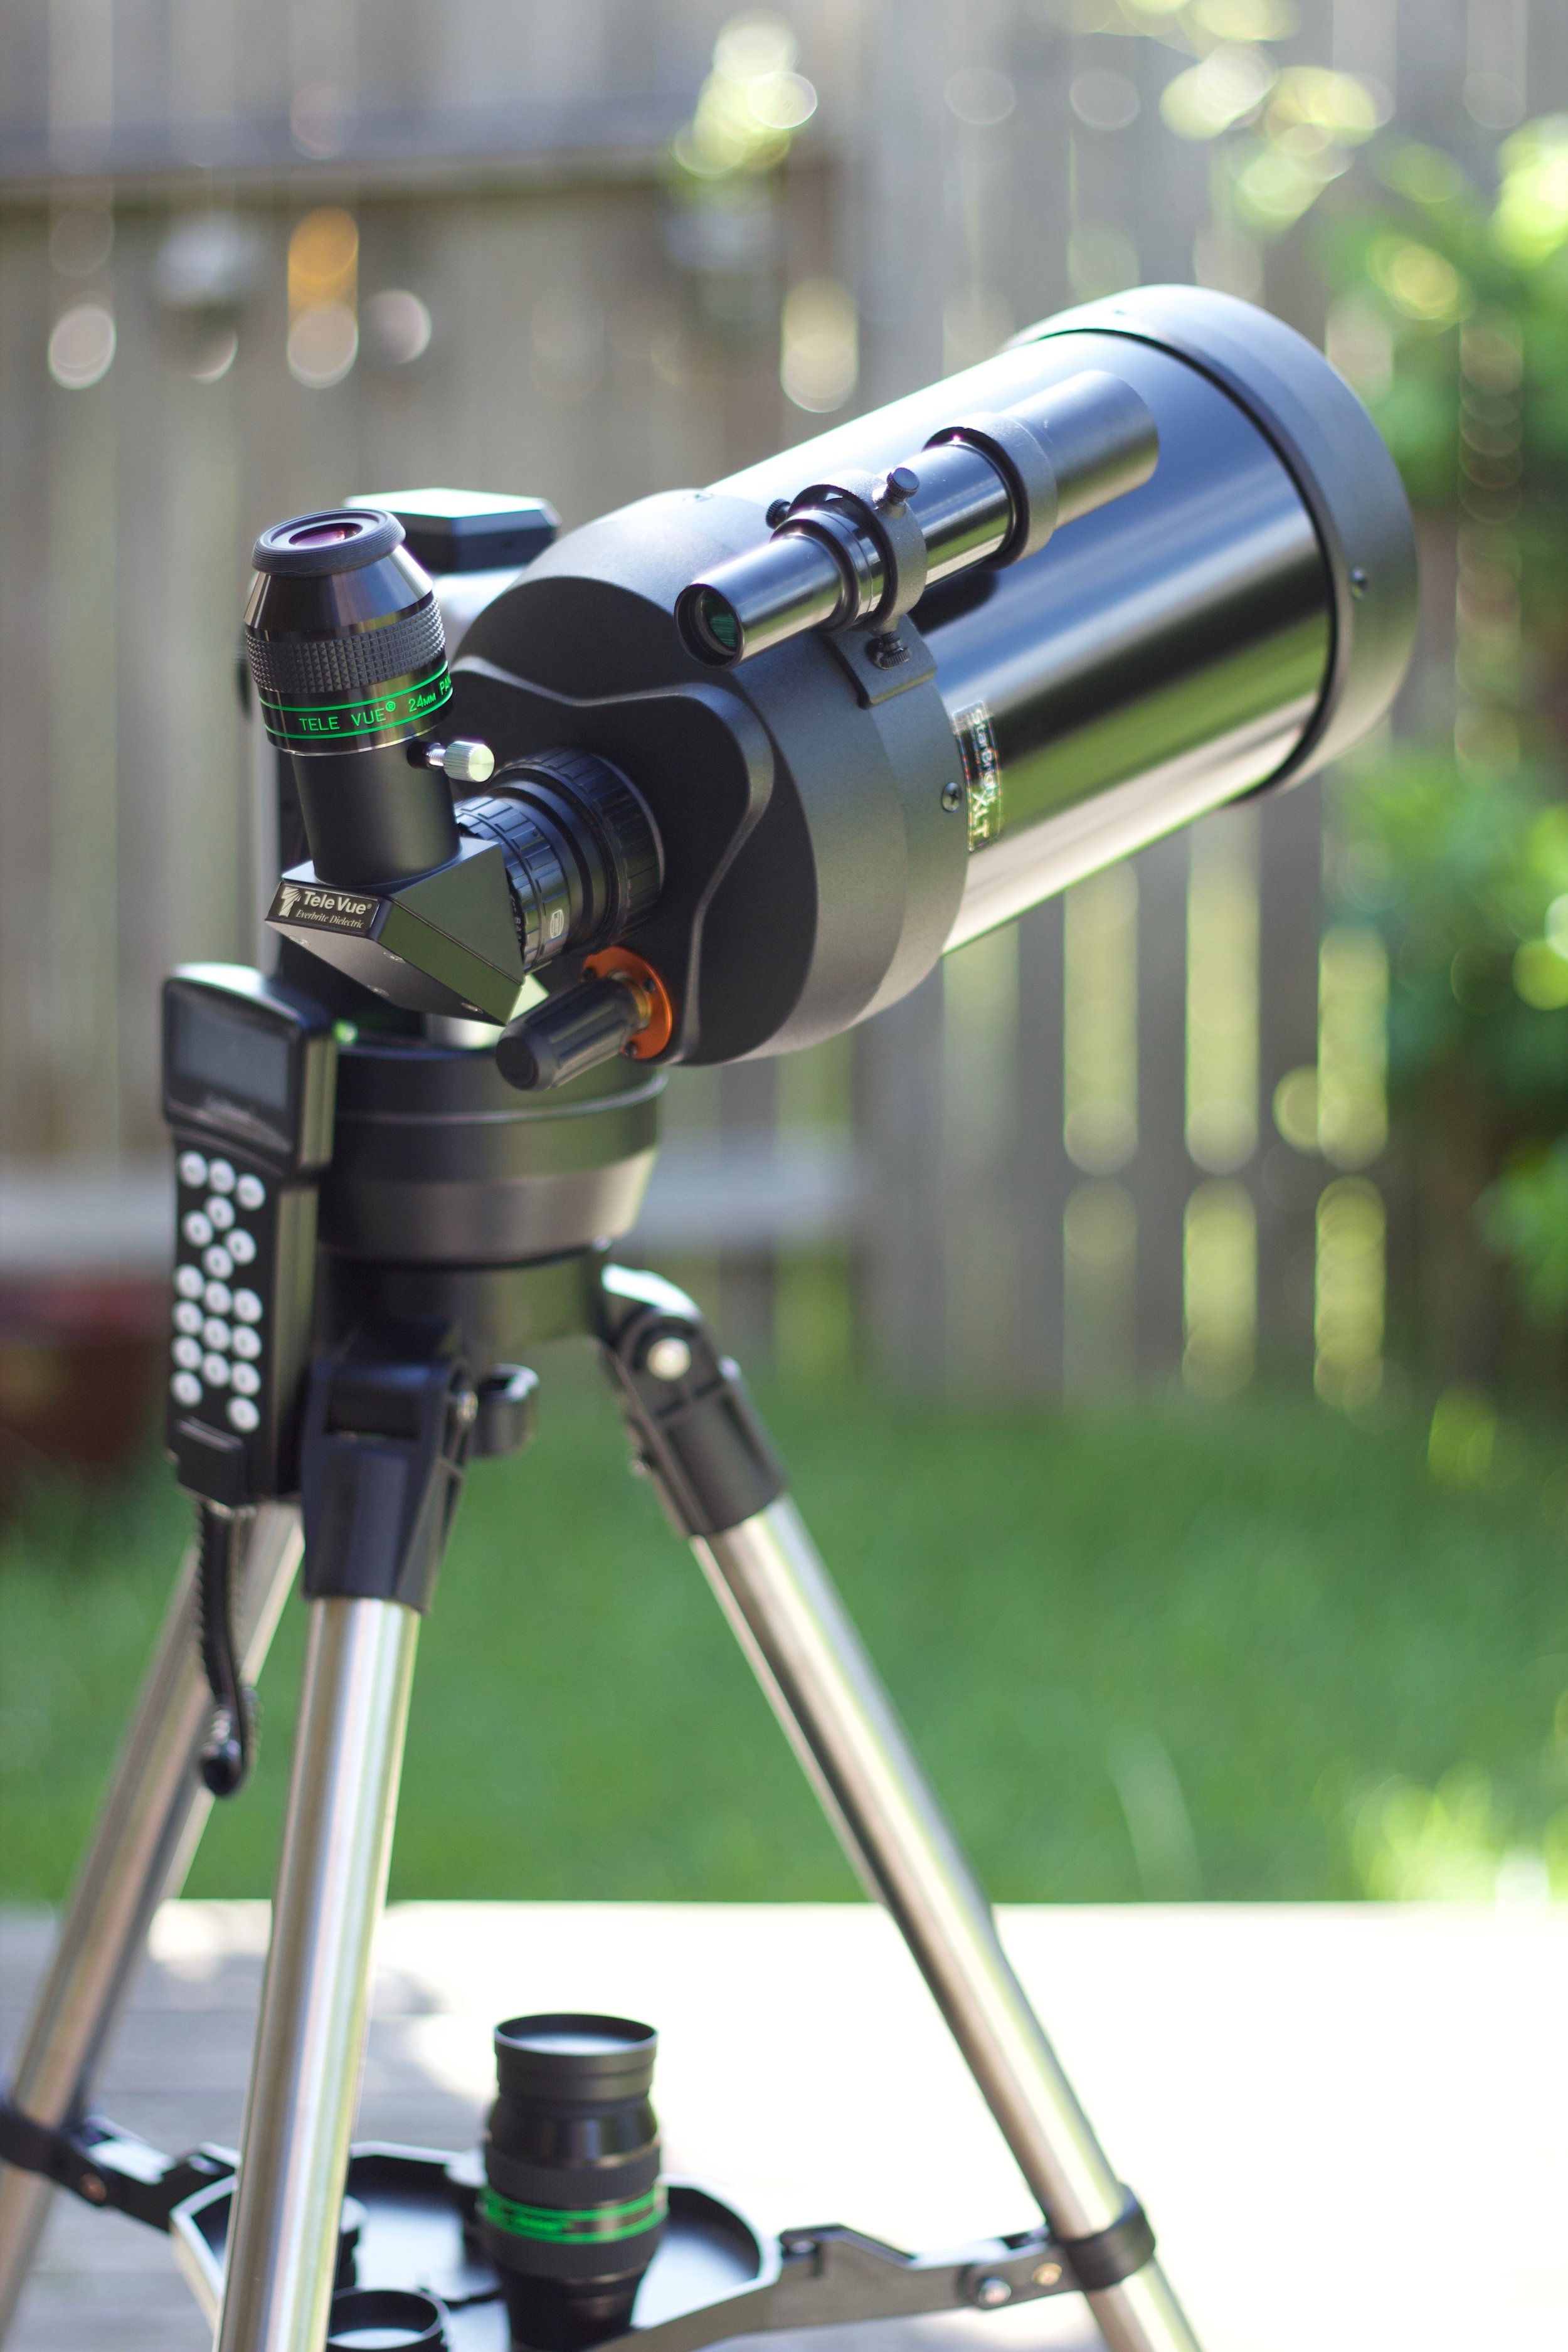
Here’s a recent photo of the setup.
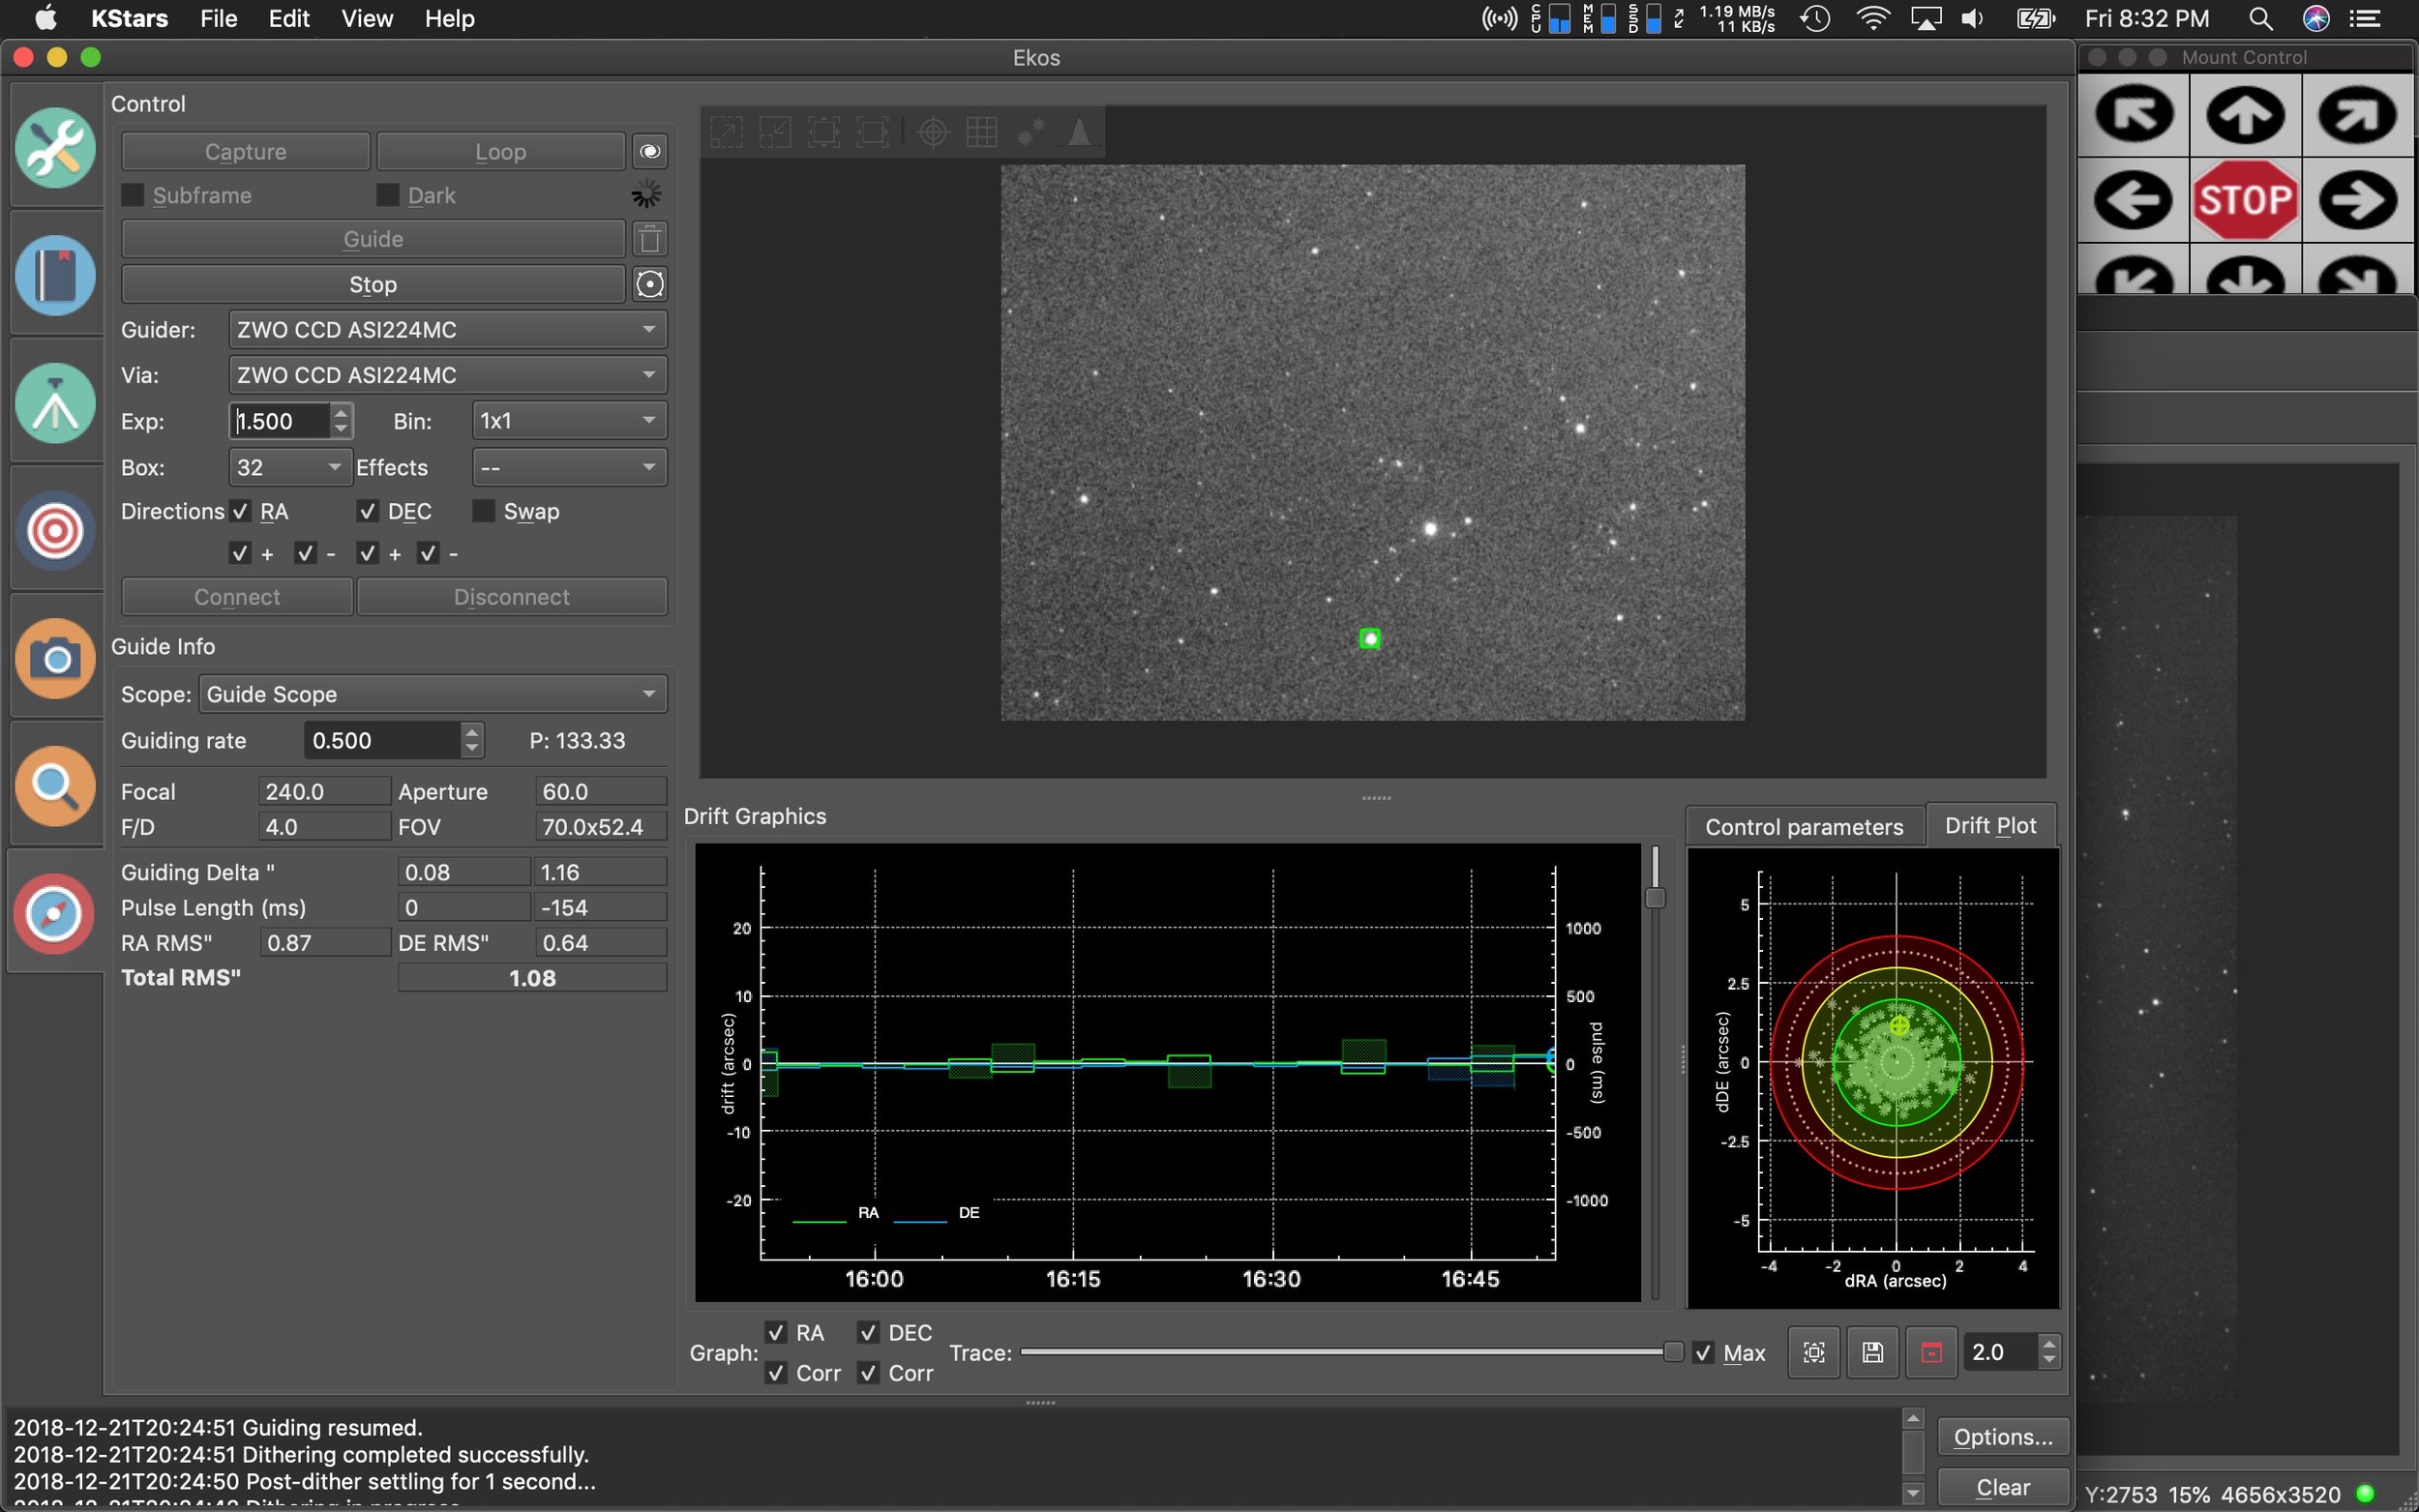
So far it’s worked great. Average RMS has been between .6 and .8. My AVX was hovering between .8 and 2.0 RMS. I think I can get the CGX tuned a little more in guiding to get those numbers even lower, but have not attempted any adjustments. These are the numbers I’ve been getting without changing any of the default guide settings.
IC 417 imaged on the AT6RC from Astro-tech.
KStars/EKOS 3.0 released with new features
The team behind KStars and EKOS have been busy wrapping up a new version of their imaging software just in time for the holidays. There’s a lot of new features in this one.
The first major feature is the XPlanet solar system viewer developed by Robert Lancaster. It’s a significant upgrade over the built-in viewer.
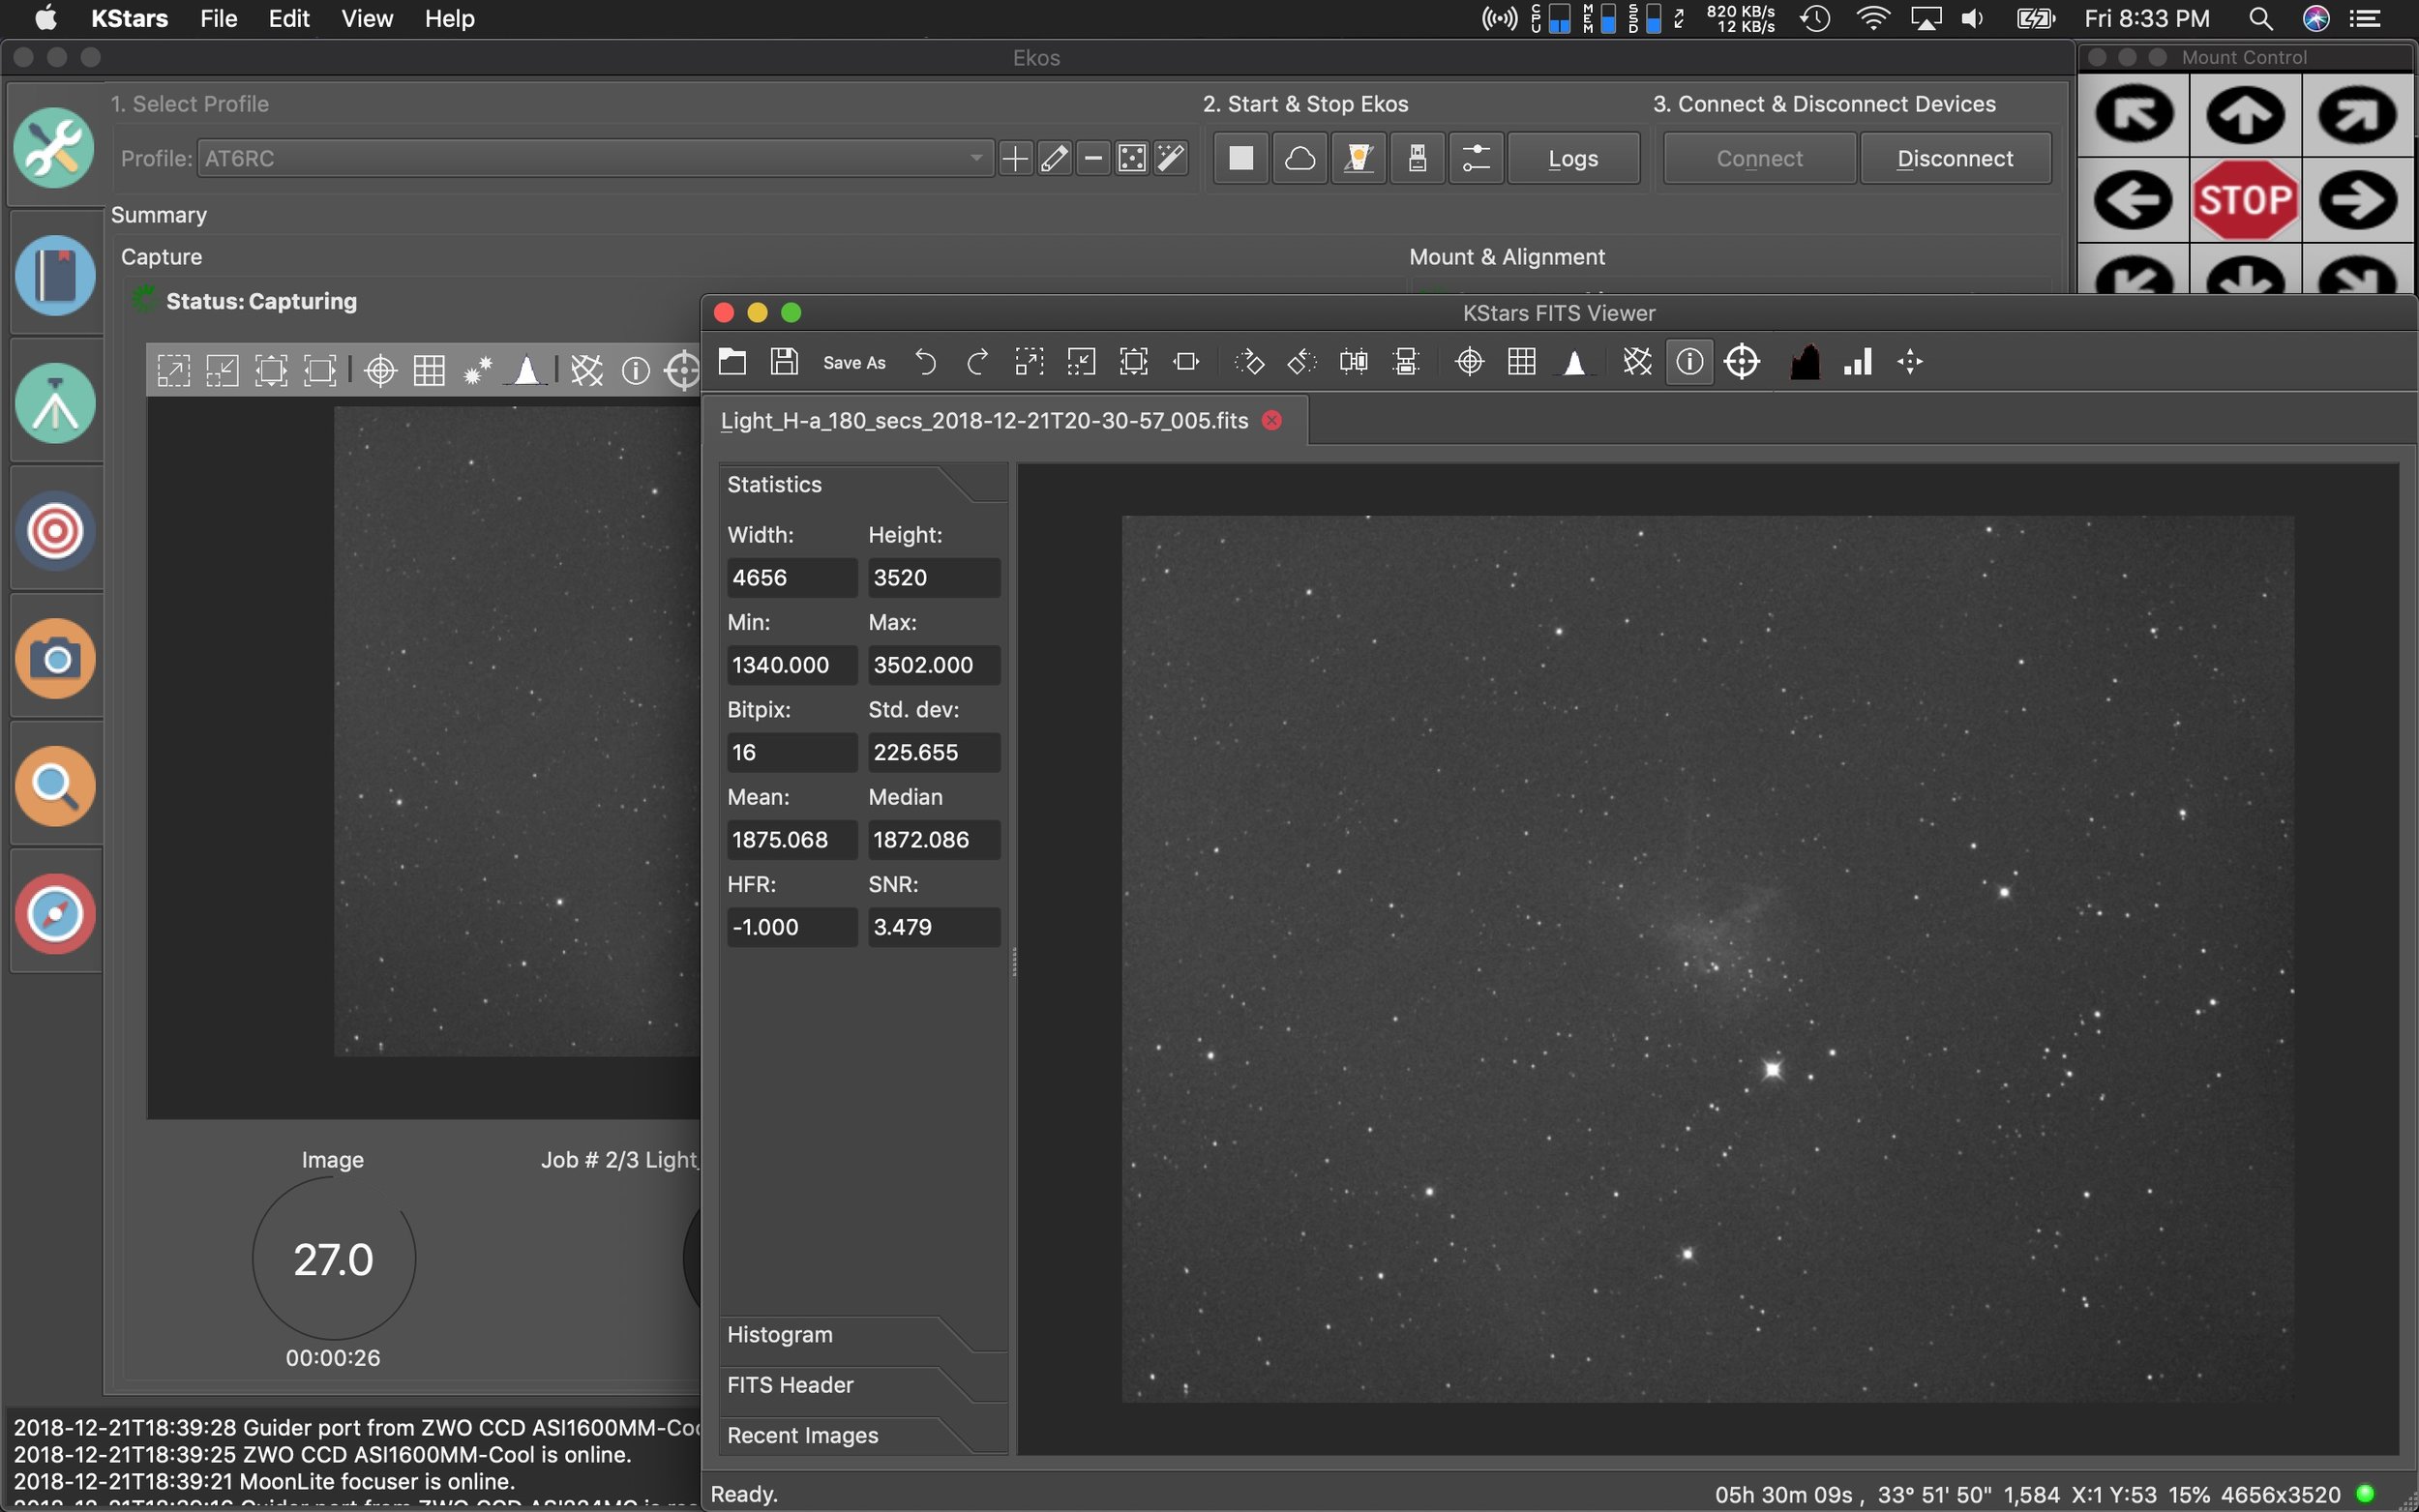
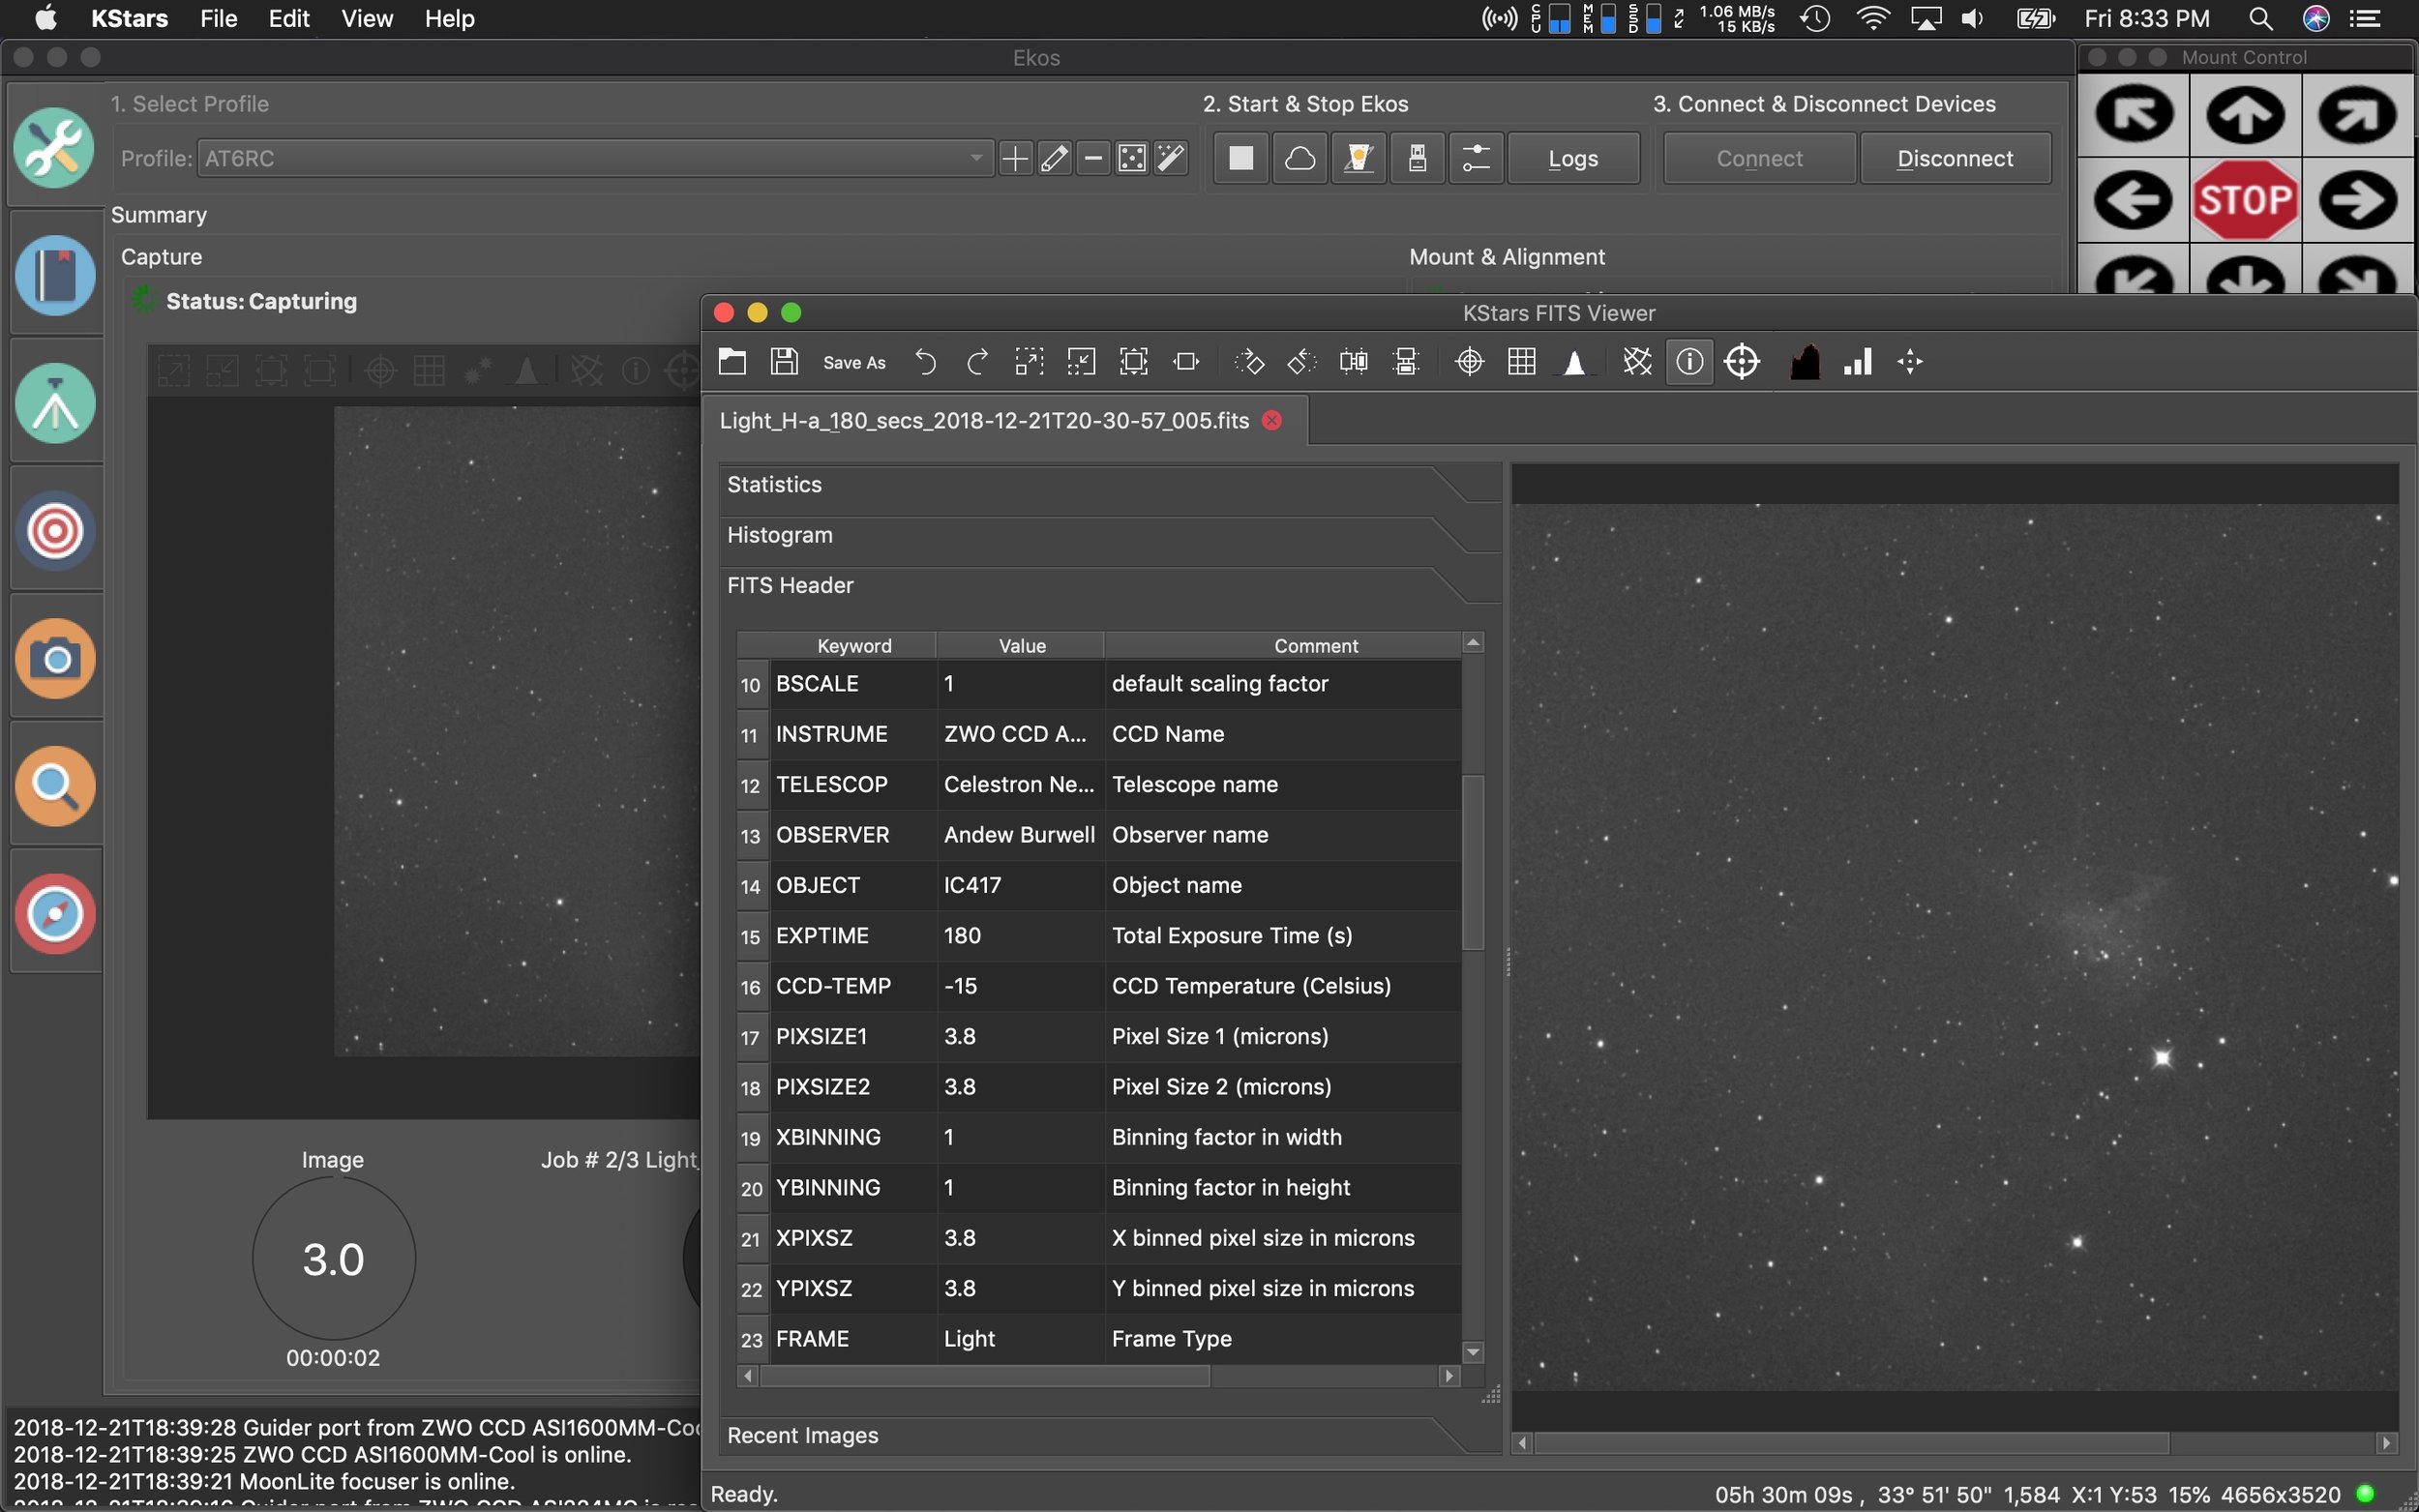
Robert also created a new interface for the FITS viewer which can how show you all the data of your images in a new side panel which features the FITS header info, Histogram, Statics, and recent images.
Additionally, Eric Dejouhanet dedicated time to a huge scheduler rewrite. The scheduler system previously allowed for scenarios where you could have conflicts in operations, but with the rewrite all this has been fixed and numerous improvements have been added:
Dark sky, which schedules a job to the next astronomical dusk/dawn interval.
Minimal altitude, which schedules a job up to 24 hours away to the next date and time its target is high enough in the sky.
Moon separation, combined with altitude constraint, which allows a job to schedule if its target is far enough from the Moon.
Fixed startup date and time, which schedules a job at a specific date and time.
Culmination offset, which schedules a job to start up to 24 hours away to the next date and time its target is at culmination, adjusted by an offset.
Amount of repetitions, eventually infinite, which allows a job imaging procedure to repeat multiple times or indefinitely.
Fixed completion date and time, which terminates a job at a specific date and time.
A few other enhancements are a new scripting and DBus system allow for 3rd party applications to take advantage/control of features with EKOS which will open up the system for more options down the road.
Other improvements and new features can be found on Jasem’s (lead developer) website.
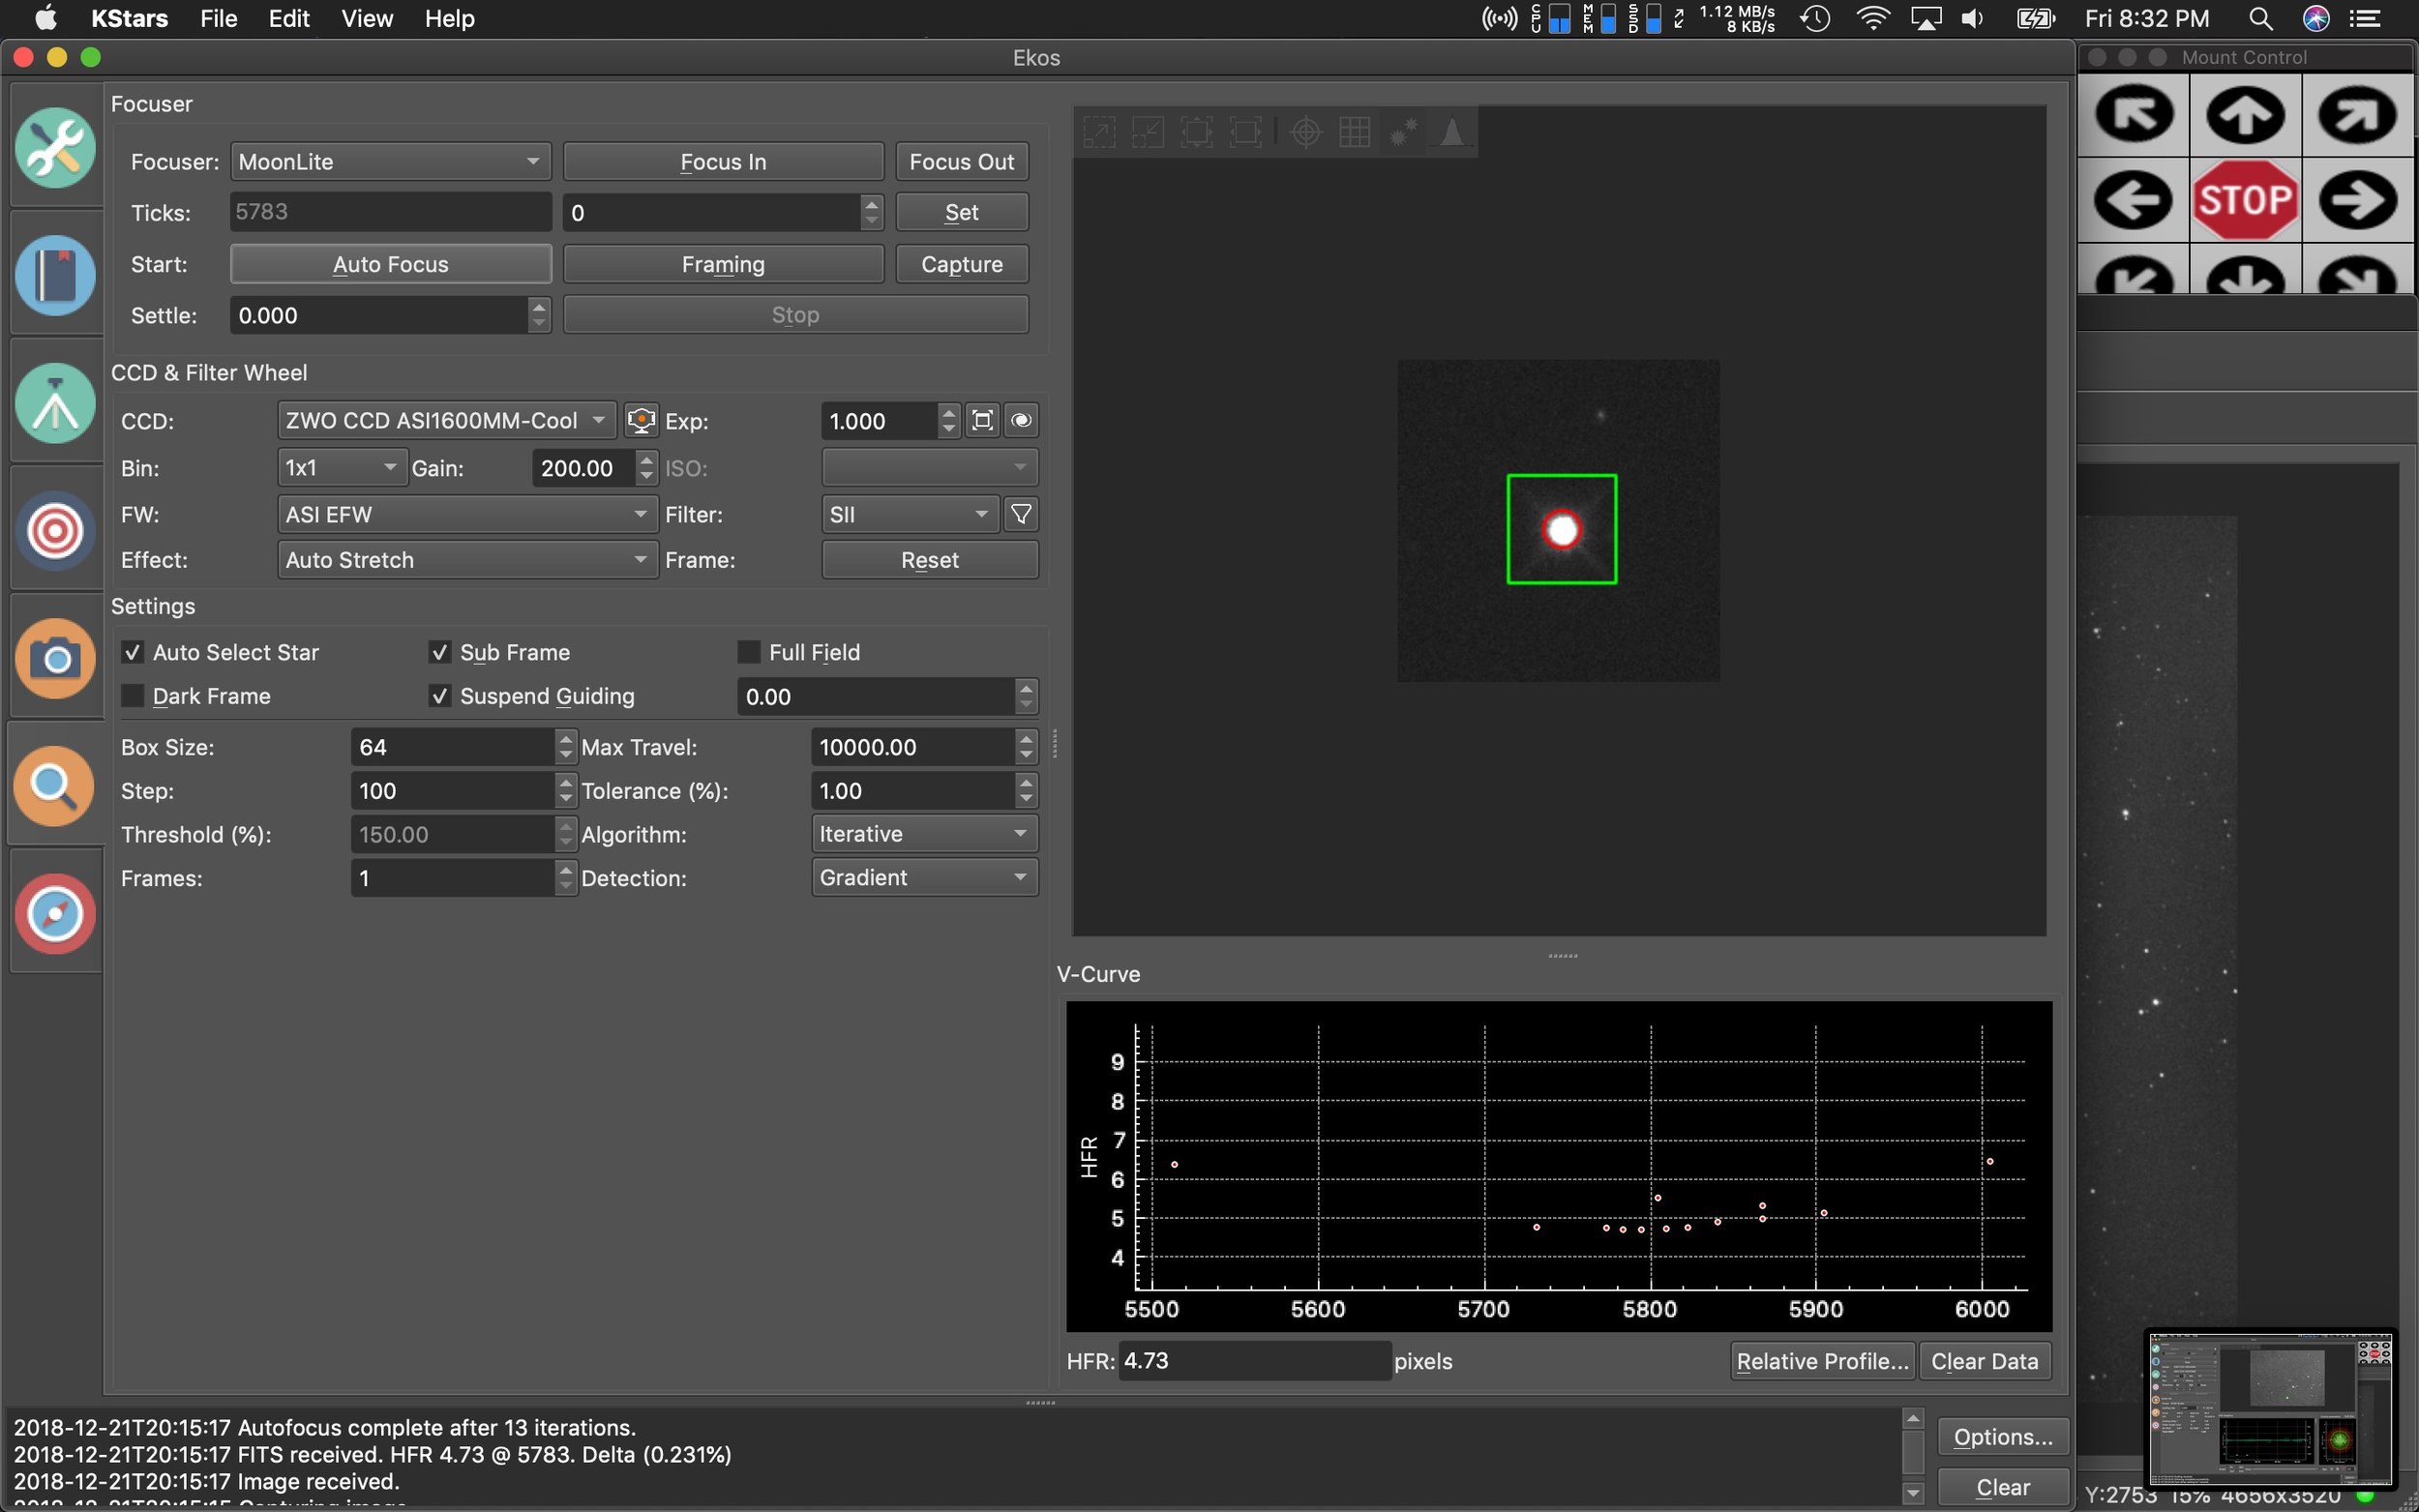
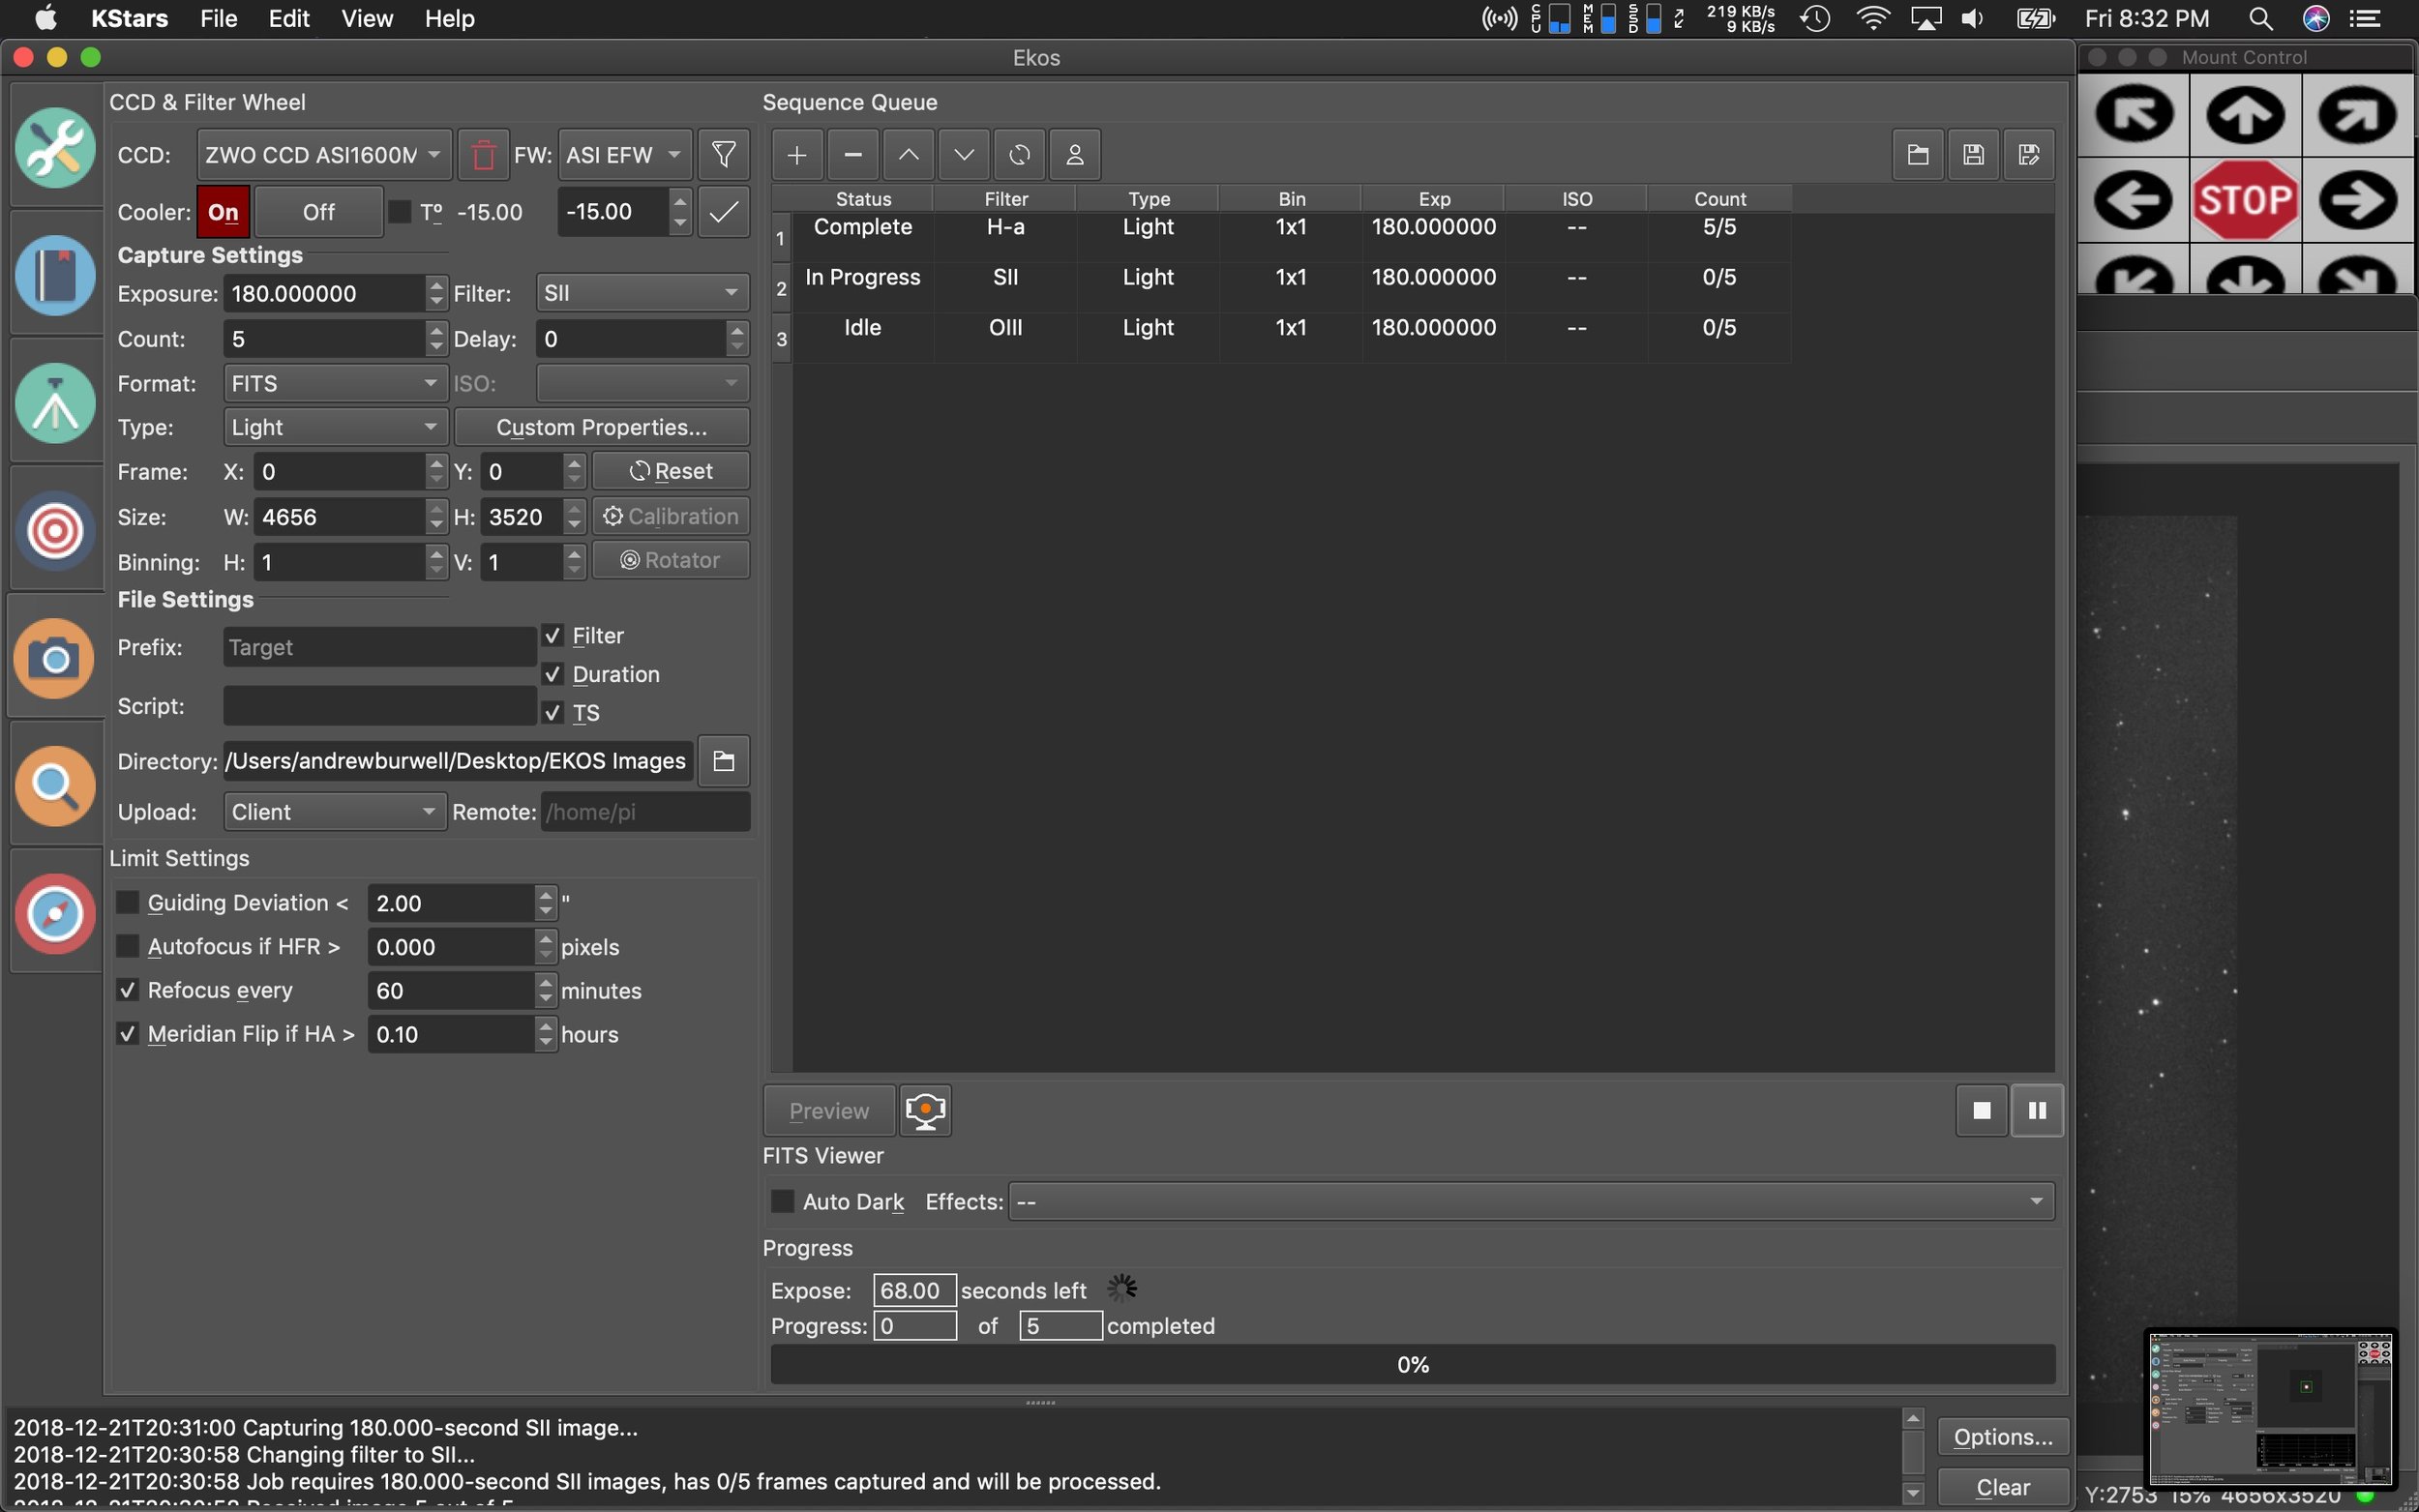
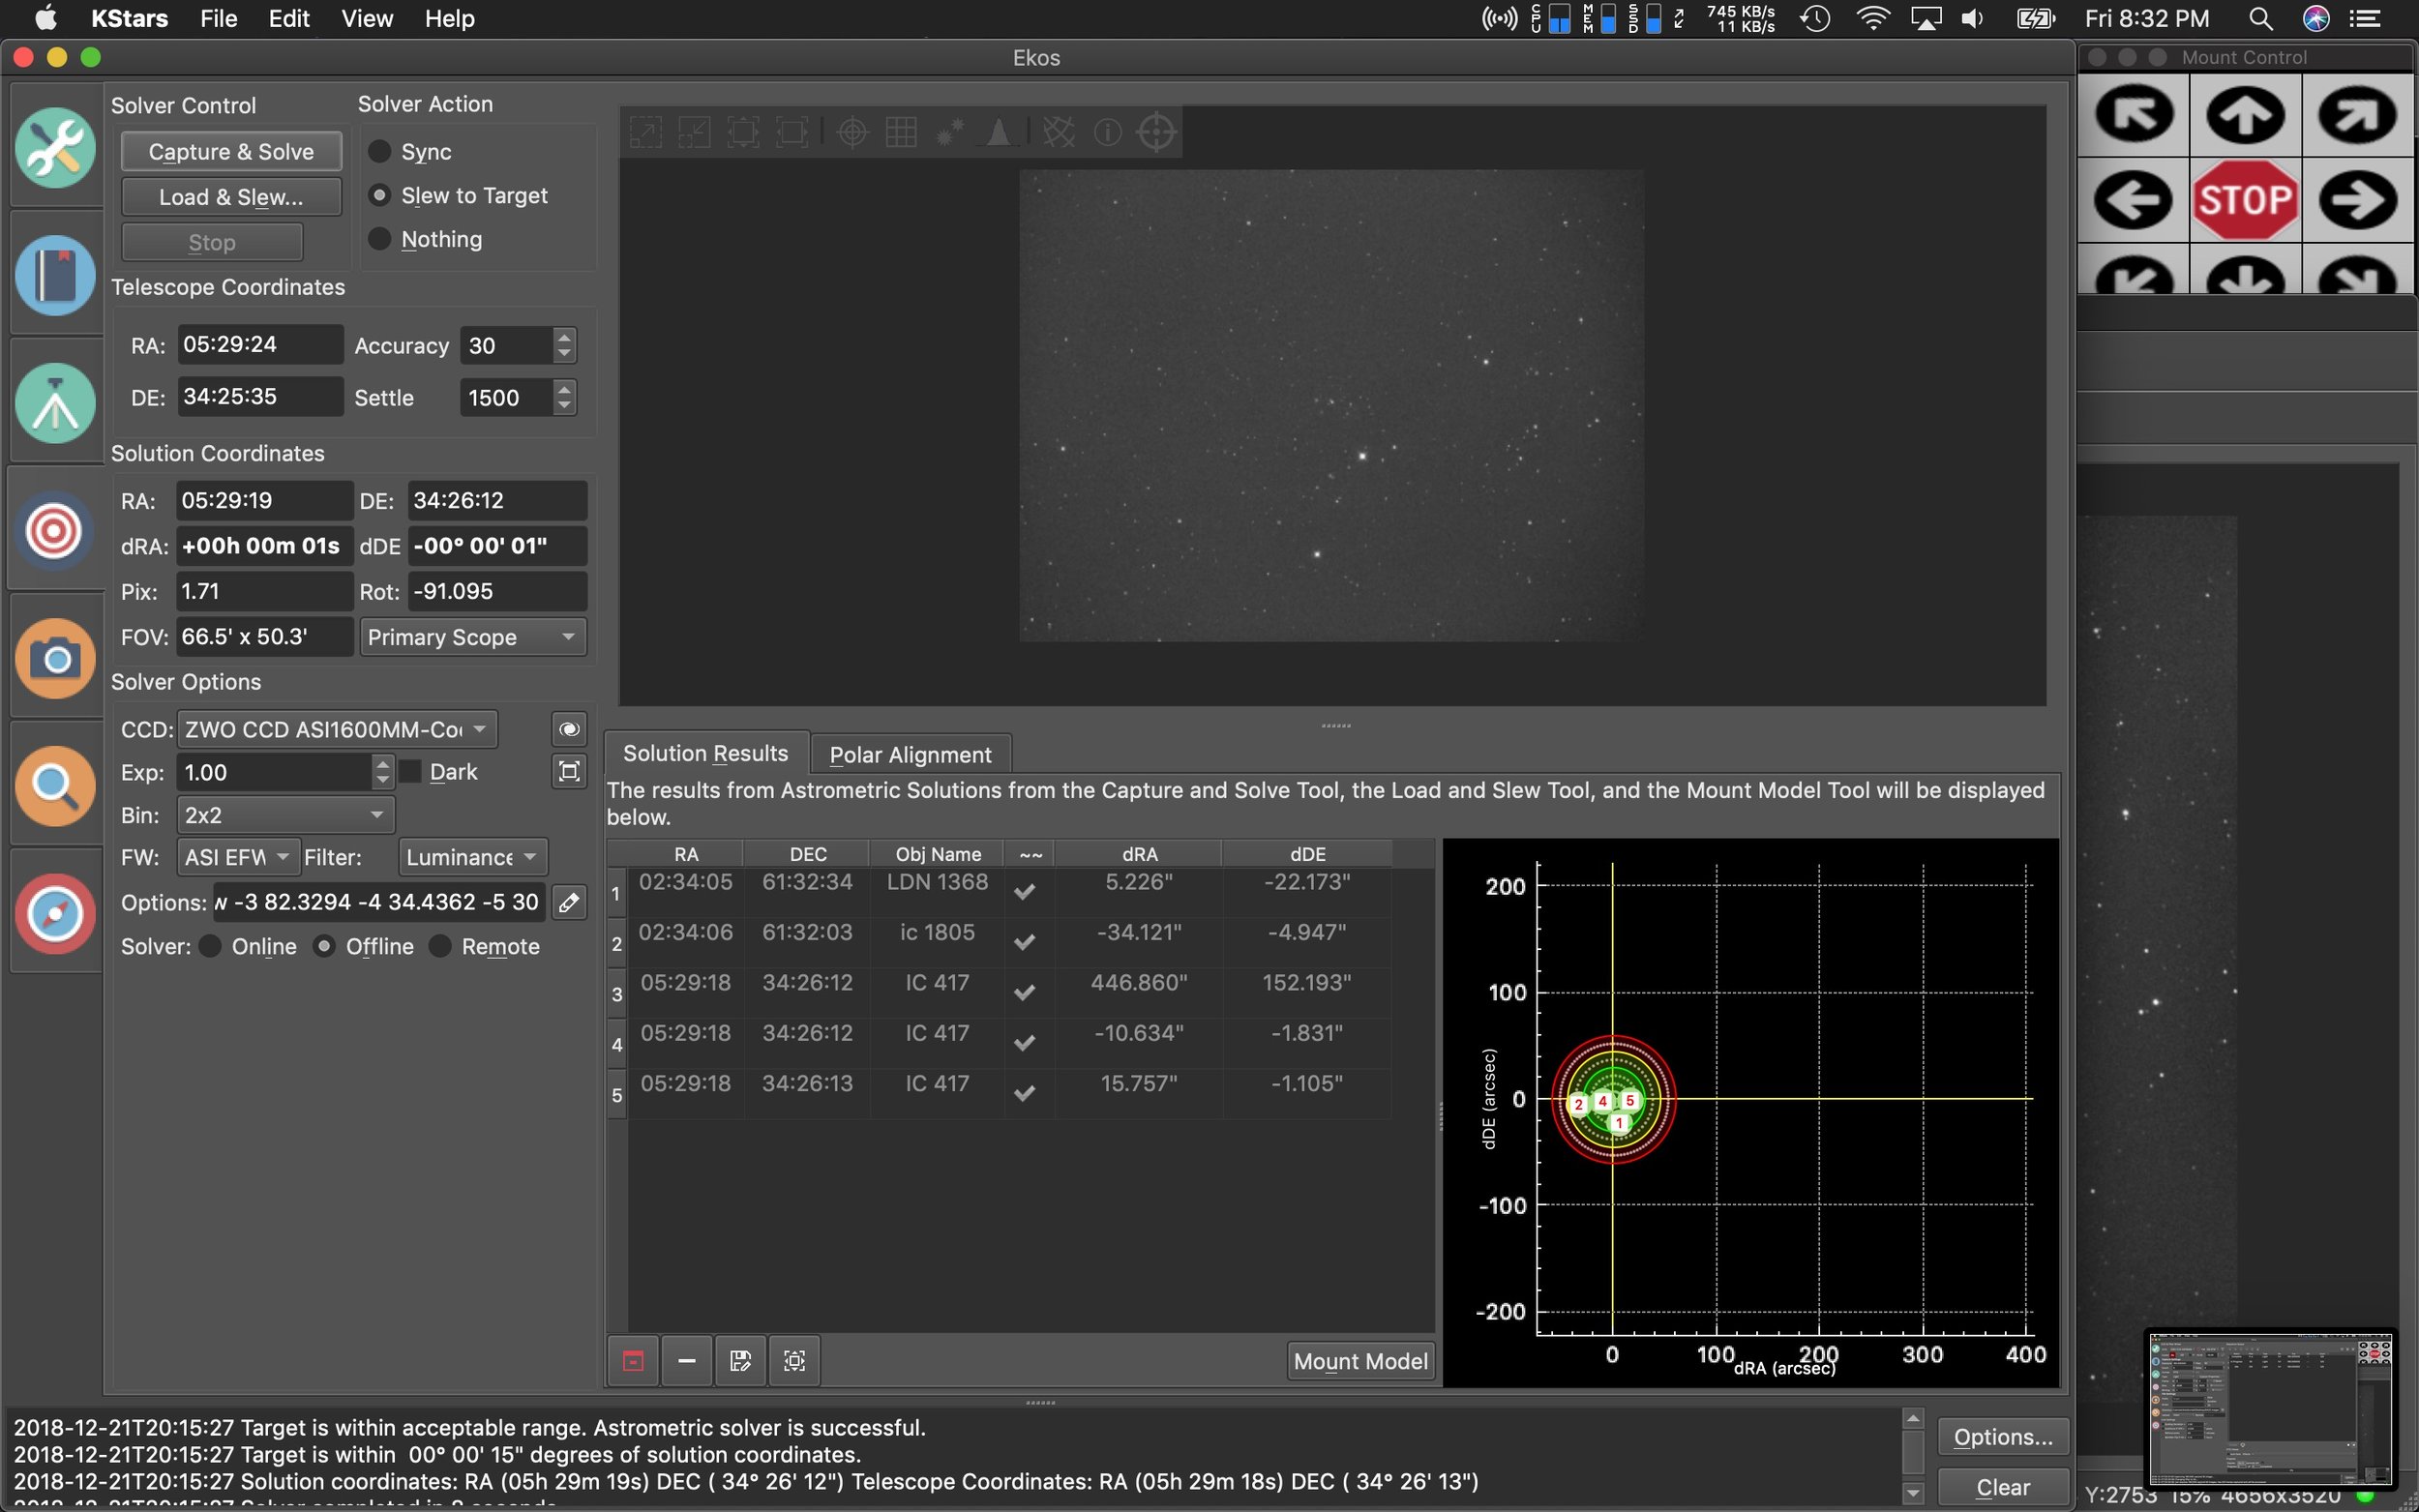
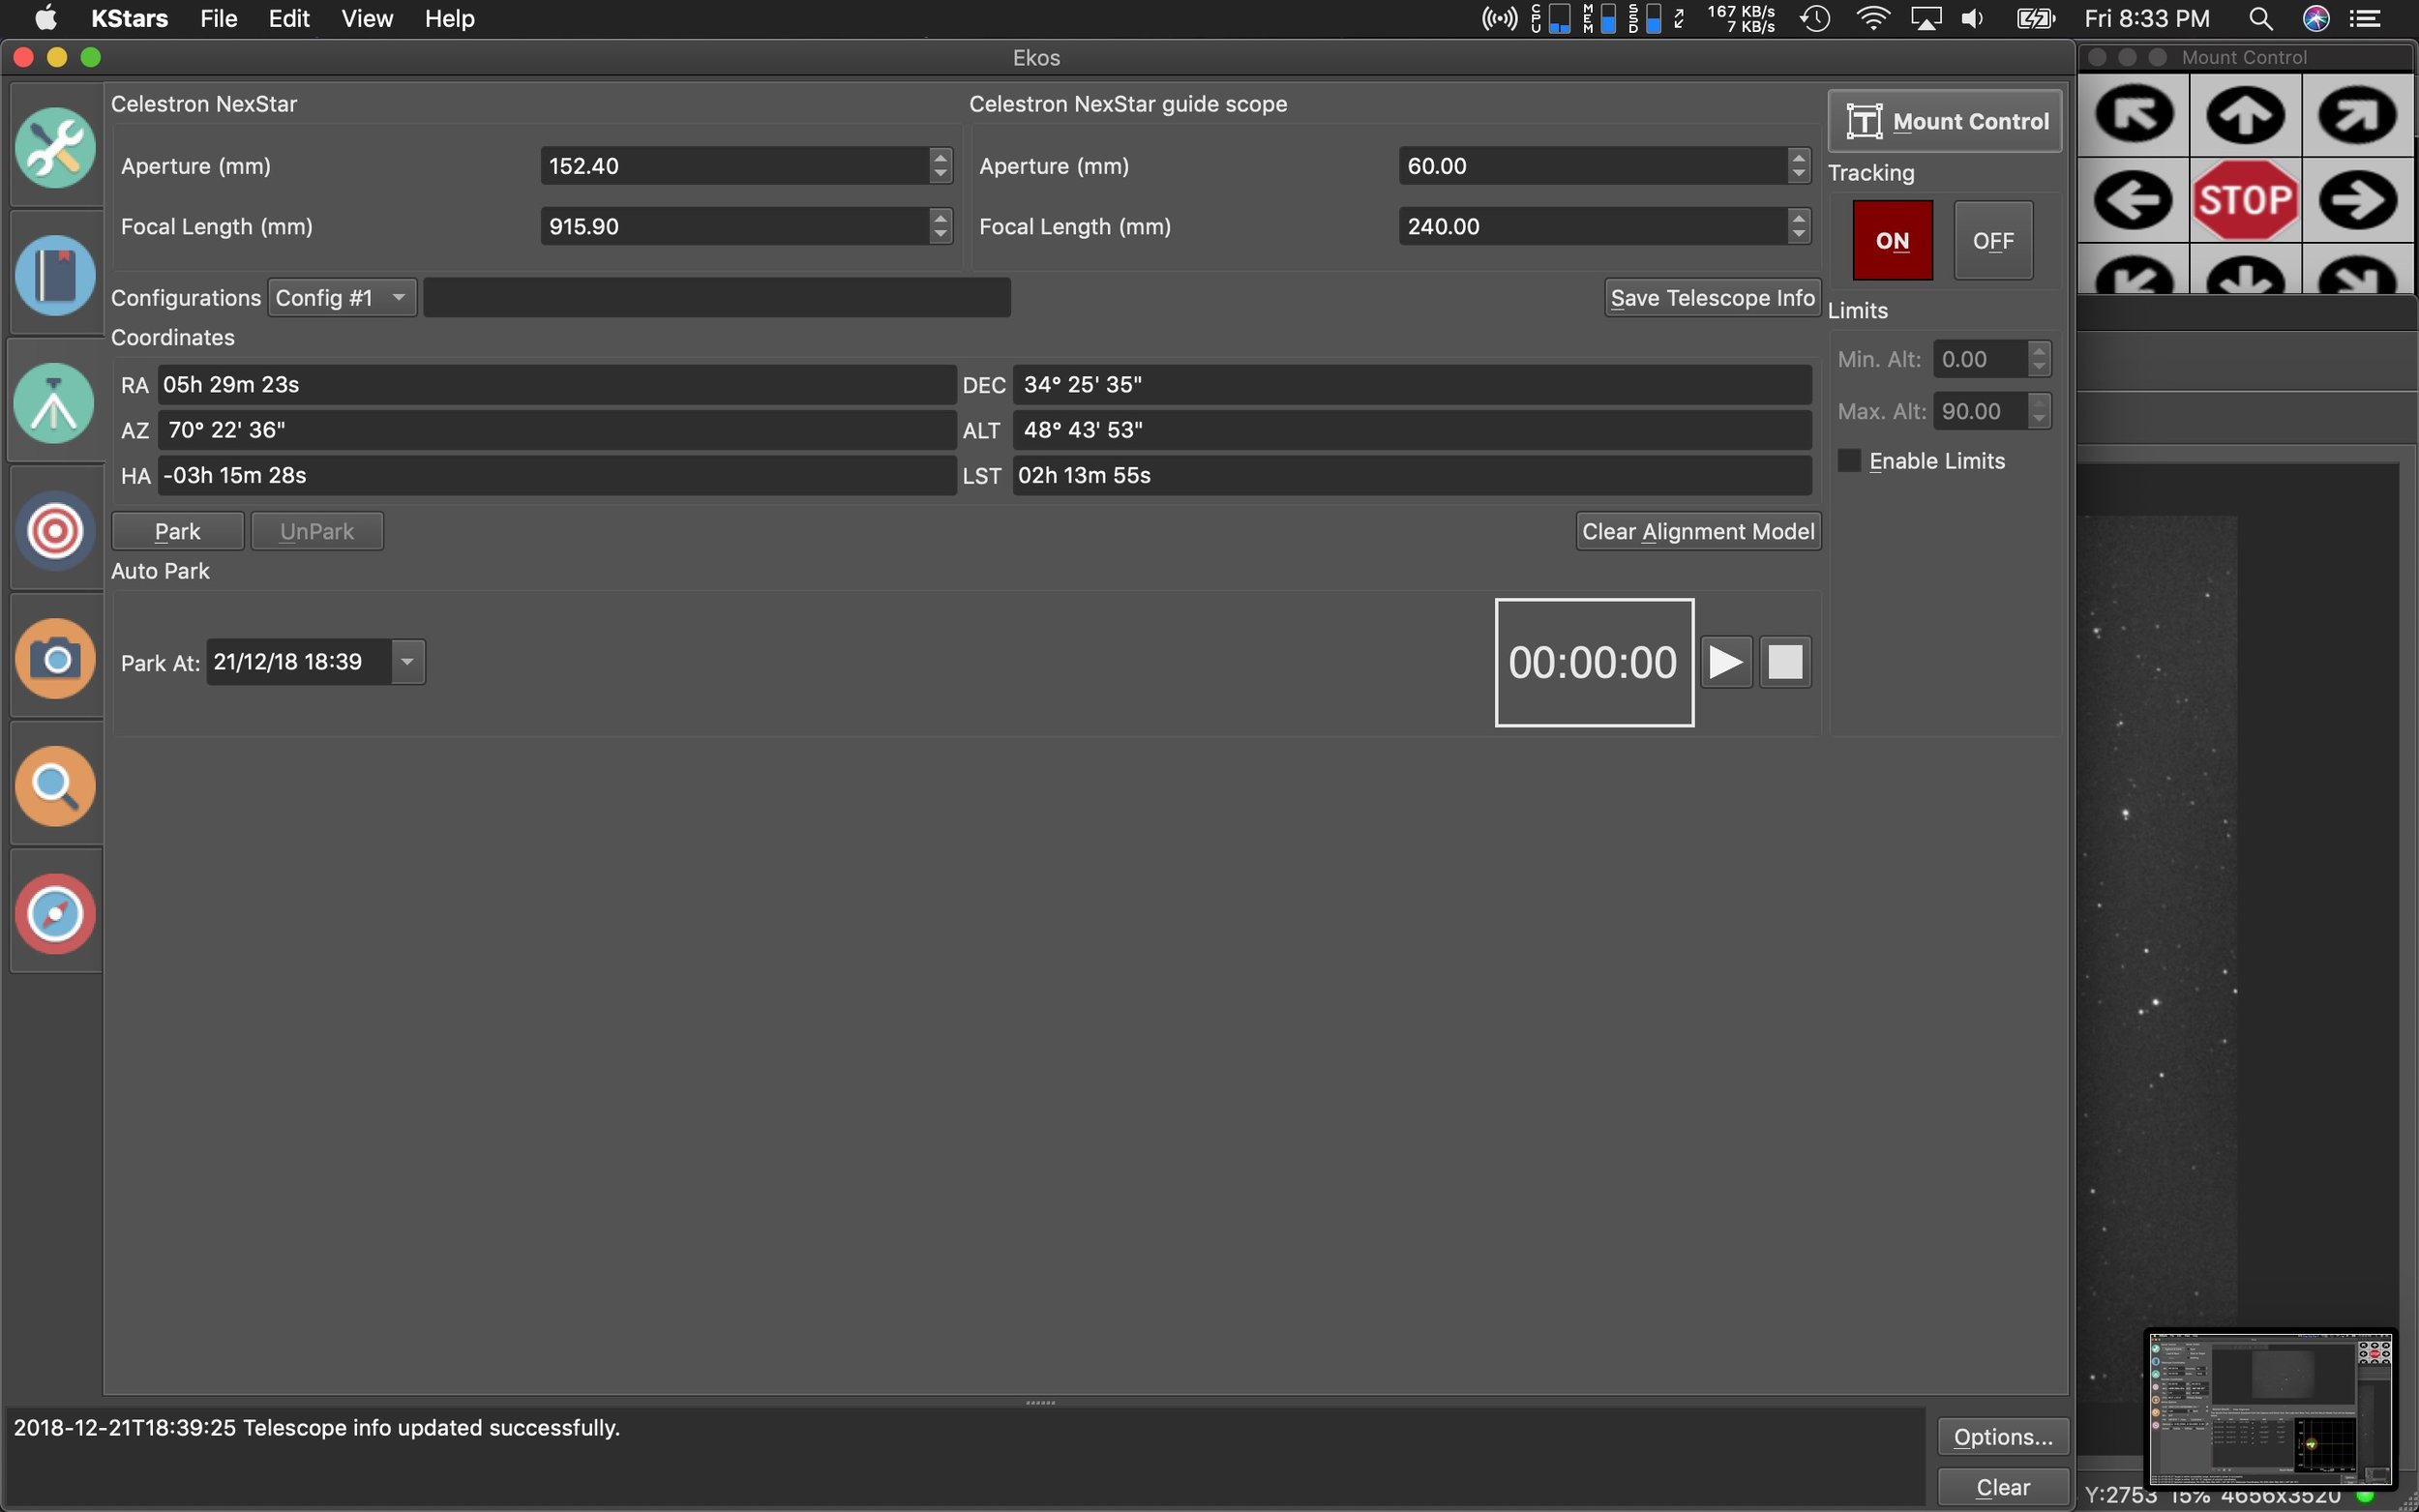
Here’s a few more screens of the rest of the updated interface panels.
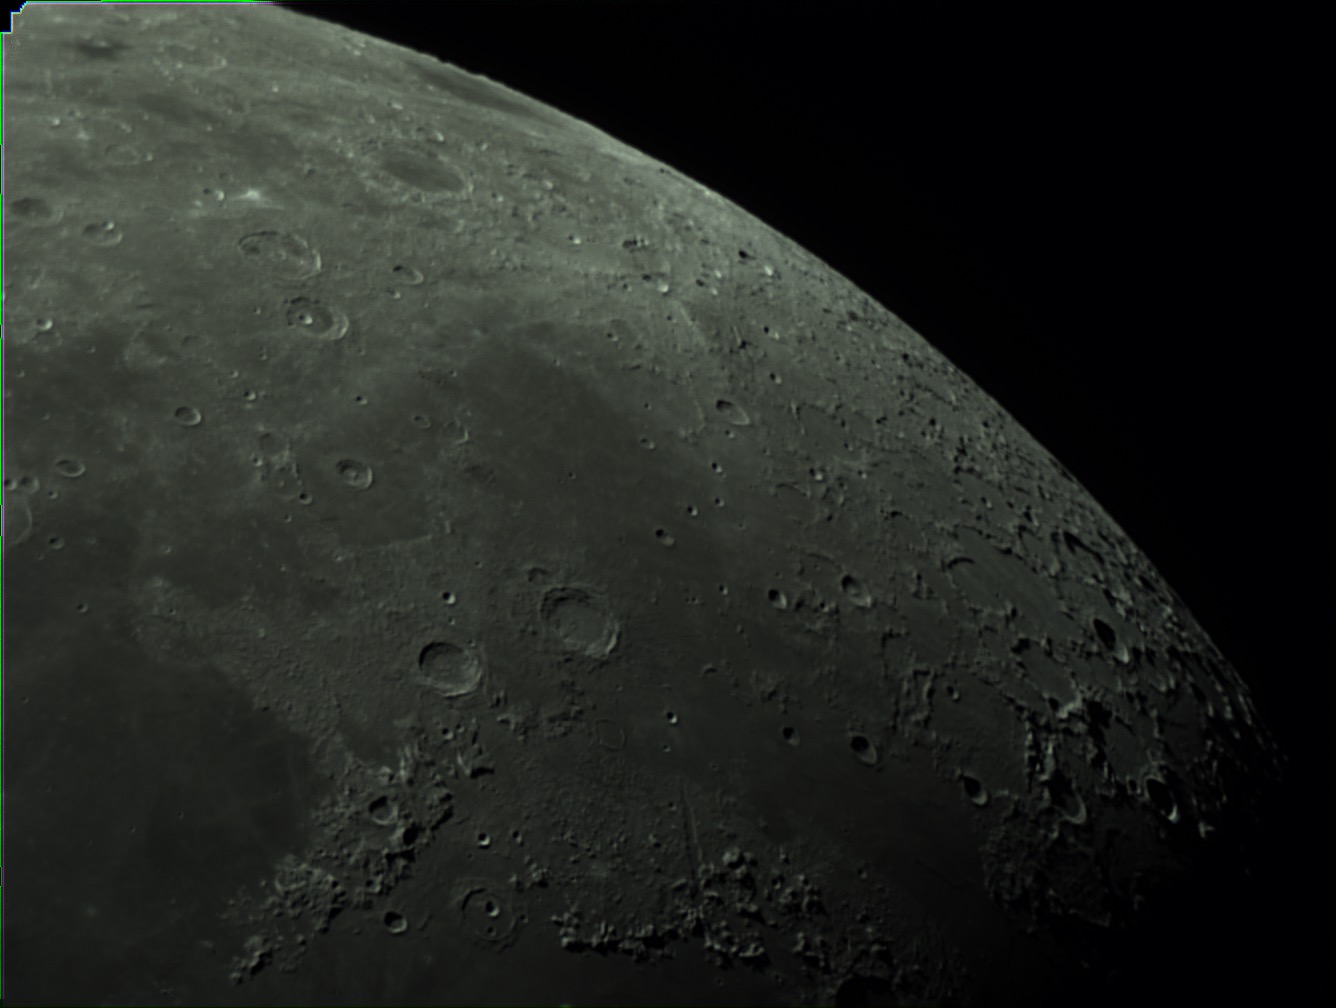
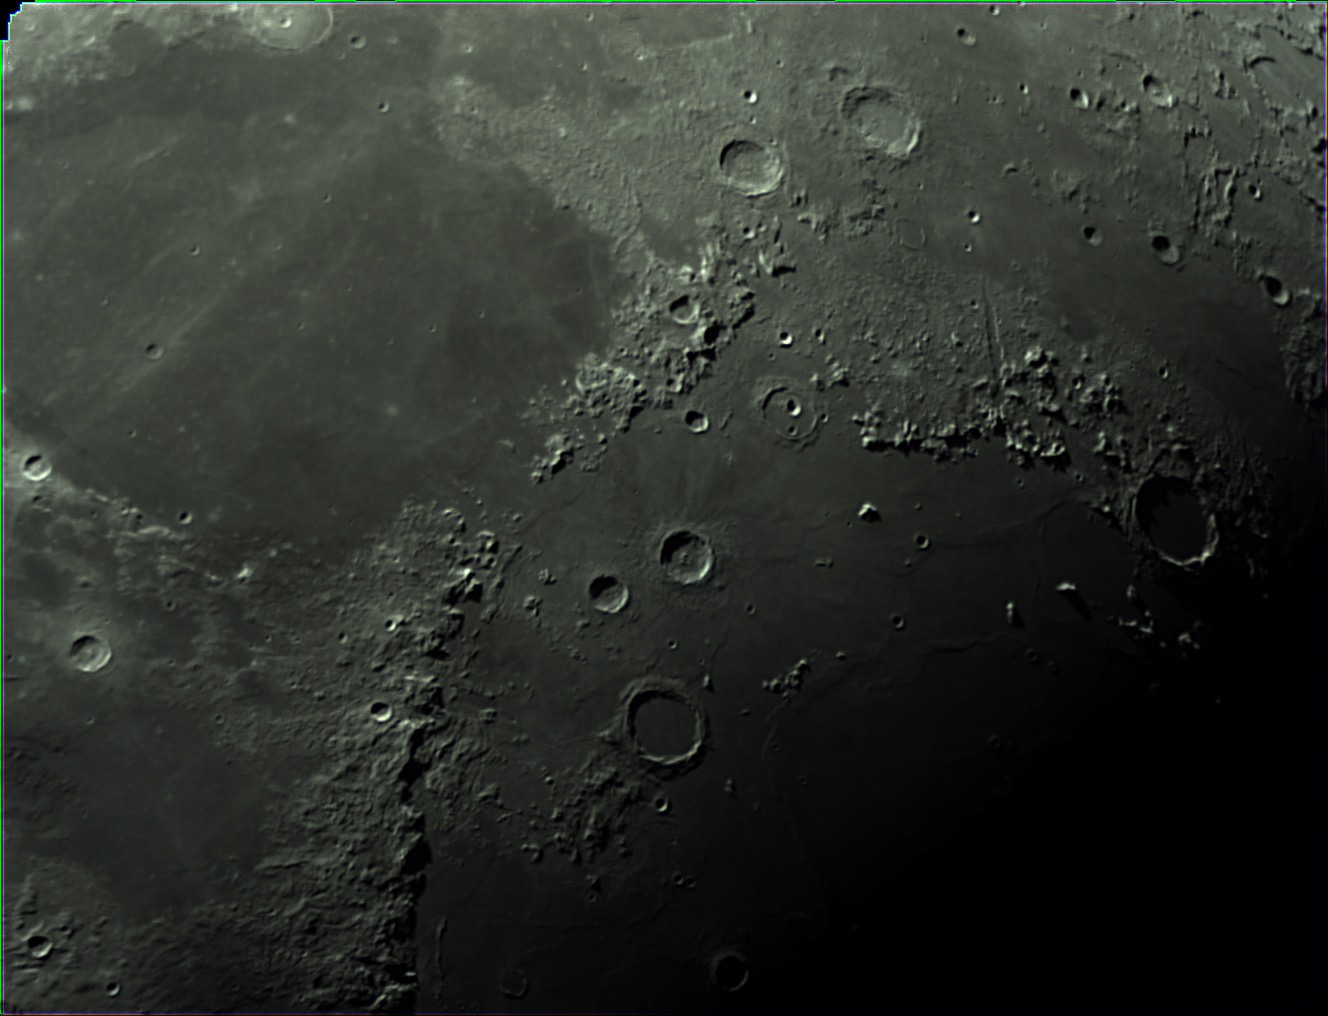
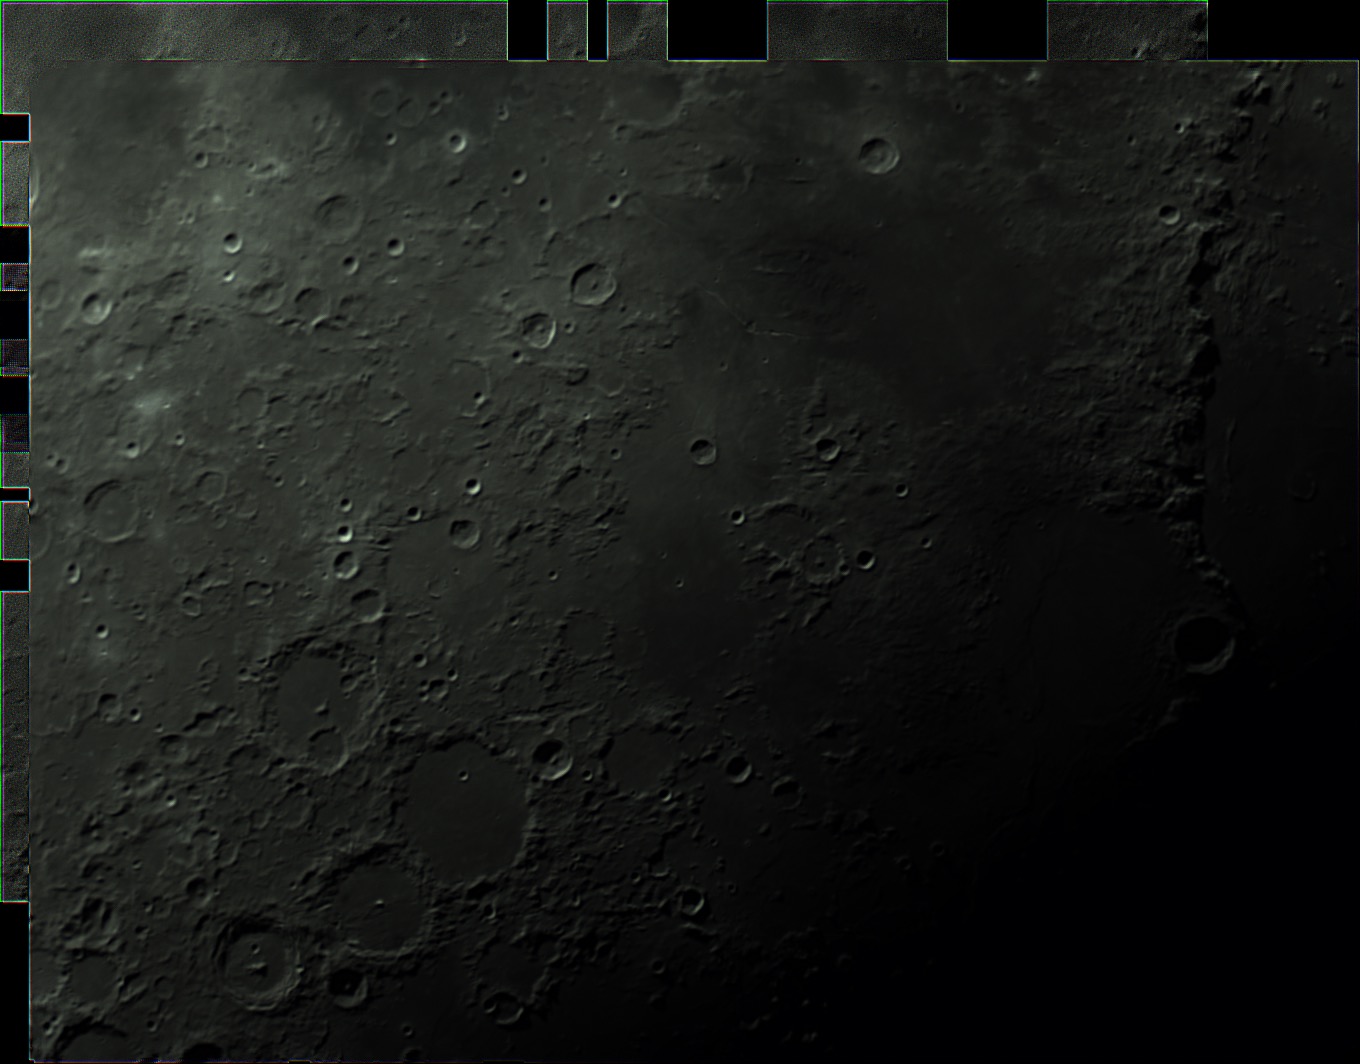
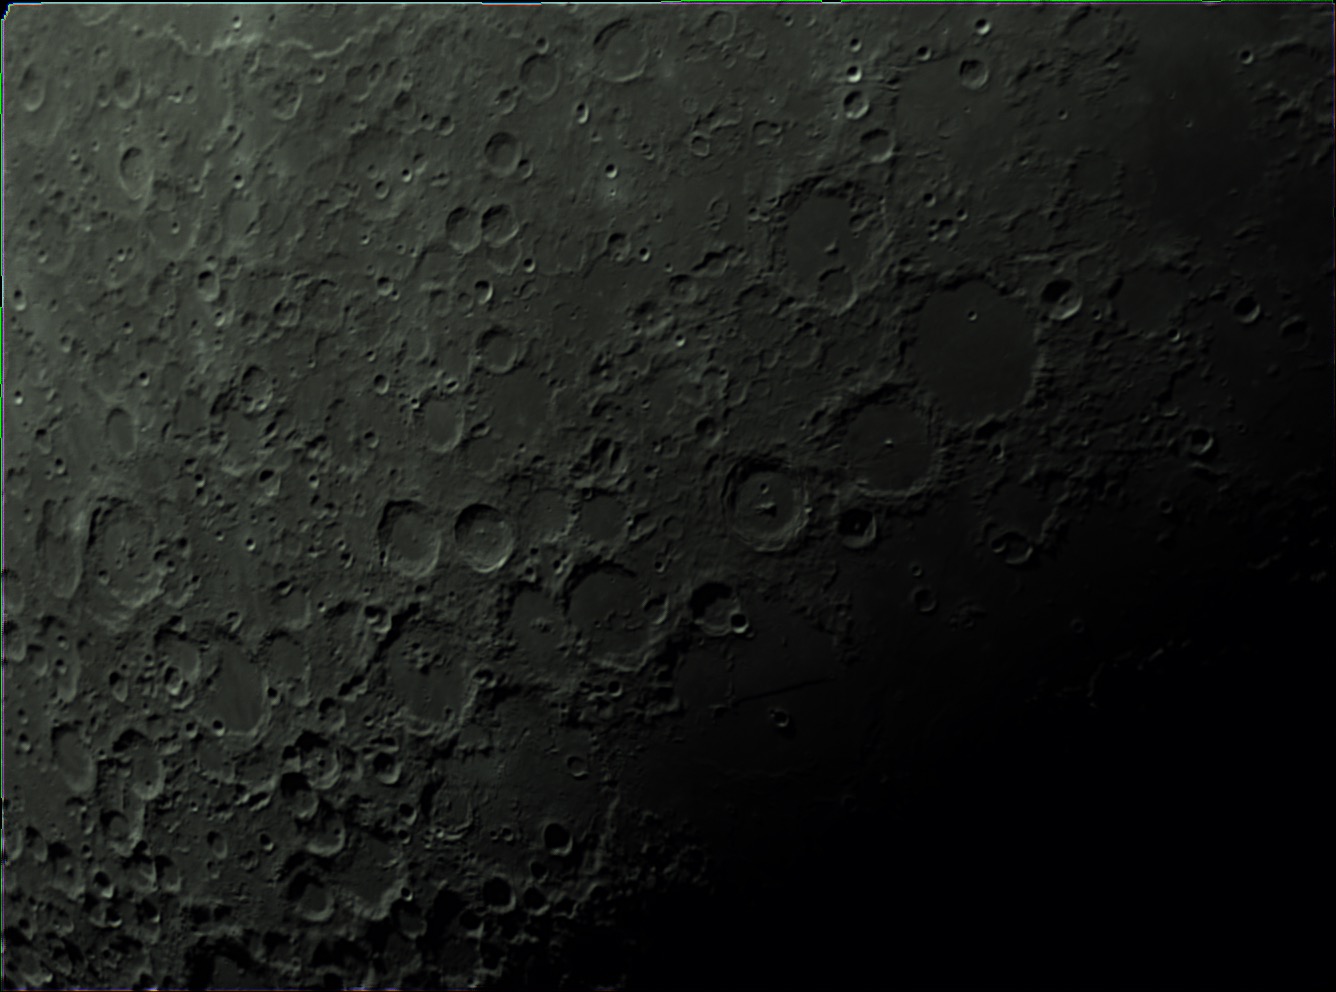
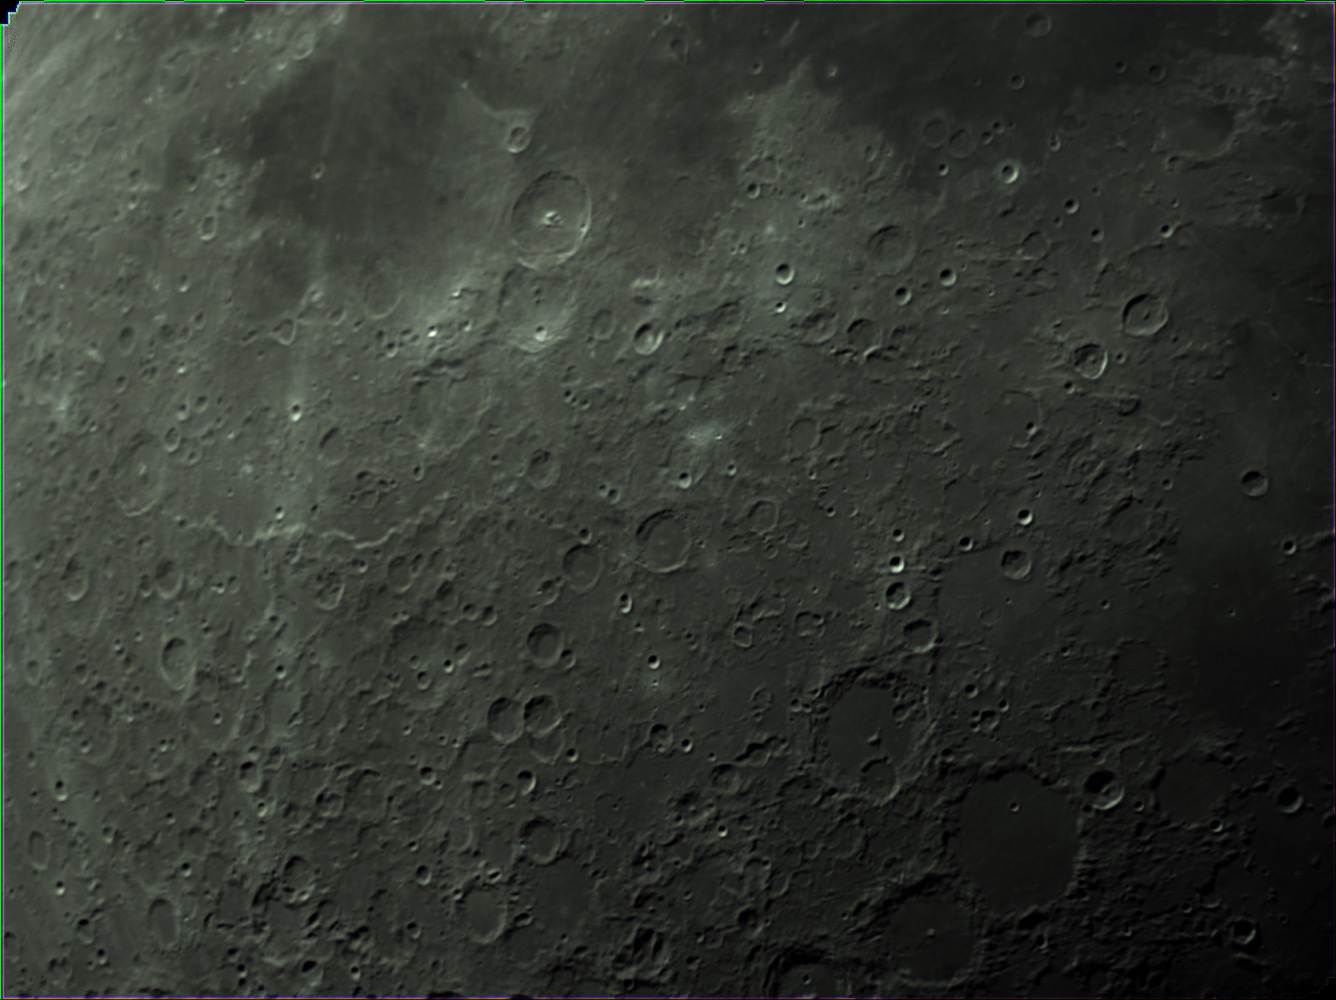
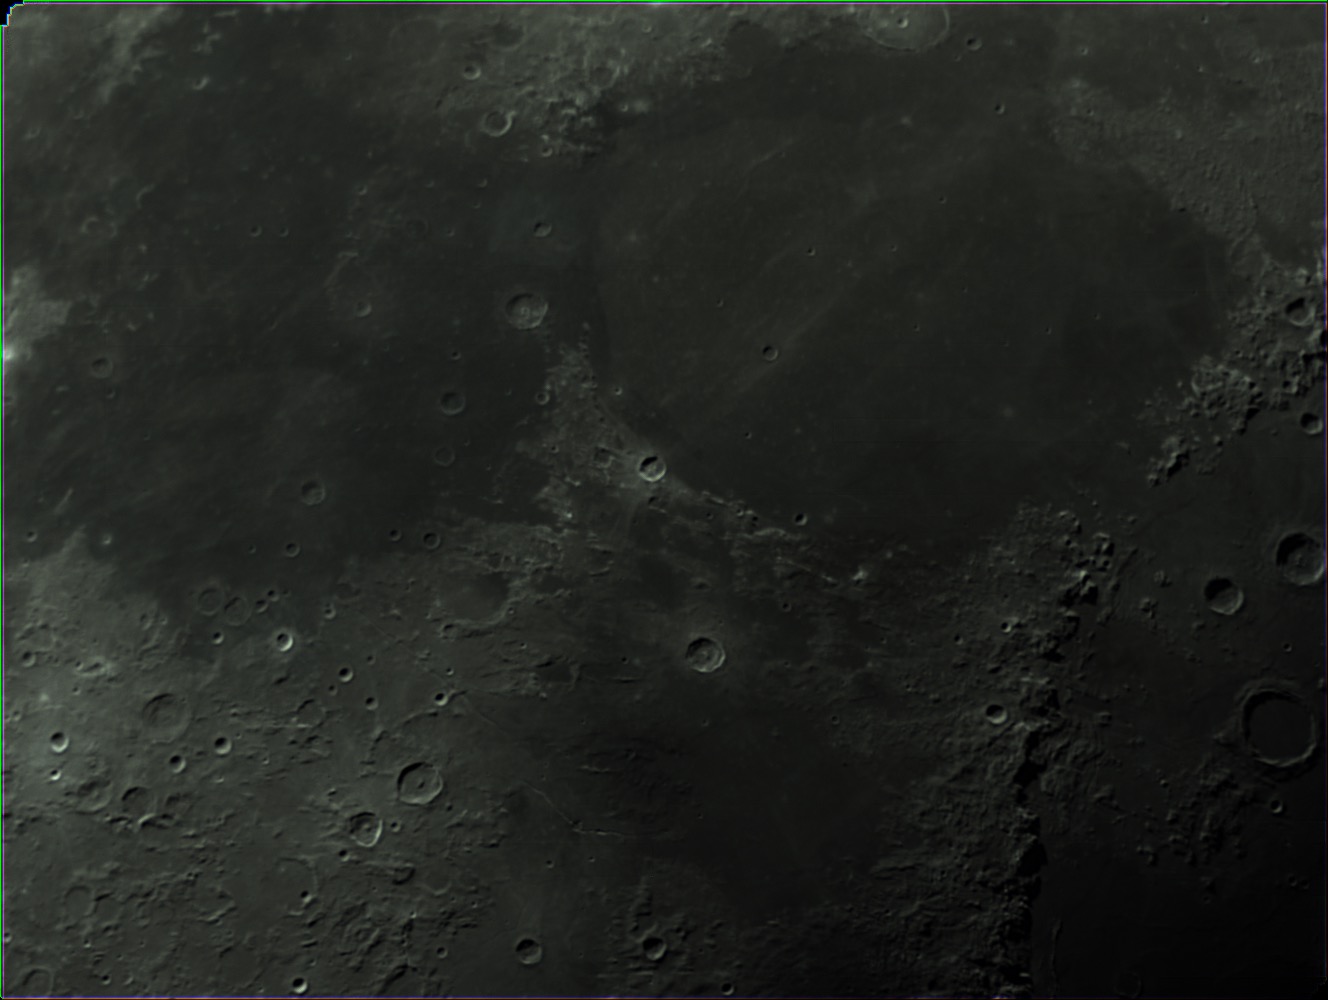
13 Panel Mosaic of the Moon
Yesterday, I had a few hours of clear sky, and got out my AVX along with my Celestron C5, and ZWO ASI224MC camera. I was determined to get a few shots of the moon. I initially tried a Powermate 2.5x, but the seeing just wasn’t there. I ended up shooting everything at prime focal length 1250mm.
I used Planetary Imager on the Mac to capture everything, then merged them all together in Photoshop using it’s photo merge feature.
Below you can see the individual frames that make up each part of the mosaic.




HD 14771 and Galactic Friends
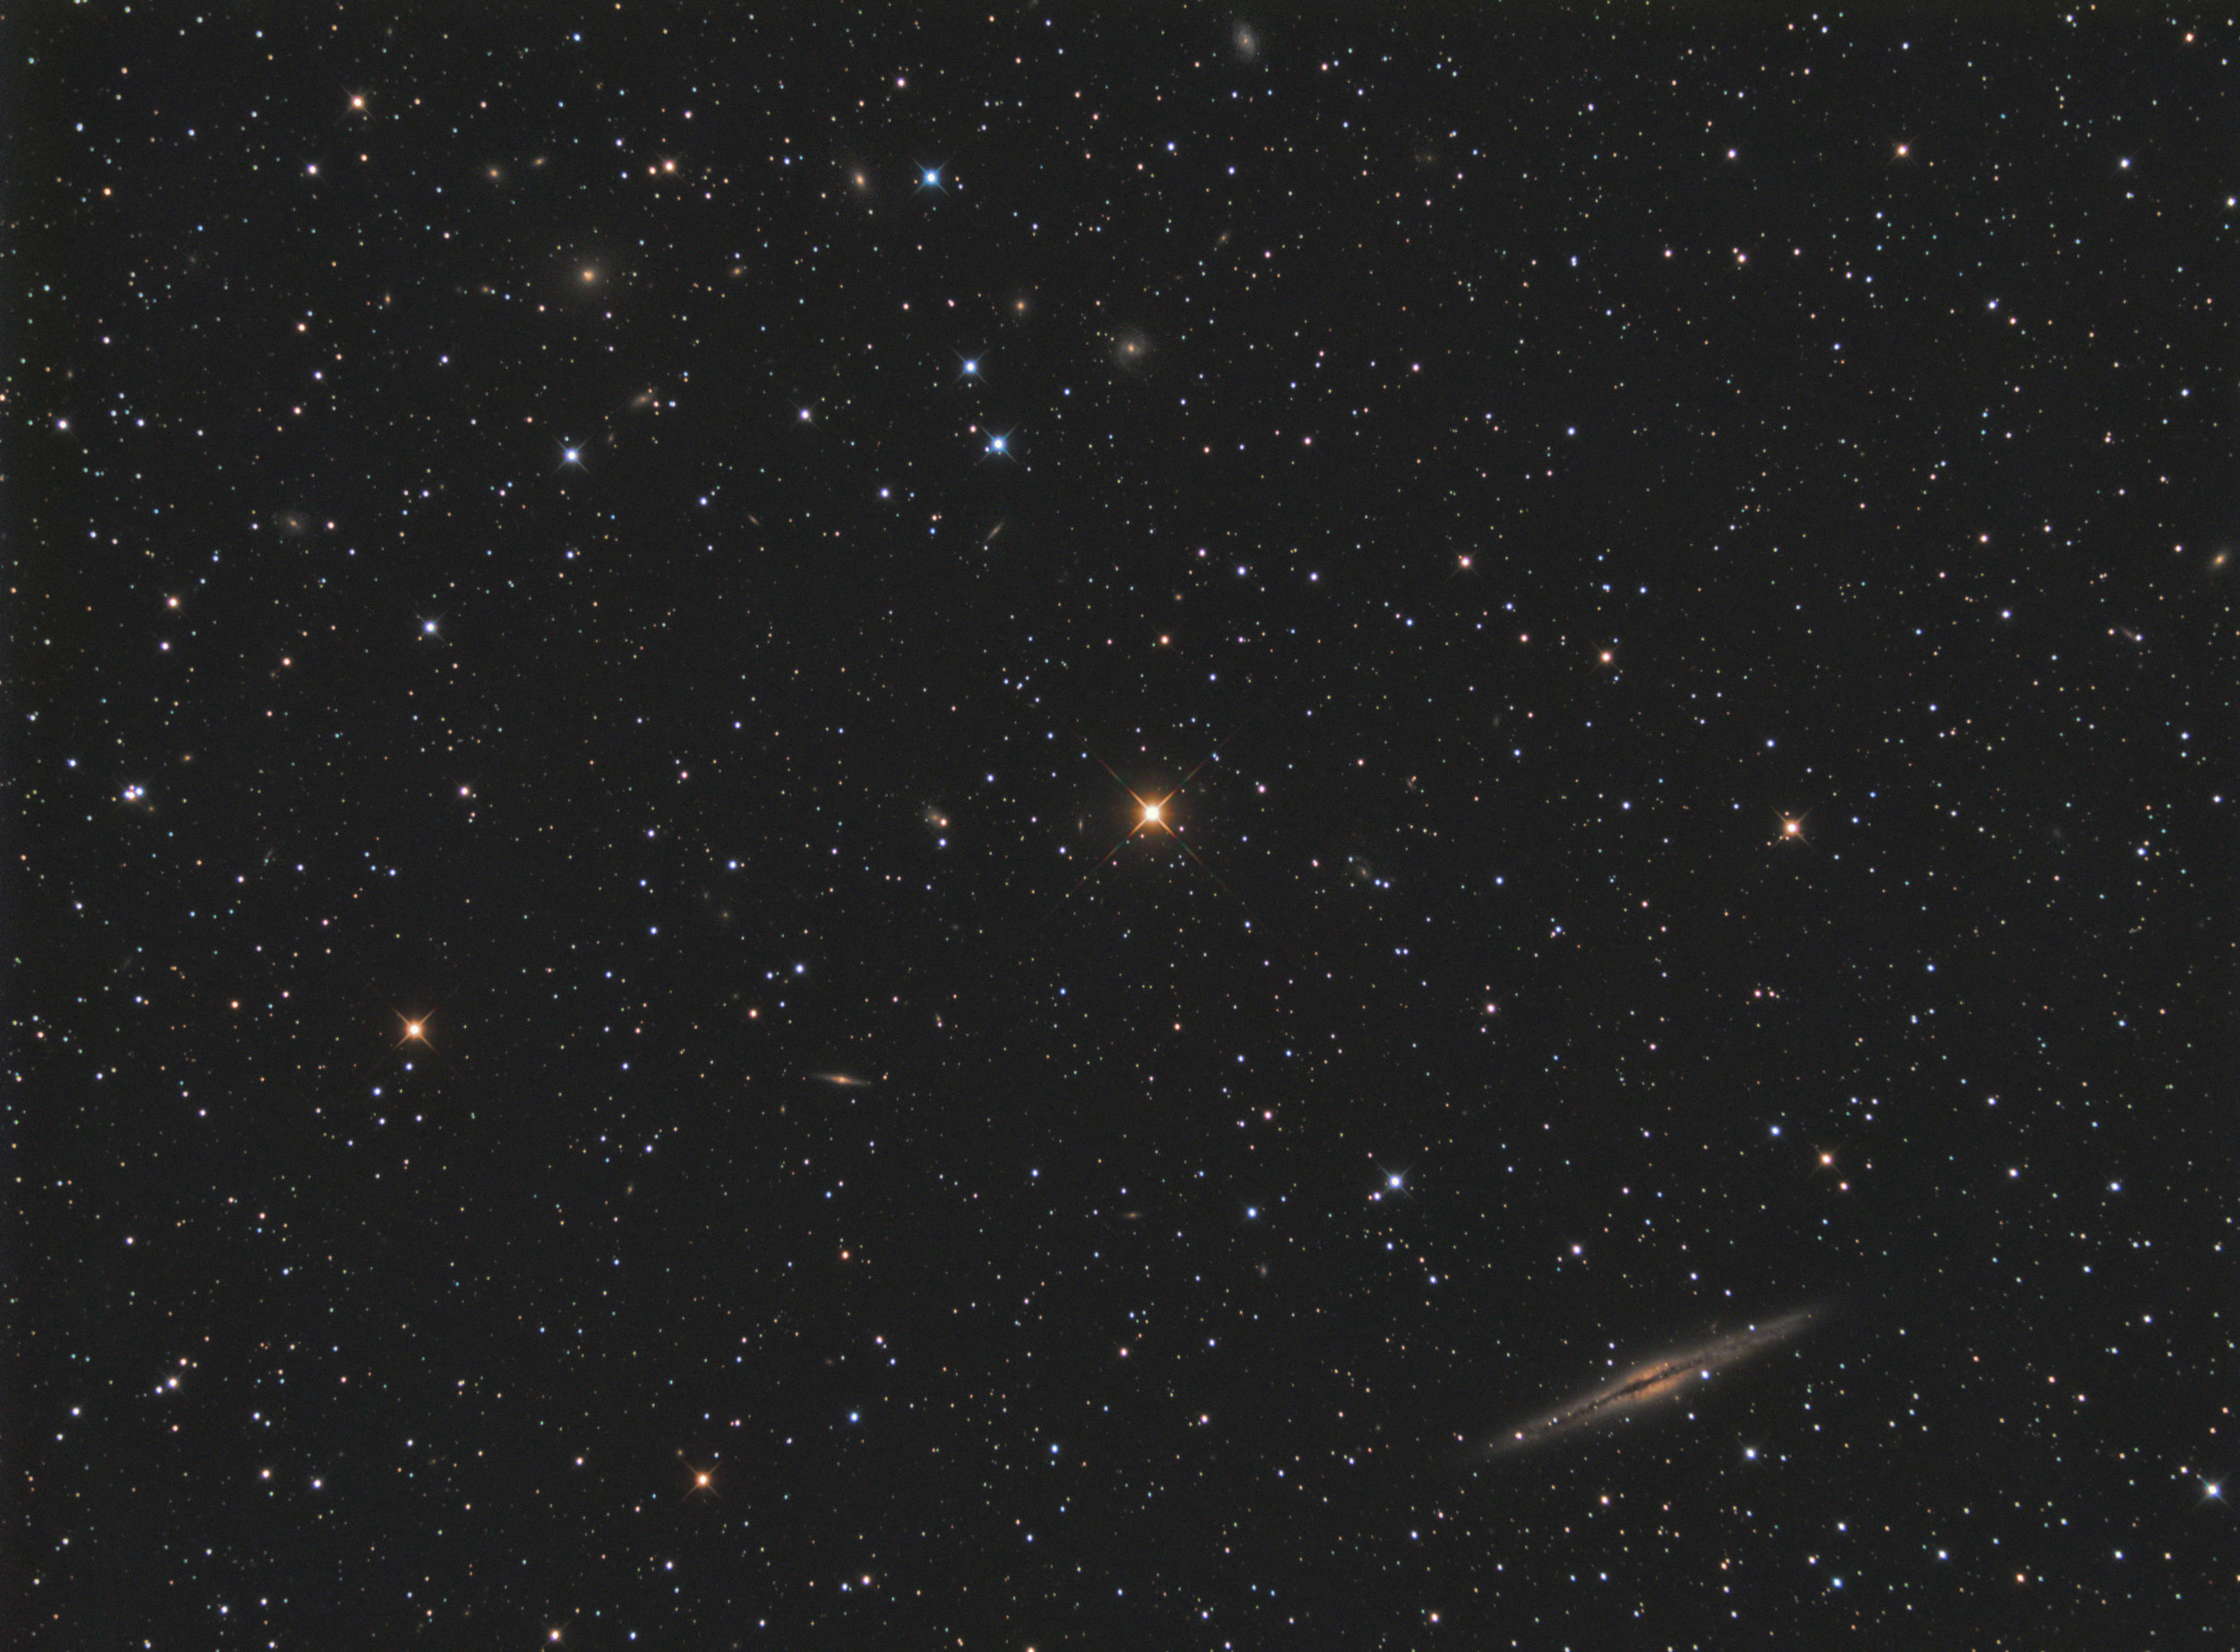
I managed to produce a neat image over the last two nights. I centered the star HD14771 to place NGC 891 in the lower right and a galaxy cluster in the upper left. After two nights of imaging, I had around 13 hours. I placed it all together today. Turns out that the galaxy cluster was only a few of the total galaxies in this image. In all, there are 79.
Captured in EKOS/Kstars
Integrated with slight processing in Astro Pixel Processor
Completed processing in PixInsight and Photoshop
Overlay done in Observatory
Equipment used and shown in photo:
Imaging telescope or lens:Astro-Tech AT6RC
Imaging camera:ZWO ASI1600MM-Cool
Mount:Celestron Advanced VX
Guiding telescope or lens:Orion 60mm Guide Scope
Guiding camera:ZWO ASI224MC
Focal reducer:Astro-Physics CCDT67
Software:Astro Pixel Processor
Filters:Astrodon Tru-Balance Blue E-Series Gen 2 31mm, Astrodon Tru-Balance Green E-Series Gen 2 31mm, Astrodon Tru-Balance Red E-Series Gen 2 31mm, Astrodon Tru-Balance Luminance E-Series Gen 2 31mm
Accessory:MoonLite CSL 2.5" Focuser with High Res Stepper Motor
In this overlay, done in Observatory on the Mac, you can see all 79 galaxies highlighted.
Here’s the scope that took the image. The AT6RC with CCDT67 reducer and ZWO ASI1600MM-C camera.
iObserve gets a new release, now with Mojave Dark Mode support
A little over a year ago, iObserve saw its last update. The developer (Cedric Follmi) had put the Mac iObserve application on hold to devote time to an online only web version over at arcsecond.io. But after a year or so of developing efforts on the website, he put up a poll online asking users what development path they would like to see going forward. Continue the website? Update the Mac app to be compatible with Mojave? Make an even better Mac app longer term? Given those choices, people voted, and now there’s a new Mac application.
What’s new in iObserve 1.7.0?
Added full support for macOS 10.14 Mojave with a complete update of the app internals (especially about network requests and dates).
Dropped support for all macOS versions before High Sierra (10.13).
Mojave Dark Mode
Suppressed the large title bar to adopt a more modern and compact look .
Suppressed the ability to submit new observatories by email, and explain that Arcsecond.io is the new home for observatories.
Fixed the failing downloads of the sky preview image (available when clicking the icon to the right of the object name in the right-hand pane).
Fixed an issue that prevented the app to complete the import of a Small Body.
Fixed an issue that prevented the user to select a Small Body in the list when multiple ones are found for a given name.
Fixed the failing downloads of 2MASS finding charts.
Fixed various stability issues.
Get the latest version directly from the Mac App Store.
Observatory for Mac updated to Mojave with dark mode
How to take easy flats using an inexpensive light source.
Pacman Nebula captured with EKOS, and processed in PixInsight.
I managed to get a few clear nights last week. Just two in fact. So, knowing I had only two nights to image, I focused on getting another bi-color nebula image. My earlier Pacman nebula imaging attempt was at F9 on my RC with a one shot color camera. It didn’t quite come out with the detail I could achieve on this particular image.
This one was imaged on my Explore Scientific 102mm FCD-100 scope. I captured about 8 hours per filter (Astrodon 5nm HA, and OIII) using the ZWO ASI1600MM-C camera using the EKOS imaging platform on the Mac.
I did the initial image integration and calibration with Astro Pixel Processor, then took each final filter’s image HA and OIII into PixInsight for final processing. In PixInsight, I processed each image to maximize the brightness and contrast of the nebula without destroying the stars. I tried a pixel math combination into RGB with the goal of keeping the nebula as natural looking as possible with good star colors. I find that the following combination is good for that R=HA, G=OIIIx.6+HA*x.4, with B=OIII. I think the final image turned out great.
UPDATE: I added some SII data now, for a new pallet based on the Hubble coloring. This new image is a total of 24 hours of data.
Tutorial for Astro Pixel Processor to calibrate and process a bi-color astronomy image of the Veil Nebula
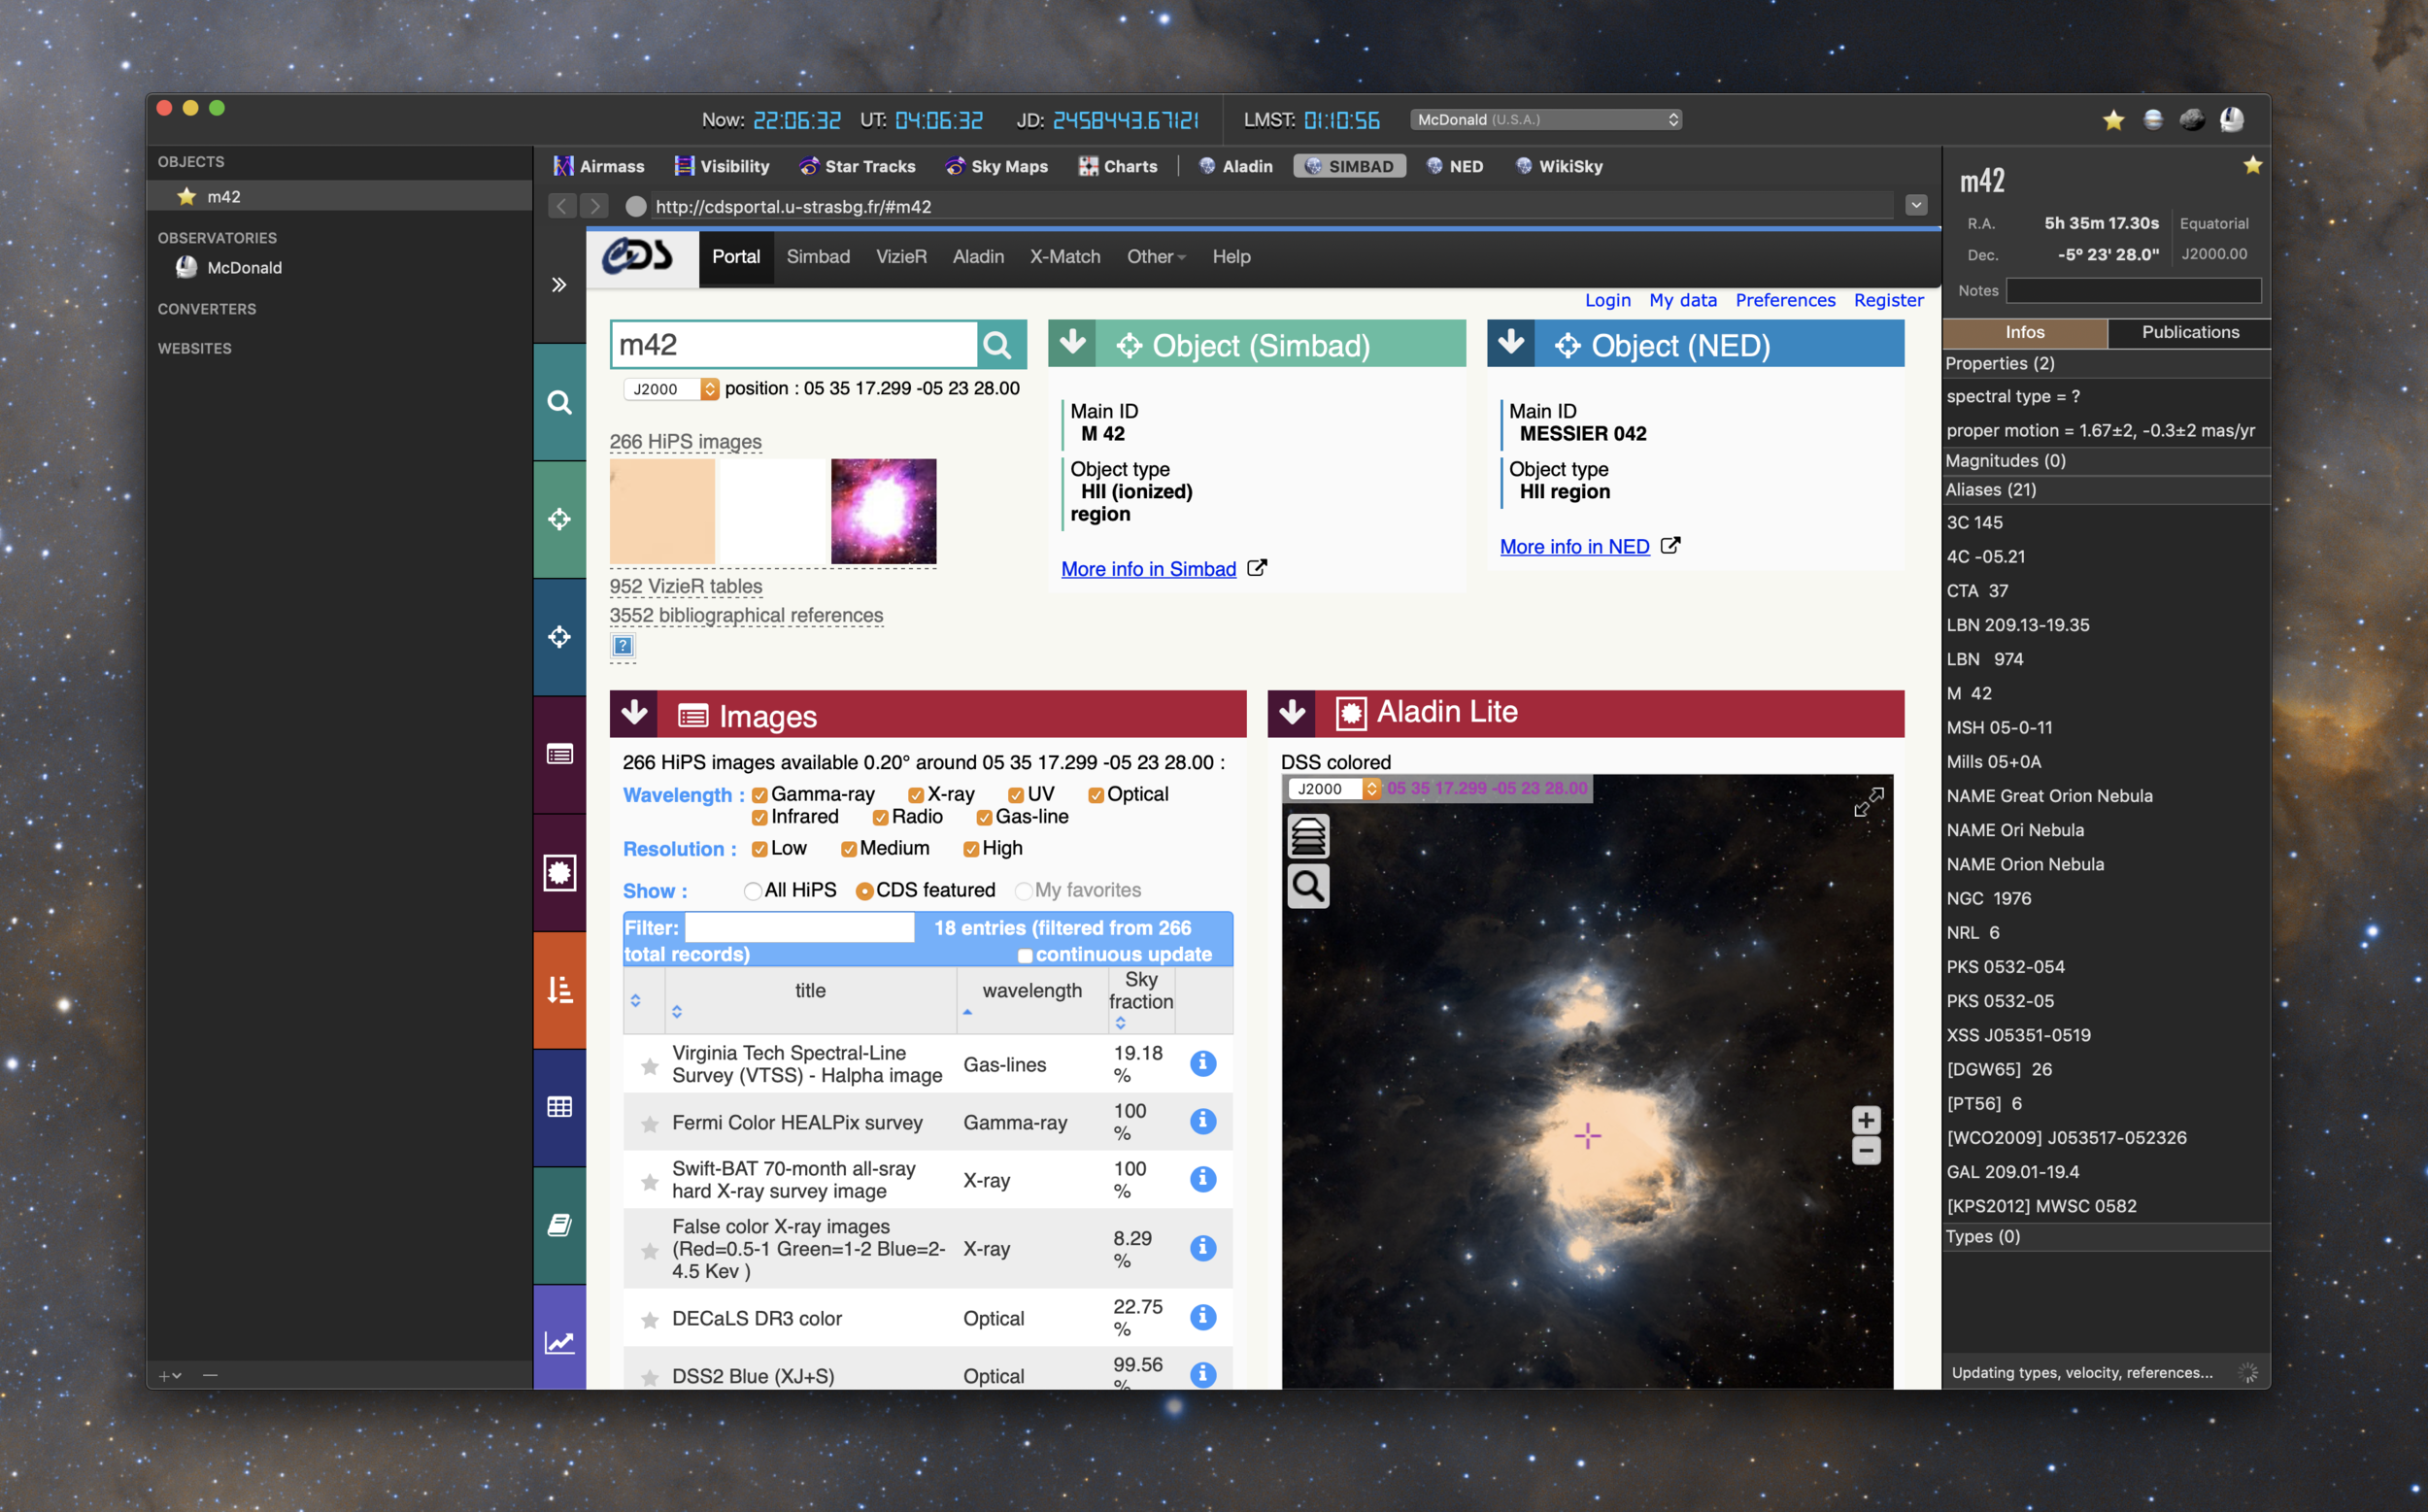
Astronomy and astrophotography planning with AstroPlanner on the Mac
Overview of AstroPlanner
AstroPlanner is a complete system for tracking observations and planning out nightly viewing or imaging sessions with your equipment. It also offers computer scope control from within the application.
Upon launching the software you'll need to start populating it with your user information. You'll provide your observing locations, this can contain your current location, as well as offsite locations that you visit for observing. AstroPlanner can access a USB GPS device to give you pinpoint accuracy for your site location. This should allow you to plan for those remote visits before you travel, so that you can be prepared with the equipment you require for the objects you plan on viewing or imaging.
The filter resource. (Add your filters here on this tab, and AstroPlanner will show you the visible wavelengths your an view or image with.
In addition to your location, you can add each telescope you own, any eye pieces you have, optical aids like Barlows or reducers, camera or viewing filters, the observer (yourself or a buddy who might observe with you), and any cameras you might utilize for imaging.
Once you've added all your equipment, you can start to add objects to the observing list. There are four primary tabs for objects. The objects list, the observations tab to add observations, the field of view tab which shows you how your image will look using the selected equipment, and finally the sky tab which shows the nights sky chart and allows you to view where the object you selected lies in the night sky, as well as other objects that are visible.
The Objects view in Astro Planner
This is the main view within AstroPlanner. From here you add objects by using the Plus symbol in the lower left corner fo the screen. You get a search function to find the object and add it to the list. You an also browse by what is visible currently in the sky, and filter those choices by object type (open cluster, galaxy, nebula, planetary nebula, etc.). Across the top of your screen, you get a readout for the current date and time, sidereal time, Julian date, GMT, and GMST. On the second row below that information you can select the telescope you intend to view your object with. Next to that, you can see the sun and twilight time, what the current moon looks like, as it's helpful to know how much of an impact the brightness of the moon will have with imaging. Then next to that is your site location, and a clock which you can set to show the object at different time intervals.
On the next row of information you see the ephemeris of the object during the night and month. This allows you to see the objects elevation during the darkest part of the night between sundown and sunrise and it's visibility over the month. Next you see see altitude and azimuth indicators from due north. This gives you an idea of how you will need to point your telescope to see the object, in the above image it's indicating you need to point east and slightly above the horizon. Lastly there is a tiny indicator of where the object is in the night sky.
At the bottom of the screen you see your object list, as well as the local sky chart (showing the object constellation where your object is. You can switch the sky constellation chart to show images from several astronomical databases like the Hubble Space Telescope raw images.
The Observations view in AstroPlanner
This tab highlights observations for the currently selected object. From here you can put in seeing and transparency conditions, note your field of view, and add any observations you made of the object during this particular time and date.
Additionally, you can add attachments to your observations. In this case, I added an image I took with my telescope of NGC7000. I left an observation note listing out the focal length and equipment I used for this session.
Field of view in AstroPlanner
This tab allows you to select all of your equipment for the viewing session. In this particular instance you can see I picked the AT6RC scope, with a CCDT67 reducer, and the TeleVue Delos 4.5 eye piece. With the current object M33 selected, and a Hubble Space Telescope image loaded, I'm able to see what it would look like in my telescope's view had I been looking through that particular set of equipment. You can choose additional display options in the lower right hand corner and it will overall known stars, object names, etc into the view.
The Sky view in AstroPlanner
In this final object view screen, the Sky tab, you can see a sky chart of where your object is in the night sky. You can turn on and off planets, stars, galaxies, etc using the display options to the right to fine tune the view and make it easier for you to spot your object in the night sky.
I hope this gives you a good indication of the use and benefit of having a detailed planning tool. AstroPlanner is available here and is priced at $45, which doesn't seem like that much for all the features that it offers.
Using the EKOS sequencer to capture the Wizard Nebula (NGC7380) on the Mac
Getting Started with Astrophotography on the Mac
An Overview of Double Stars on the iPhone
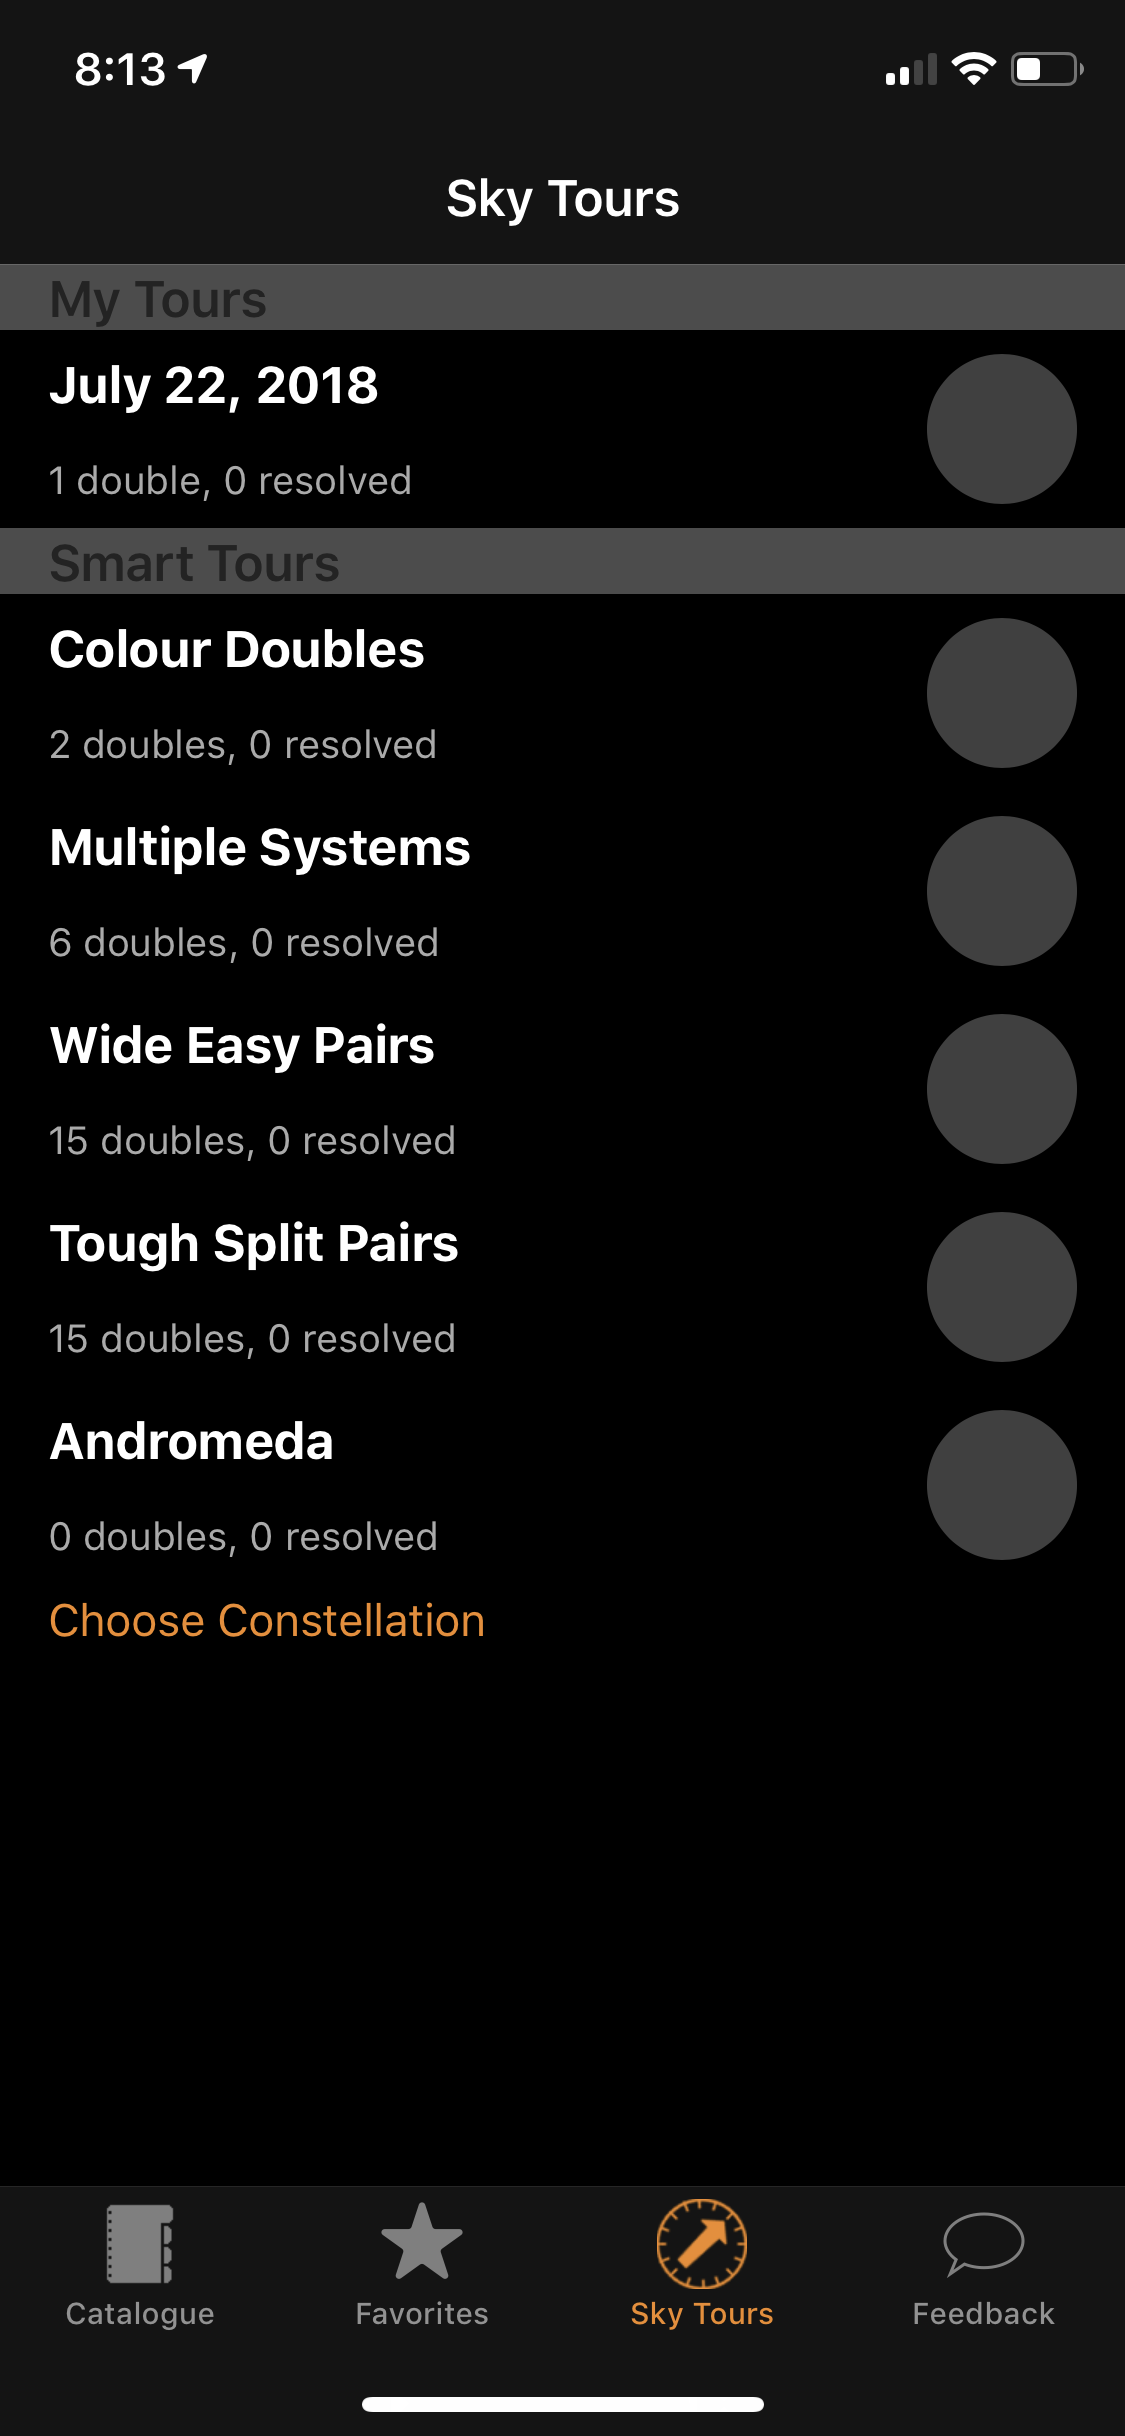
Here's another well done, simple, and focused astronomy application that's been recently added to the App Store. Double Stars, as it's name implies is a quick way to look up and keep track of your double star viewing. What makes this app so special is that you can go on a Sky Tour of the night sky. Double Stars points out the best double stars that are visible from your location, and sets you up with challenges to see if you can split (magnify the stars enough so that they appear as the two stars that they really are) the nights doubles.
The sky tour has a nice location assistant feature which uses your phones gyroscope and GPS to locate your position, and let you rotate around and to the correct altitude to easily find the star pair.
This handy application can be a lot of fun at a star gazing party, or right in your back yard. Mark your favorite double stars, and mark if you were able to split them with your equipment. It can be downloaded through the iPhone App Store.
An Overview of MeteorActive on the iPhone
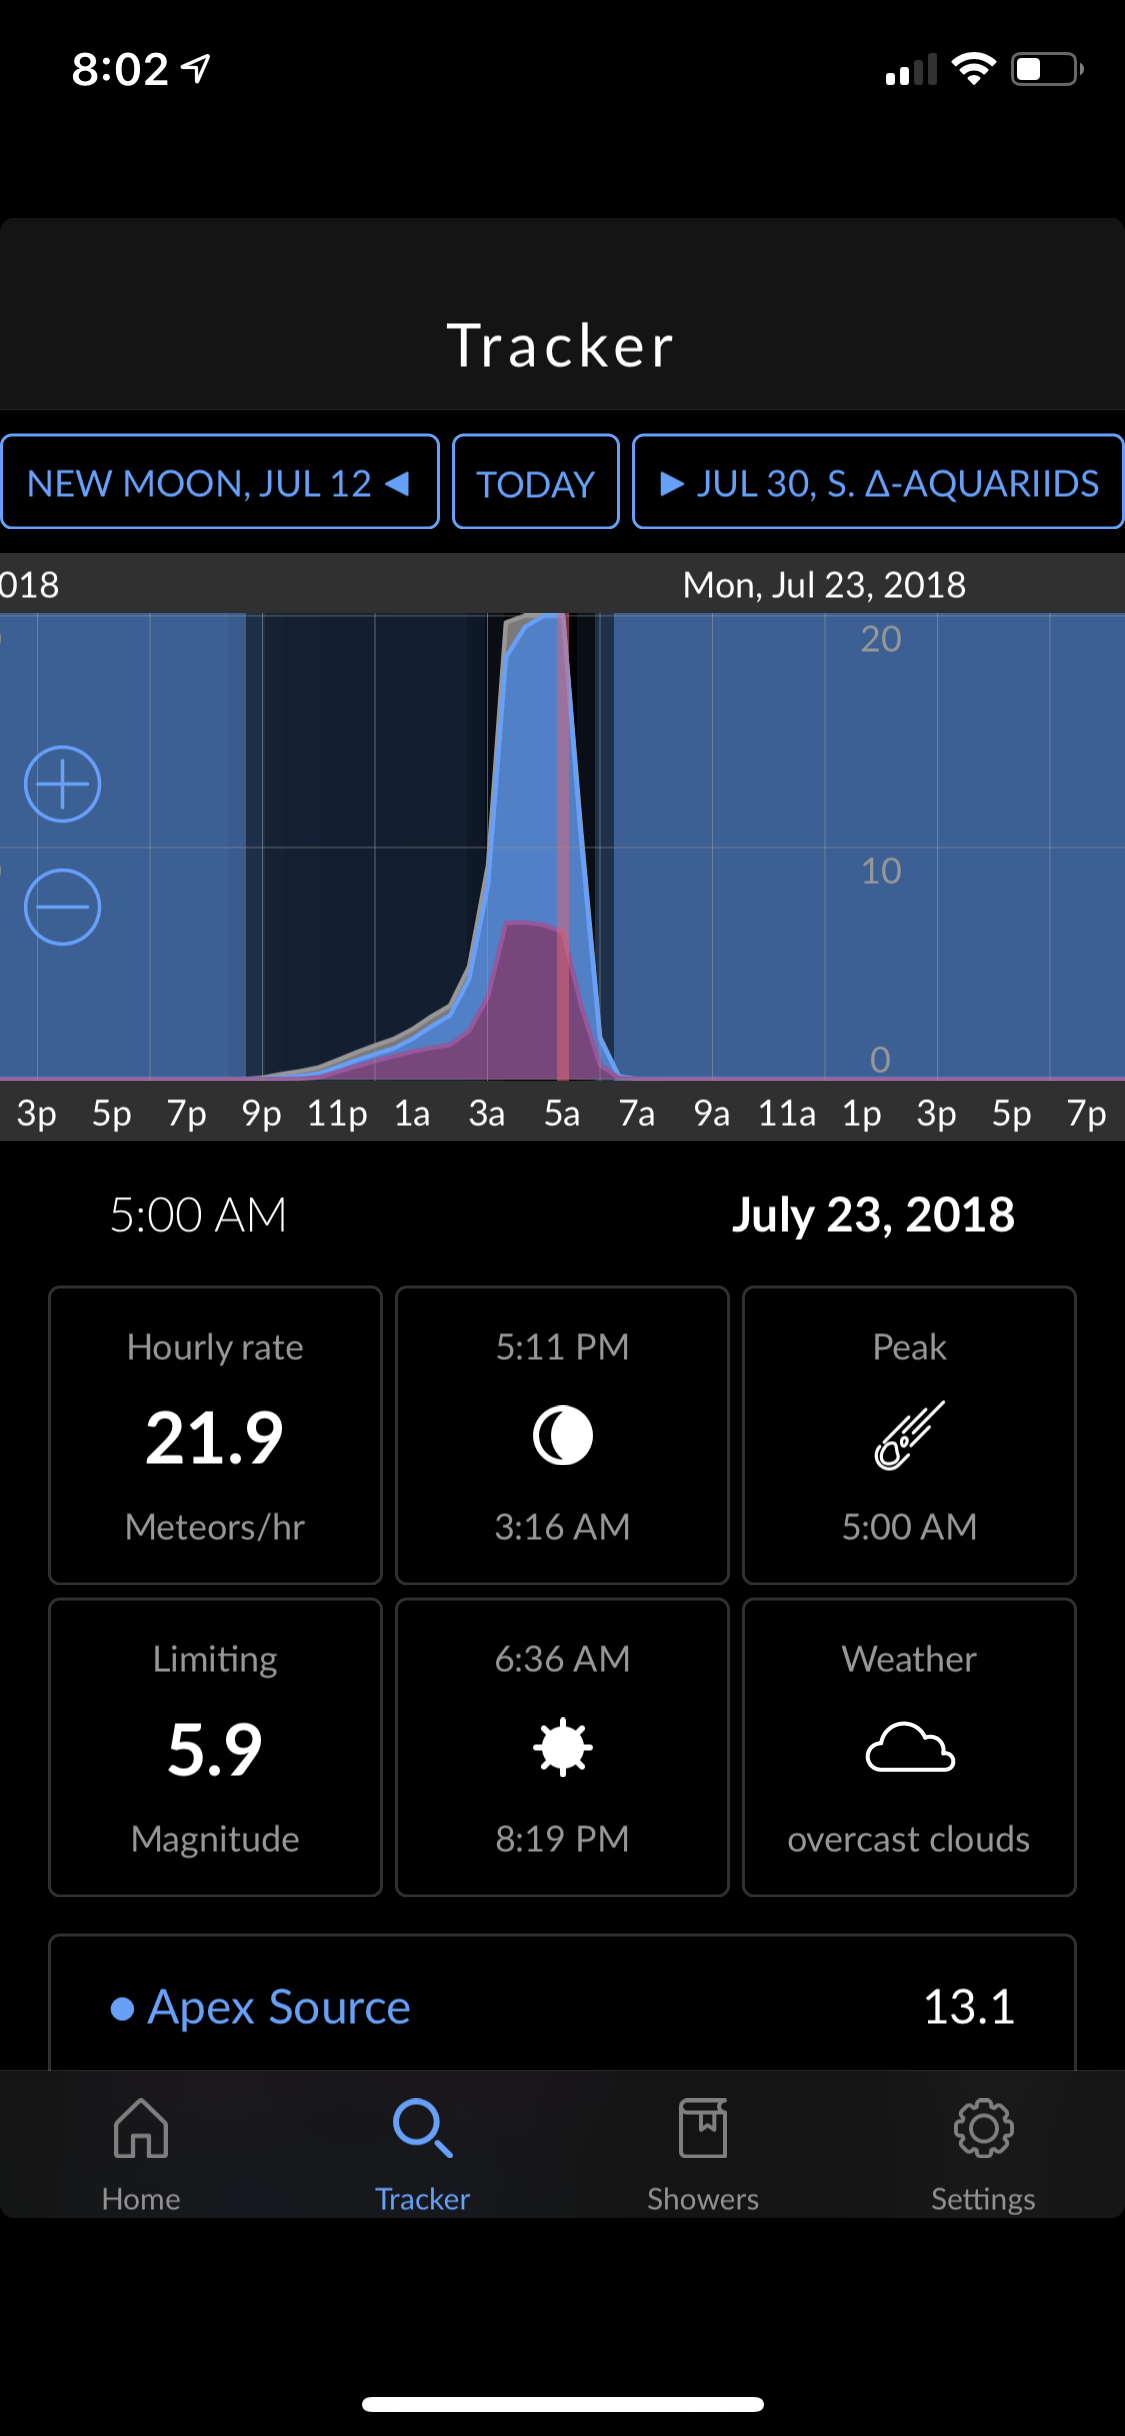
MeteorActive is a great way to stay on top of all the meteor showers headed your way. The iPhone application is very straight forward in it's premise. Detailing major and minor events, and listing them in date order allowing you to see how many meteors to expect on a per hour basis. I had no idea there were this many going on. Detail views of each meteor shower allow you to see the best viewing times during the evening sky, and during which hour they will peak. Every astronomer should have this app handy. It's available on the iPhone App Store and can be downloaded through this link.
An overview of Observer Pro on the iPhone
Observer pro is really an invaluable application to use for choosing targets in the night sky. It contains objects from all the large catalogs Messier, Caldwell, Herschel, NGC, and IC. You can also browse objects by type including Galaxies, Galactic Nebulae, Planetary Nebulae, Open Clusters, and Globular Clusters. The above views show the listing view and object view. In the listing view you can see the objects visibility during the 24 hour period. It's depicted by an orange/green bar. The best viewable time for that object is depicted in Green. Bright blue depicts day, dark blue depicts moon light, and black is no moon during the night.
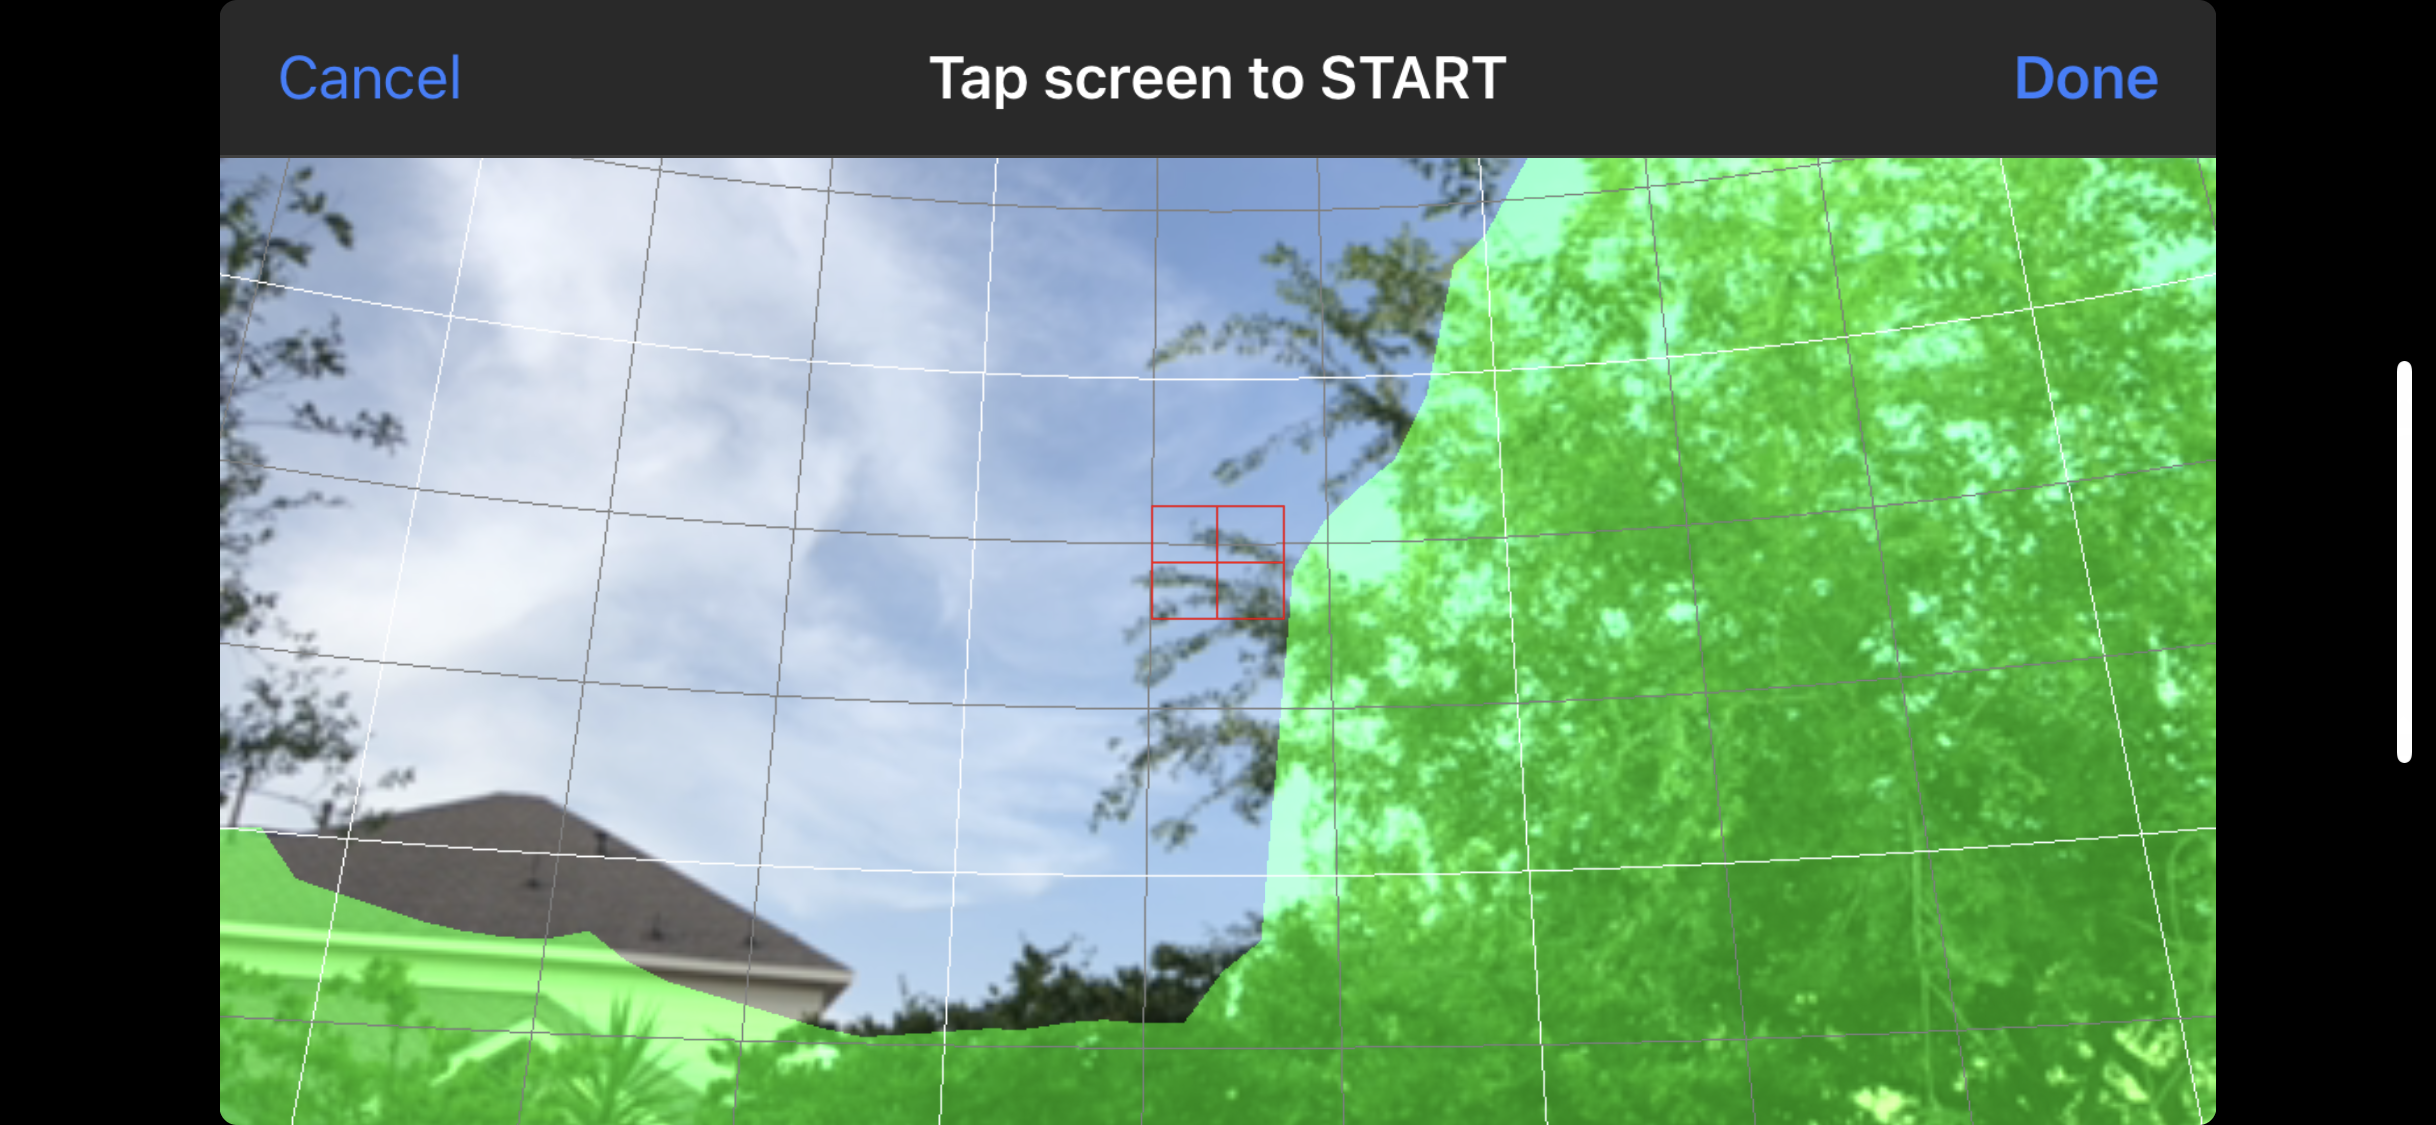
You'll notice some gaps in the orange/green bars shown above and that's because I have my local horizon measured in the application. The application uses mixed reality to view through your phone camera and trace the horizon of your sky (in this case, my back yard, which has several large trees that block my view).
It's best to position yourself where your telescope would be, then use your phone as a viewfinder and draw your local horizon tracing any objects that might be in the way. The result should show something similar to the above. Once done and saved, you can turn on local horizon, and have it show when objects go behind obstacles in your horizon.
These views depict where the object is during the night sky, and show a finder view to help you see what the sky and object location look like with no obstructions. Other views depict detail of each chart available to each object, as well as detailed information on each object.
Detail view showing the rise and set of the sun and moon, as well as the object rise and set time, and depicted in green is the best available time for imaging with no moon.
This view shows detailed information on the object, including it's magnitude, location, and what type of object it is.
To top it all off, you can export your local horizon out of the application and convert it to a horizon file for use in Sky Safari. I have my local horizon loaded into Sky Safari 6 Pro on both my iPhone and my Mac desktop computer.
Here's my local horizon file loaded into Sky Safari 6 Pro. To export your horizon file, you must download a converter program (from Joshua Bury the creator of Observer Pro), and also download a script to run the converter from Processing.org, it will take your horizon file and output a PNG that can be imported into Sky Safari.
I highly recommend Observer Pro to anyone that owns an iPhone. It's an invaluable resource that allows for easily scanning the objects lists to see what's visible during the night sky. It also has a handy night mode for use in the field.
Celestron's C5 Spotting Scope: Maximize Your Grab-And-Go
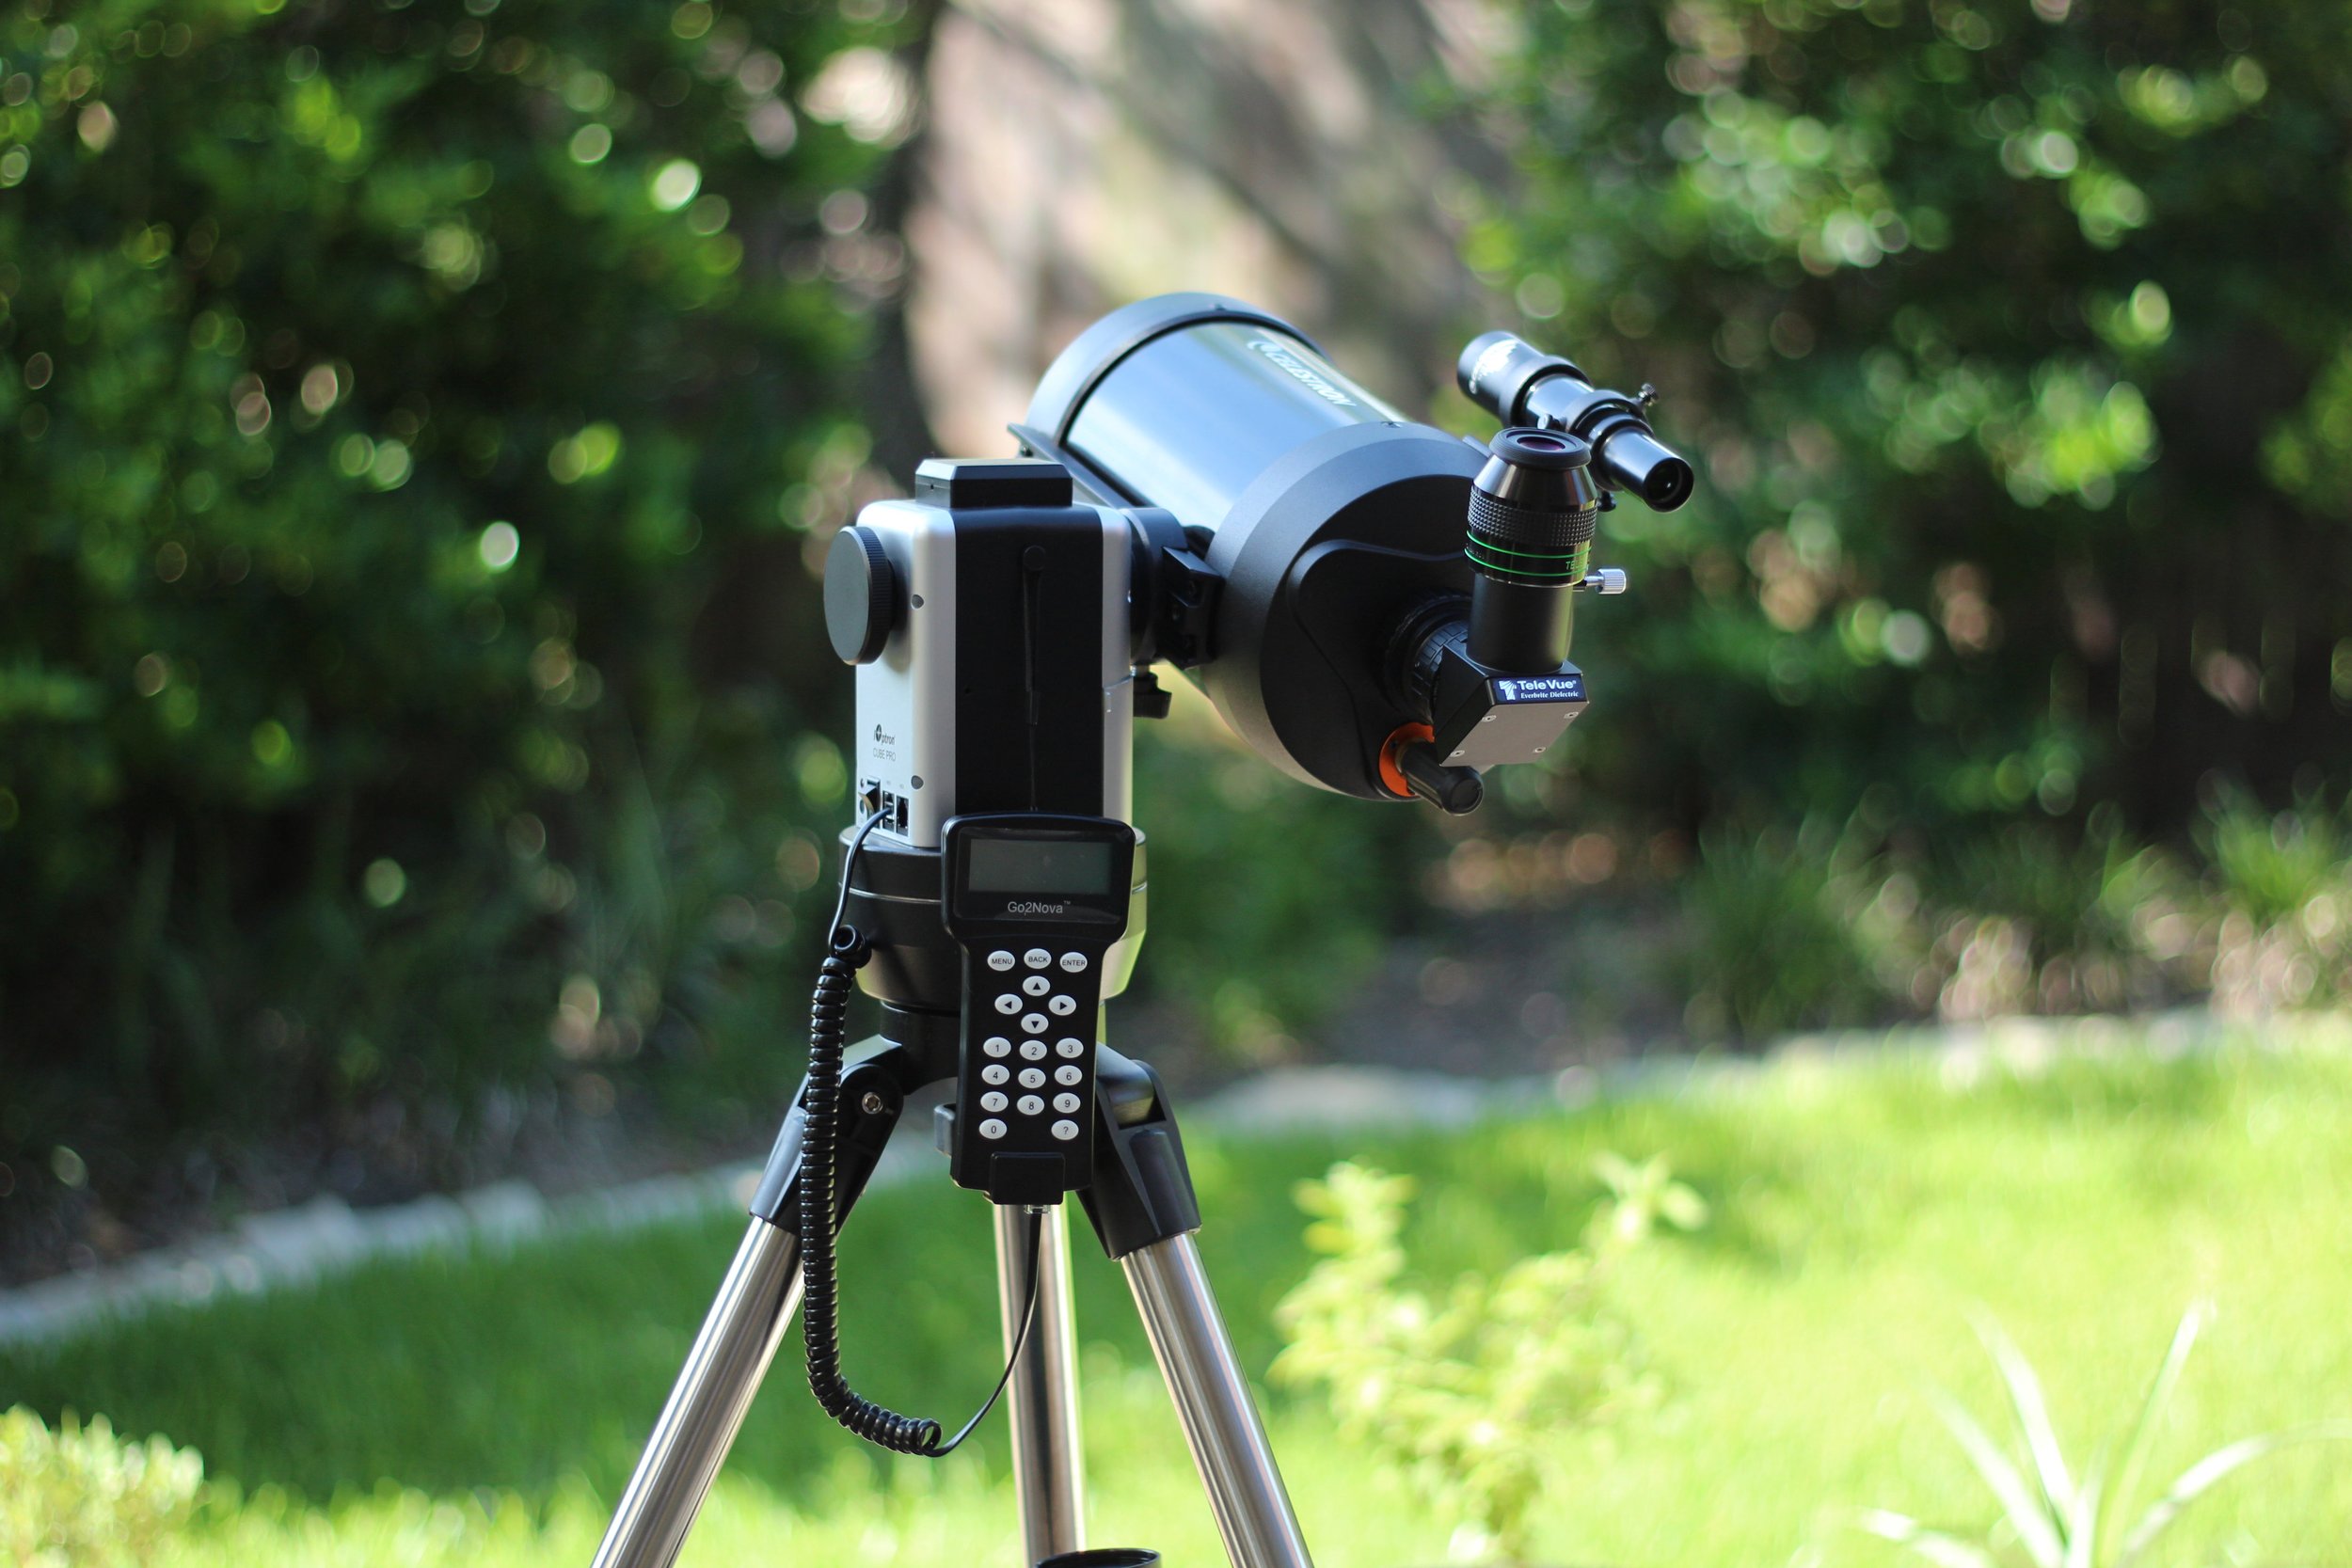
Make no mistake, this is a BIG, little grab-and-go. The biggest I could fit on the iOptron Cube Pro mount. The AT60ED wasn't cutting it for planetary views. The mount has a weight limit of 8lbs, so I opted for the largest scope with the longest focal length that I could get to fit on this class of mount. That happened to be Celestron's C5 Spotting Scope. Yes, Celestron sells this as a spotting scope, but at it's heart, it's really a 5" Schmidt Cassegrain telescope with XLT Starbright anti-reflective coatings. It's focal length is 1250 at a speed of F10. It's perfect for planet and moon viewing. It's got almost 3 times the focal length of the AT60ED and it's only 6lbs. Two pounds under the weight limit of the mount. This gives me room to add a few light accessories. It pairs well with eye pieces from 32mm down to about 6mm.
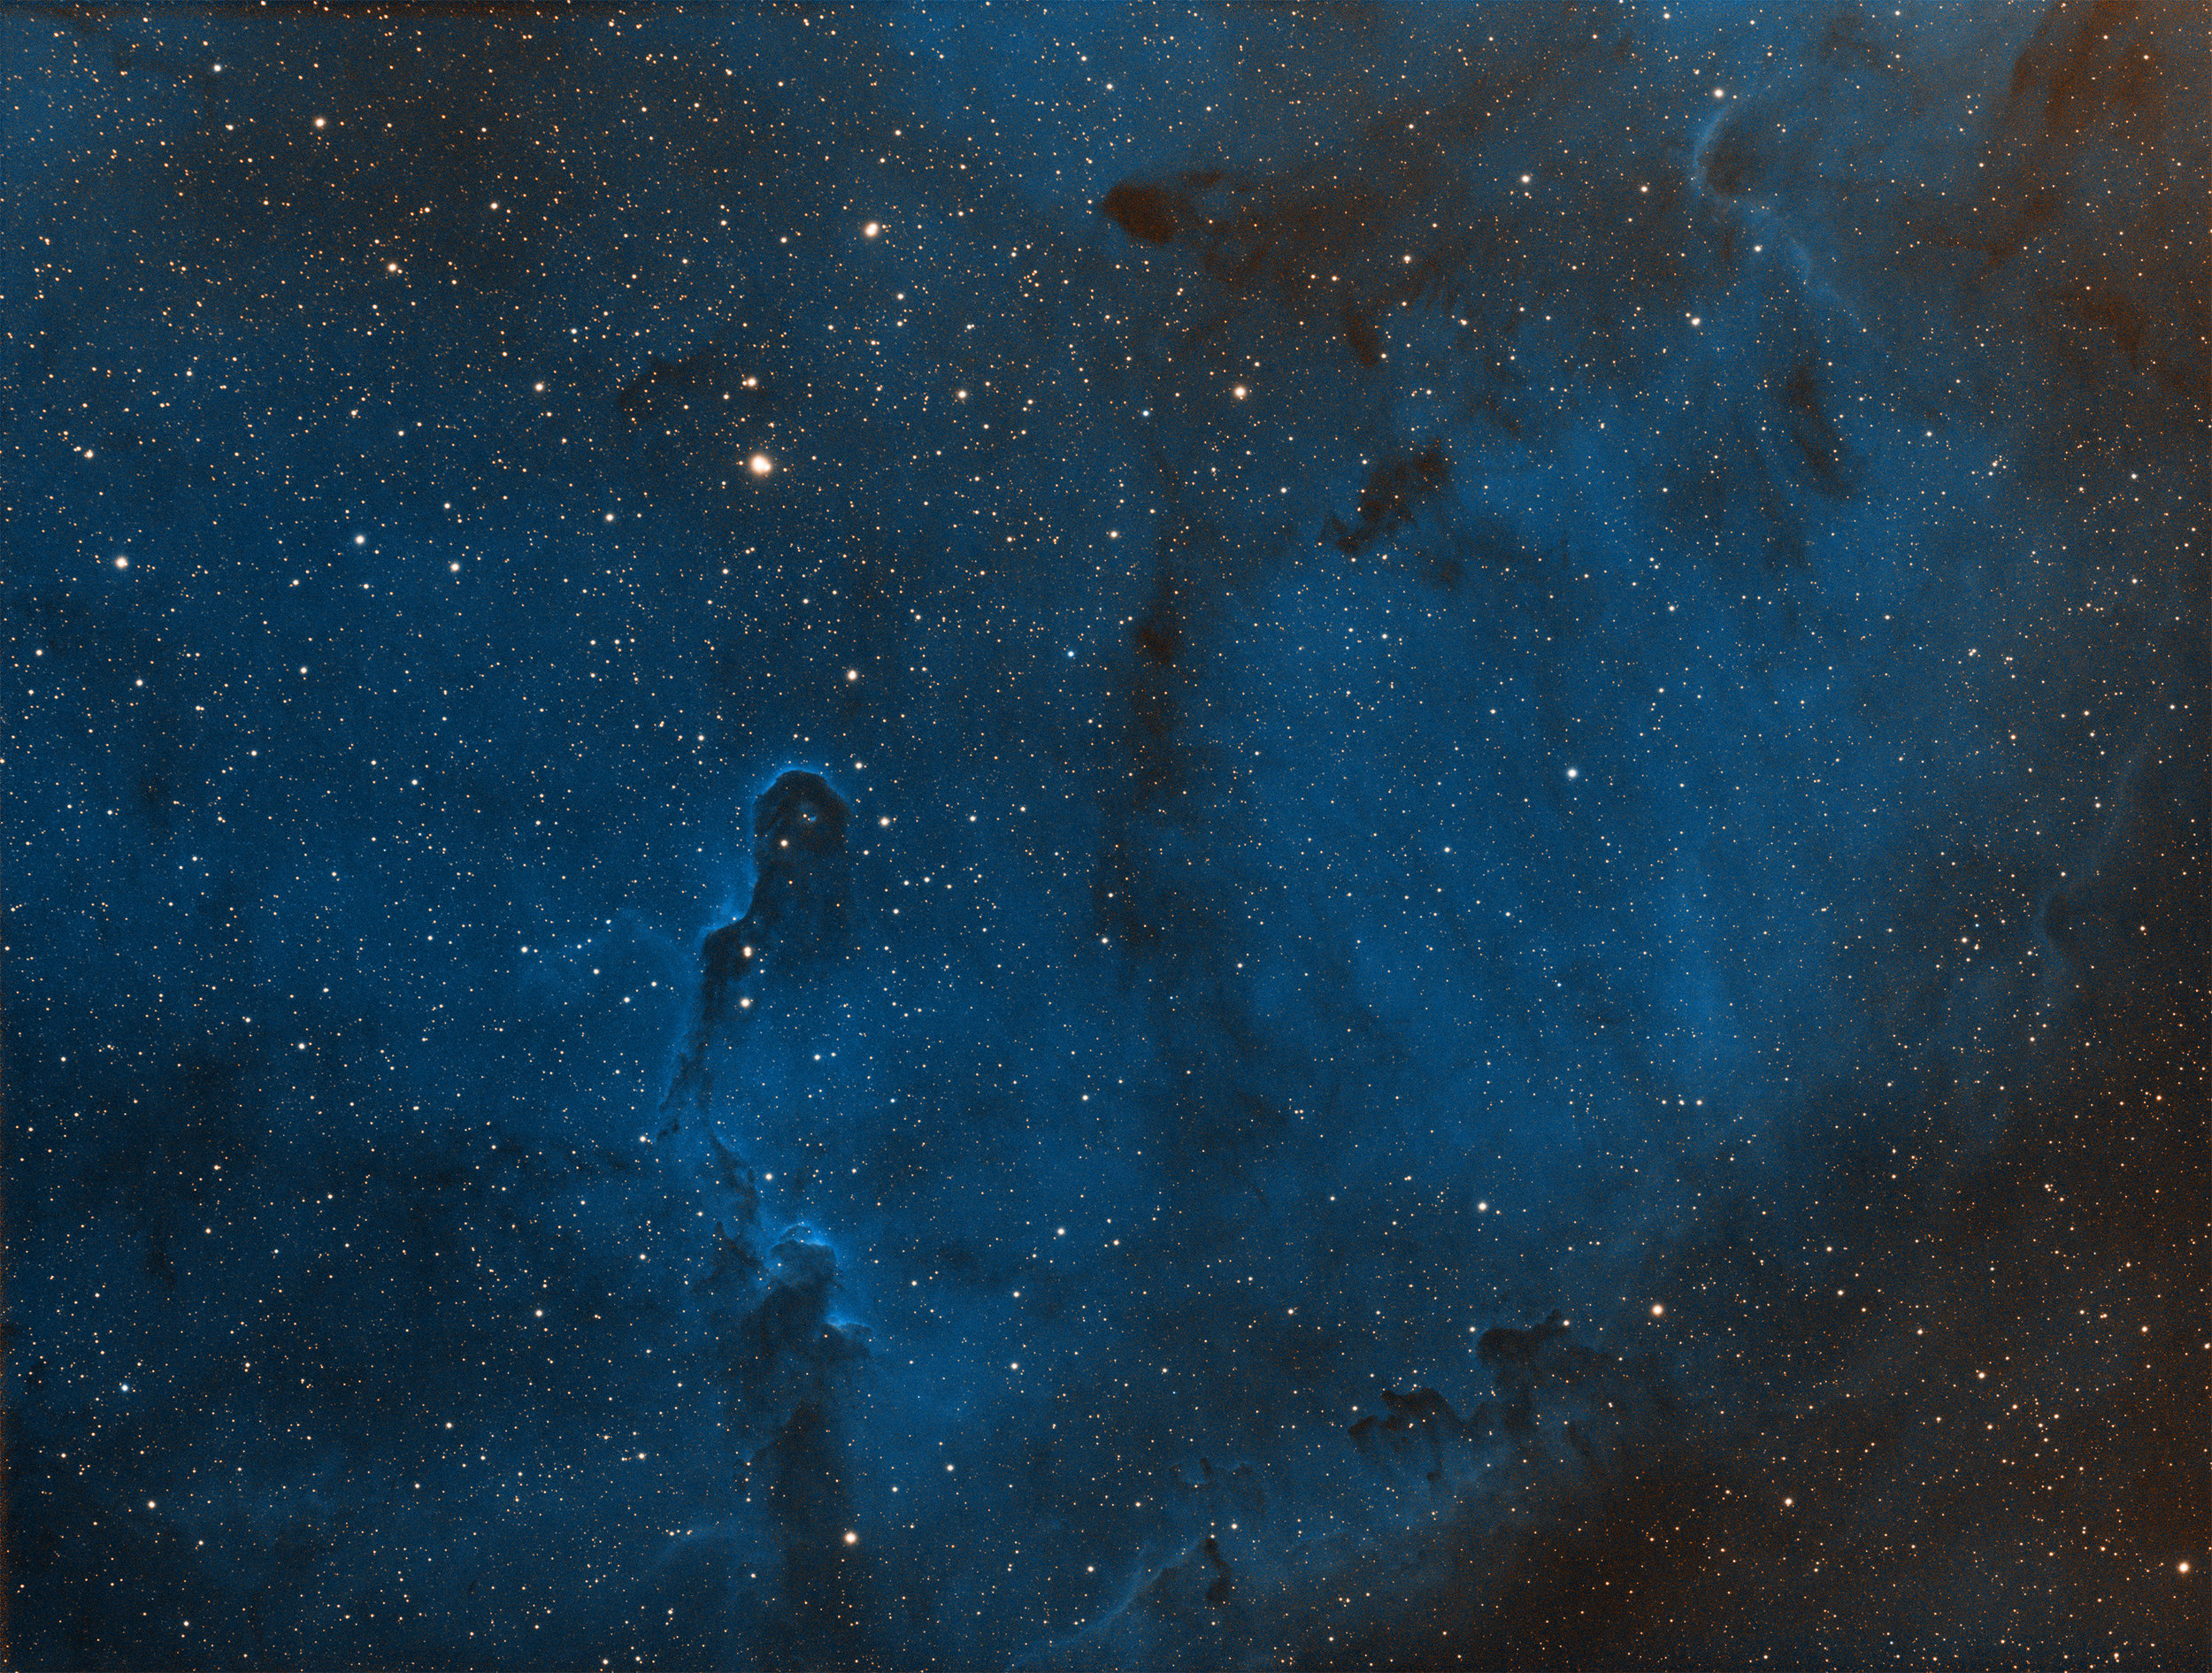
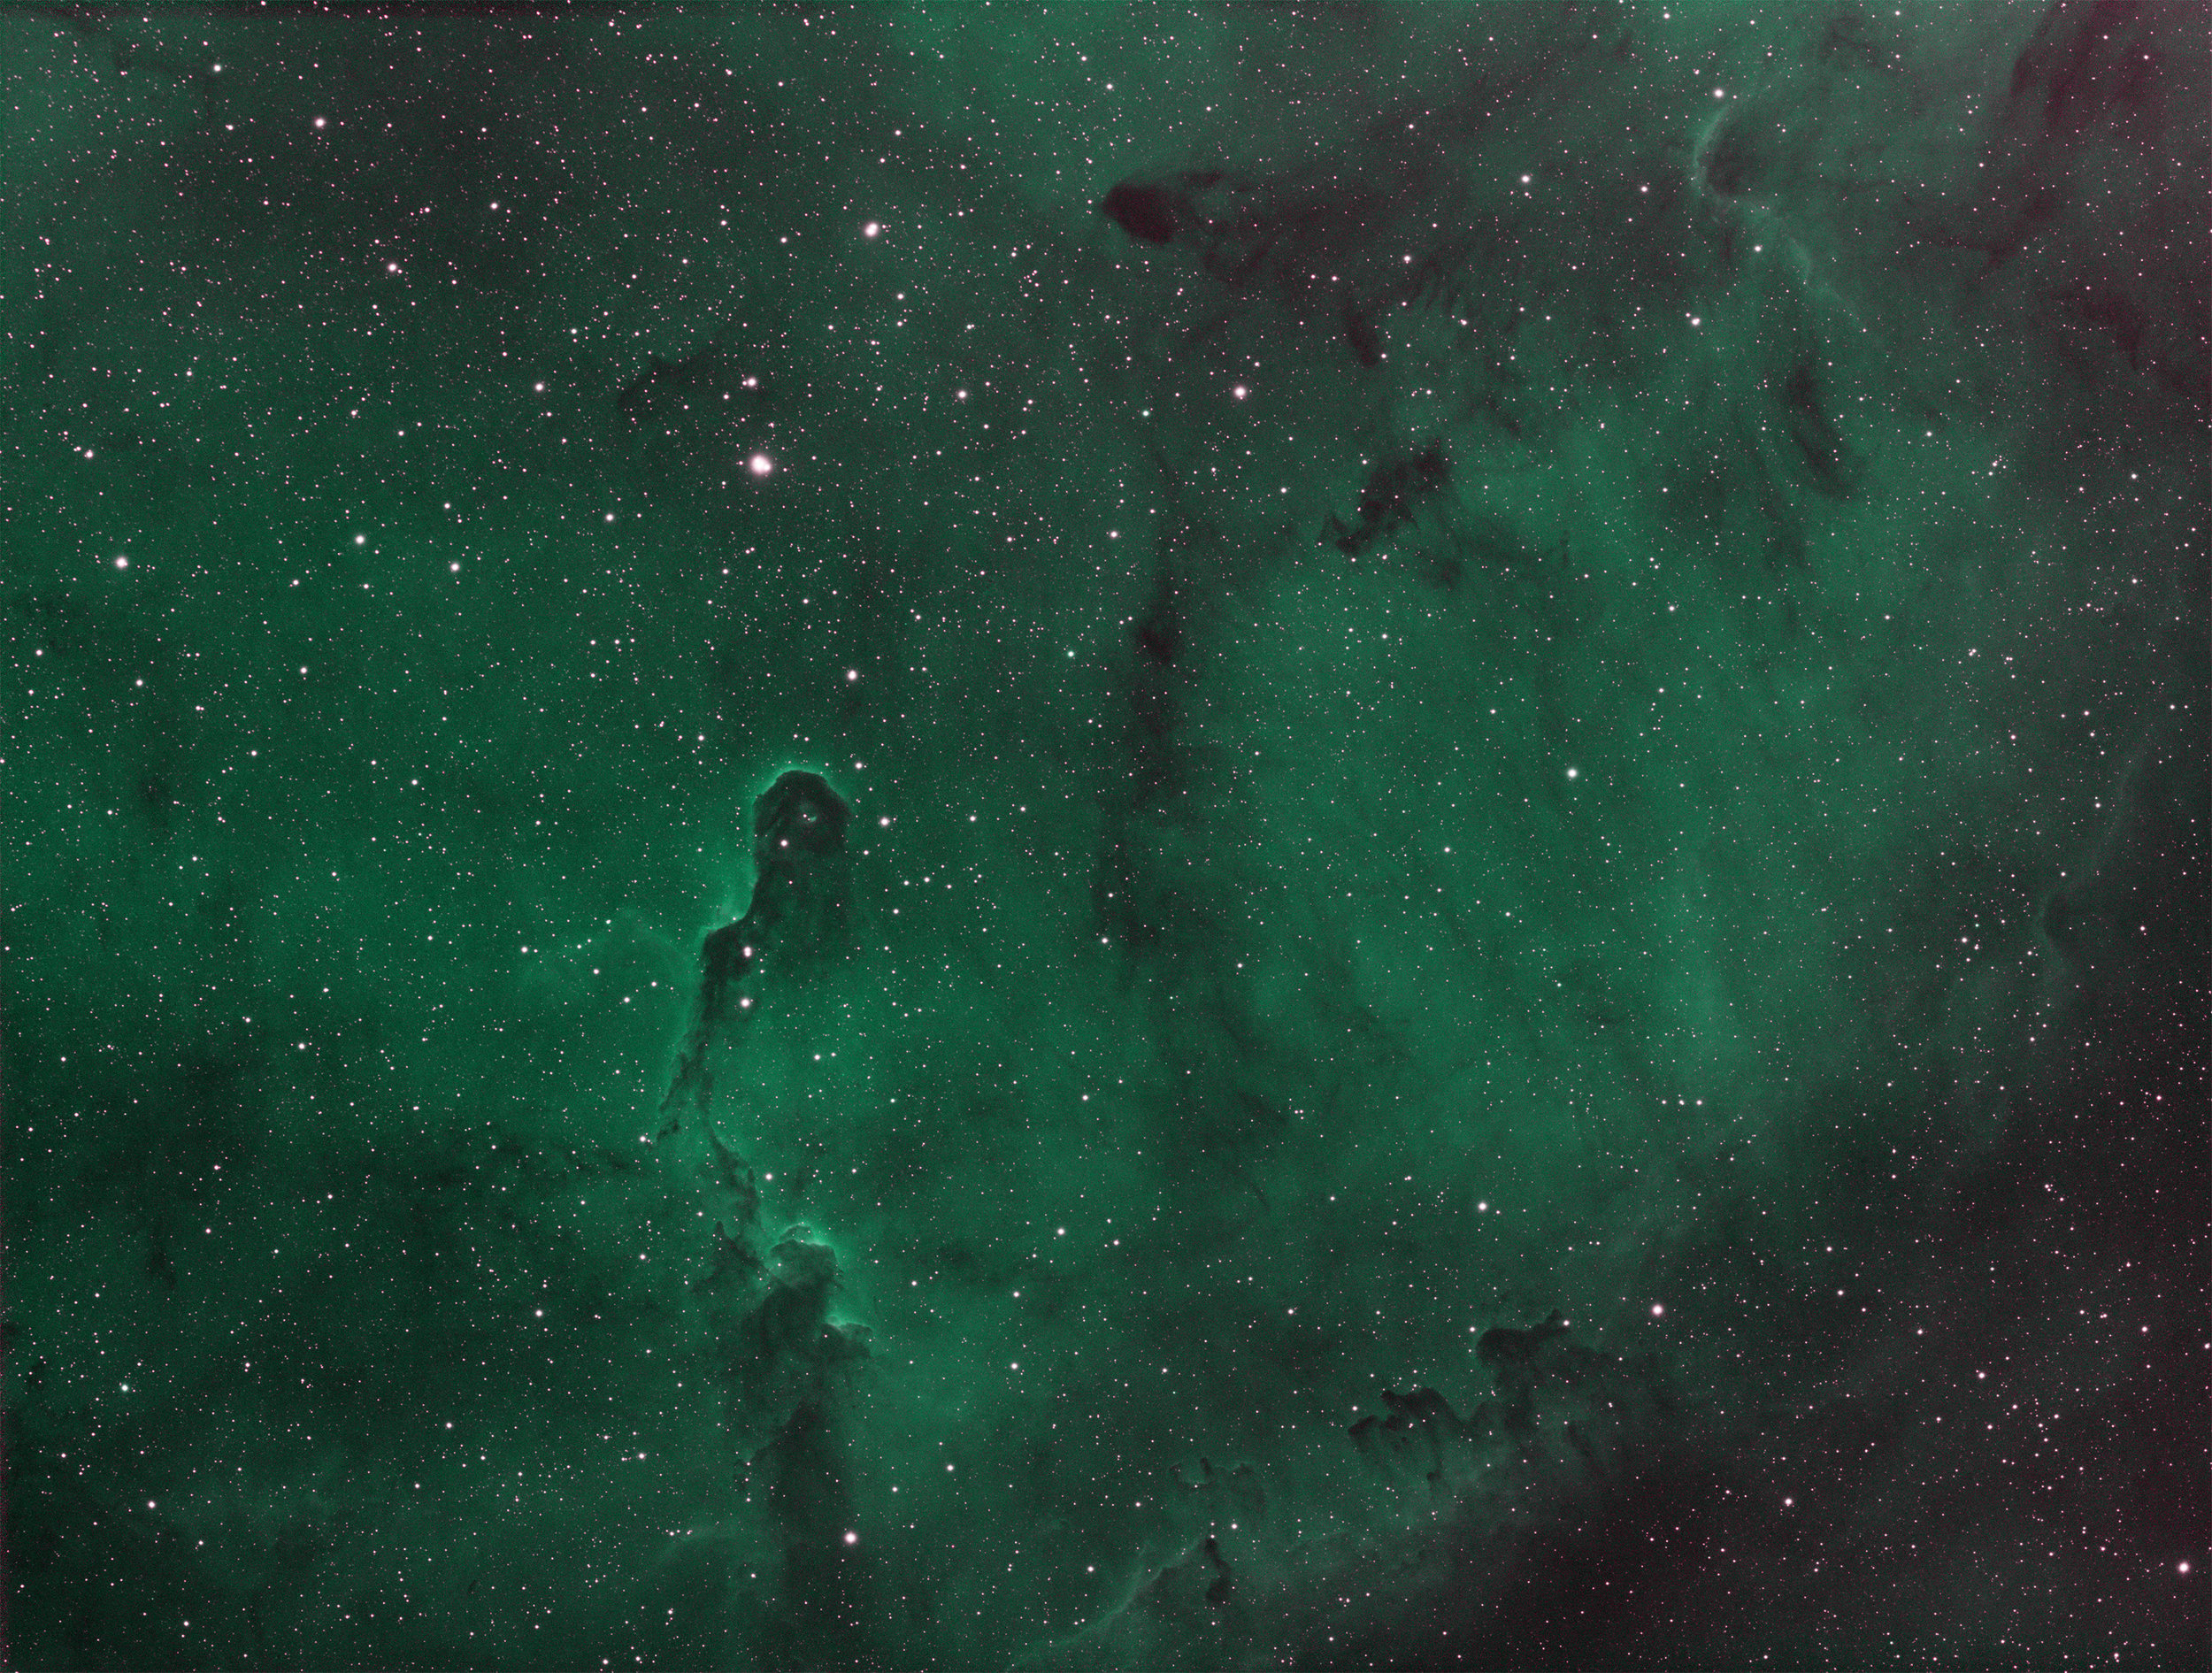
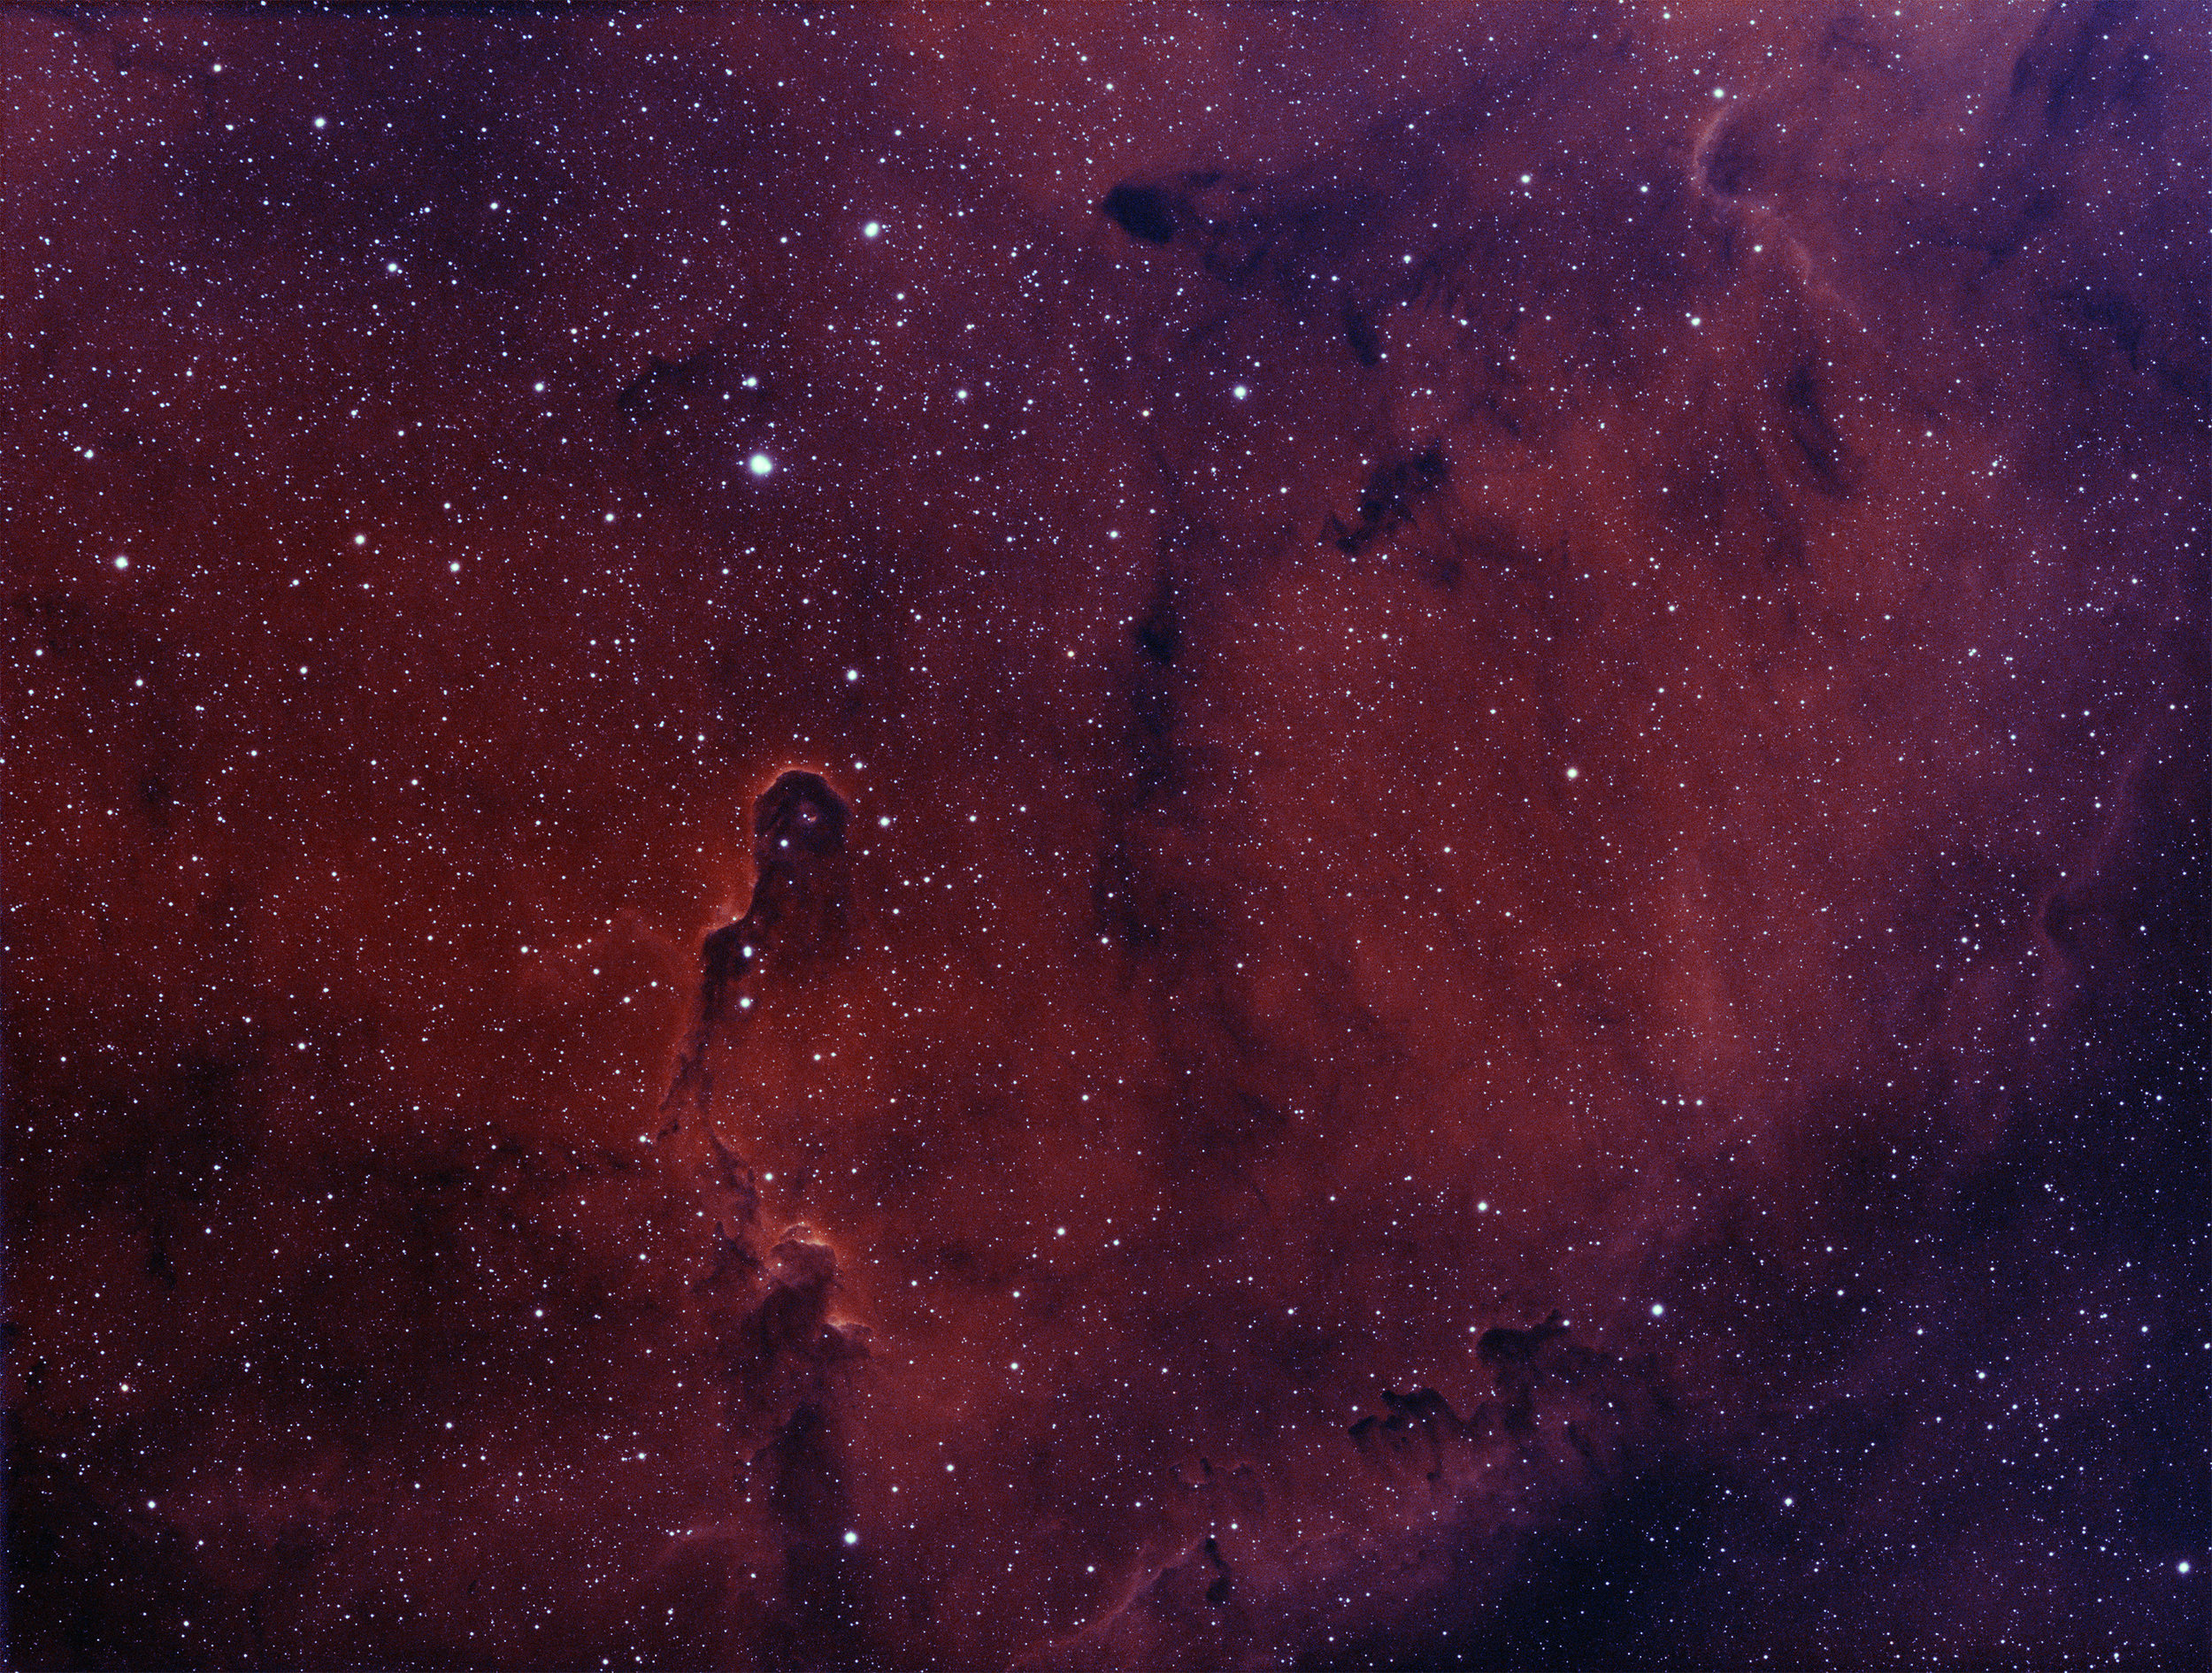
Imaging the Elephant Trunk Nebula - IC1396
I imaged this nebula over two nights for a total of 14 hours. There are 7 hours of H-a, and 7 hours of OIII data. Each done on a separate night. Thanks to the clean structure of EKOS when imaging, it organized all the data for me into proper folders. From here, I was able to load all of the data into Astro Pixel Processor at once, loading up each channel's info and specific calibration frames. From here I left it to process on it's own. It took about 2 hours total to go through all 500 images and calibrate them.
After this point, I was left with two final calibrated frames, one for H-a, and one for OIII. I brought them into PixInsight to crop, and align, then stretch them to appropriate levels.
I then used PixelMath inside PixInsight to combine the two monochrome images into a bi-color pallet showing the result above. Finally I moved the file into PhotoShop to enhance the color and contrast slightly, as I prefer the controls in Photoshop for this task. Below are some other pixel math combinations for how you could combine the two images into other color pallets. You can see all the equipment details over on my Astrobin page.


