
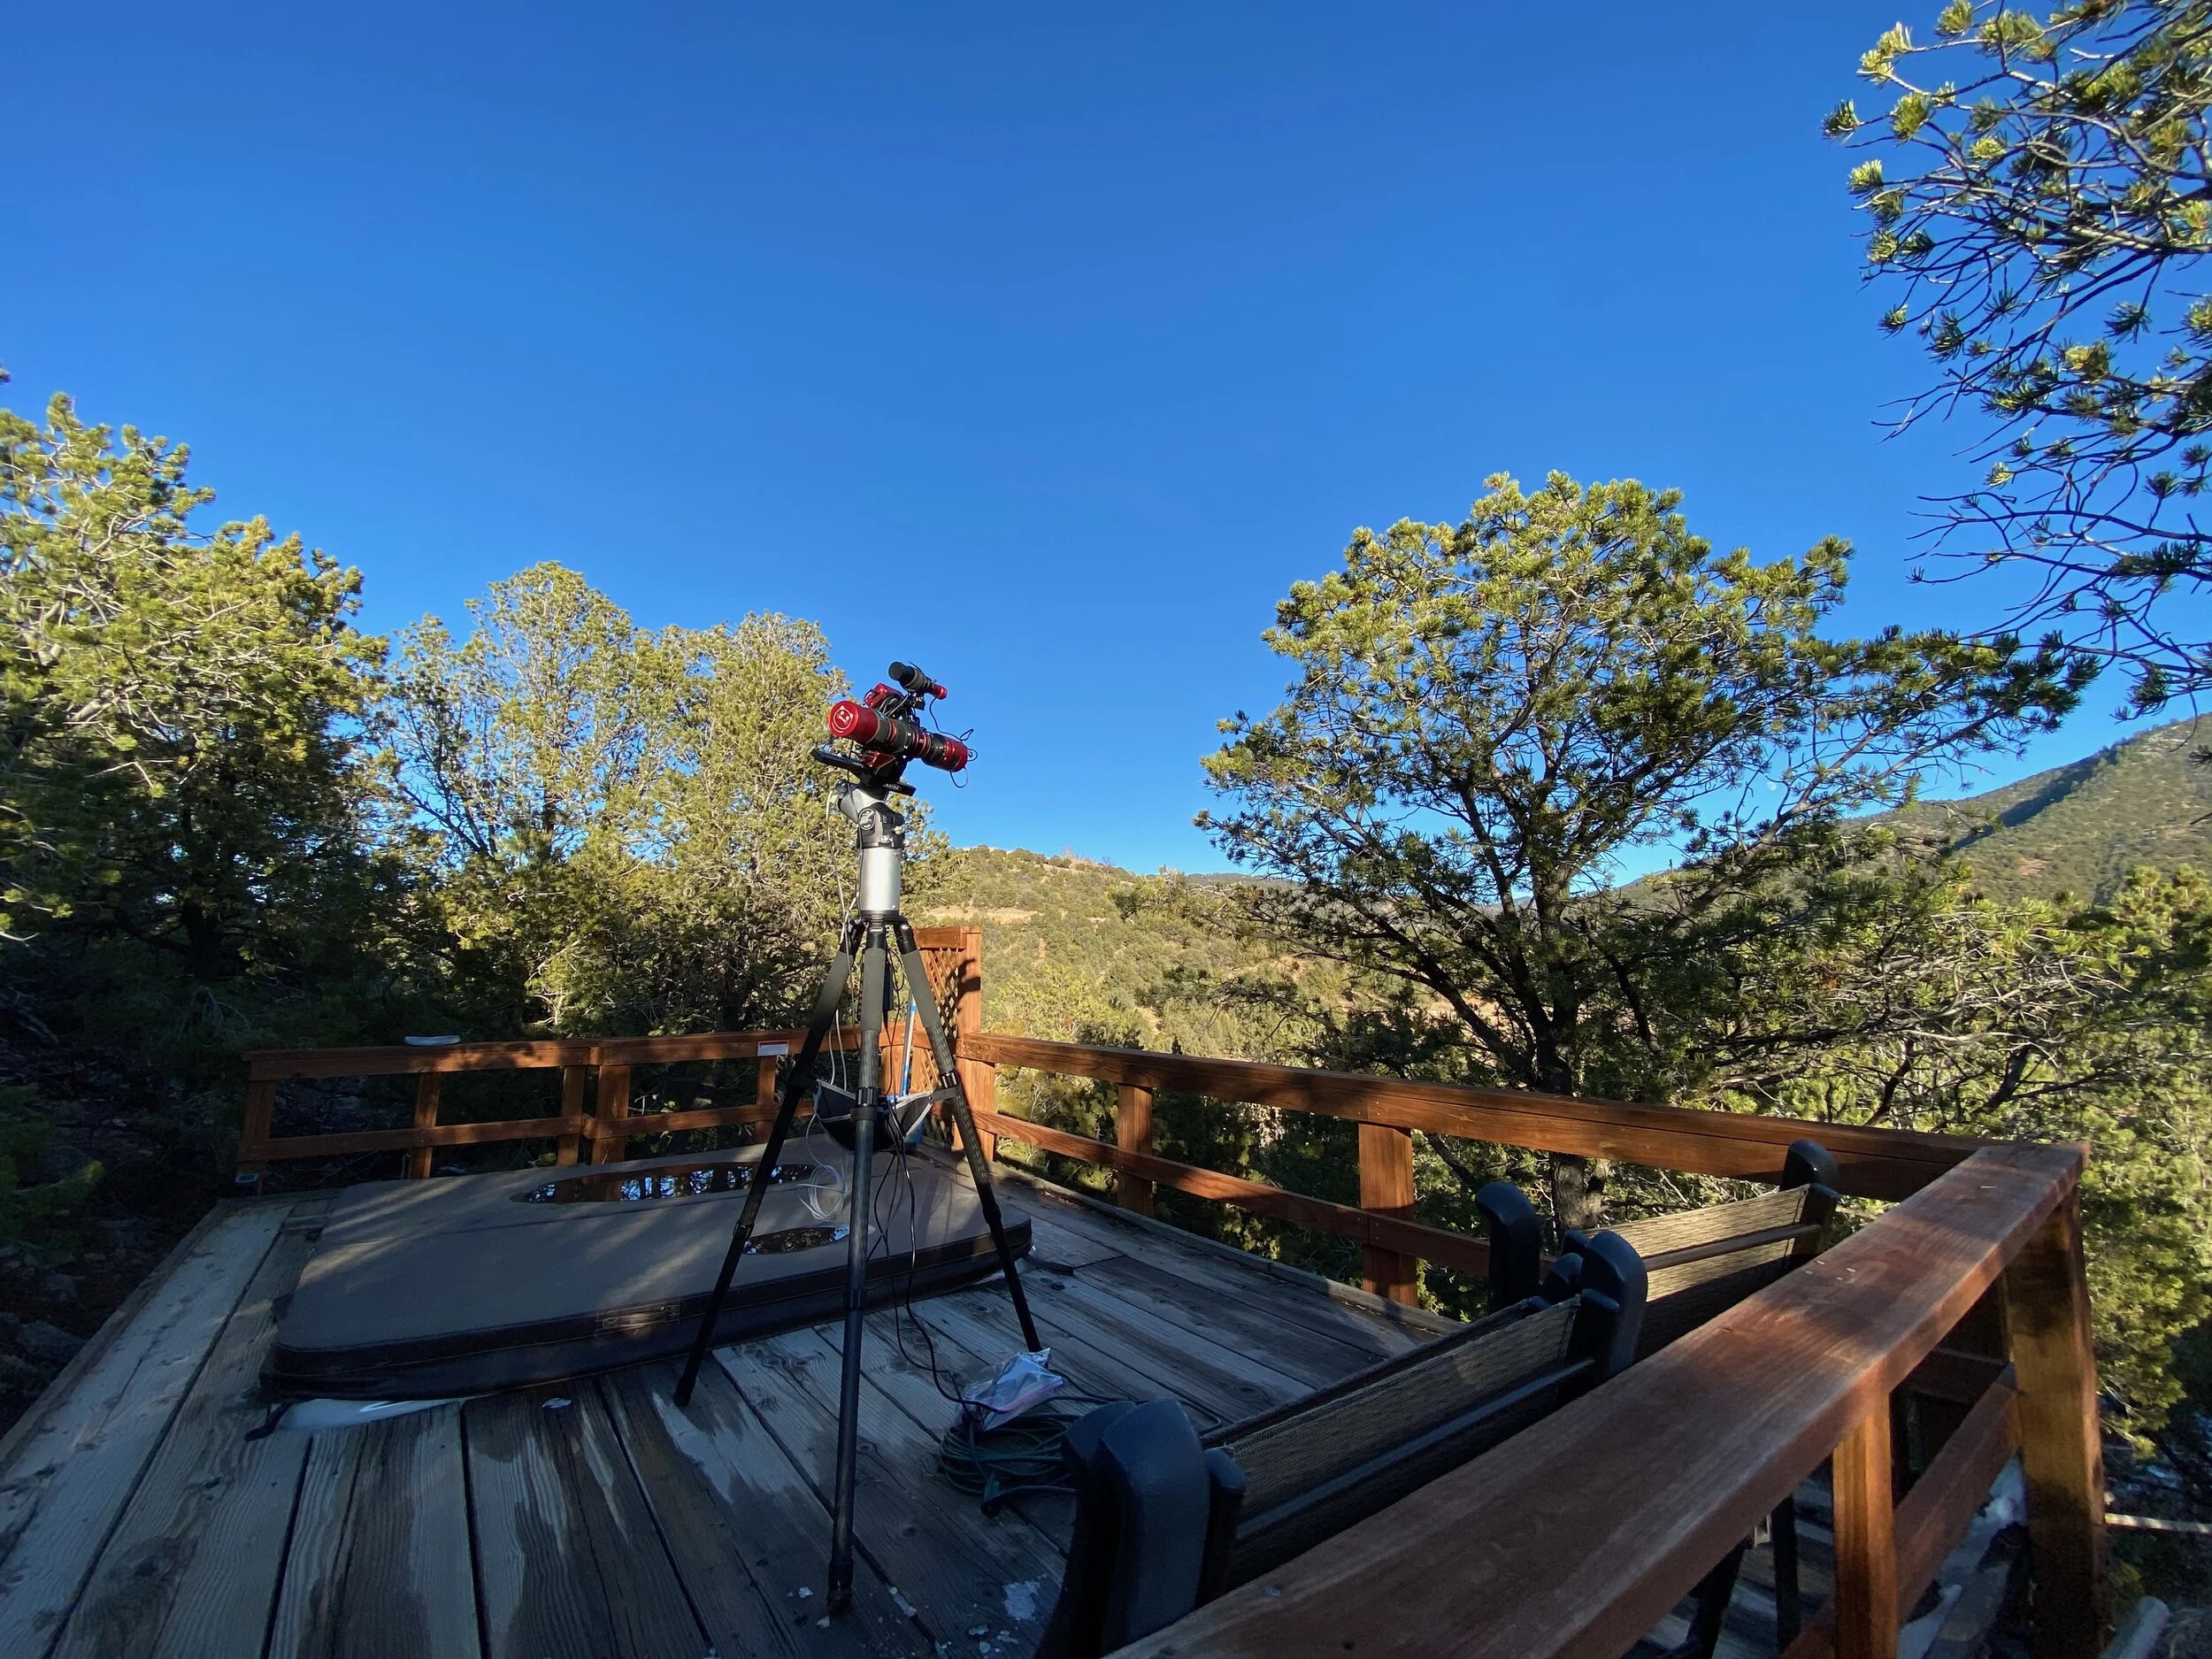
I cover the setup and experience of shooting astrophotography at a dark site for the first time.

AstroPlanner is a complete system for tracking observations and planning out nightly viewing or imaging sessions with your equipment. It also offers computer scope control from within the application.
Upon launching the software you'll need to start populating it with your user information. You'll provide your observing locations, this can contain your current location, as well as offsite locations that you visit for observing. AstroPlanner can access a USB GPS device to give you pinpoint accuracy for your site location. This should allow you to plan for those remote visits before you travel, so that you can be prepared with the equipment you require for the objects you plan on viewing or imaging.

The filter resource. (Add your filters here on this tab, and AstroPlanner will show you the visible wavelengths your an view or image with.
In addition to your location, you can add each telescope you own, any eye pieces you have, optical aids like Barlows or reducers, camera or viewing filters, the observer (yourself or a buddy who might observe with you), and any cameras you might utilize for imaging.

Once you've added all your equipment, you can start to add objects to the observing list. There are four primary tabs for objects. The objects list, the observations tab to add observations, the field of view tab which shows you how your image will look using the selected equipment, and finally the sky tab which shows the nights sky chart and allows you to view where the object you selected lies in the night sky, as well as other objects that are visible.

This is the main view within AstroPlanner. From here you add objects by using the Plus symbol in the lower left corner fo the screen. You get a search function to find the object and add it to the list. You an also browse by what is visible currently in the sky, and filter those choices by object type (open cluster, galaxy, nebula, planetary nebula, etc.). Across the top of your screen, you get a readout for the current date and time, sidereal time, Julian date, GMT, and GMST. On the second row below that information you can select the telescope you intend to view your object with. Next to that, you can see the sun and twilight time, what the current moon looks like, as it's helpful to know how much of an impact the brightness of the moon will have with imaging. Then next to that is your site location, and a clock which you can set to show the object at different time intervals.
On the next row of information you see the ephemeris of the object during the night and month. This allows you to see the objects elevation during the darkest part of the night between sundown and sunrise and it's visibility over the month. Next you see see altitude and azimuth indicators from due north. This gives you an idea of how you will need to point your telescope to see the object, in the above image it's indicating you need to point east and slightly above the horizon. Lastly there is a tiny indicator of where the object is in the night sky.
At the bottom of the screen you see your object list, as well as the local sky chart (showing the object constellation where your object is. You can switch the sky constellation chart to show images from several astronomical databases like the Hubble Space Telescope raw images.

This tab highlights observations for the currently selected object. From here you can put in seeing and transparency conditions, note your field of view, and add any observations you made of the object during this particular time and date.

Additionally, you can add attachments to your observations. In this case, I added an image I took with my telescope of NGC7000. I left an observation note listing out the focal length and equipment I used for this session.

This tab allows you to select all of your equipment for the viewing session. In this particular instance you can see I picked the AT6RC scope, with a CCDT67 reducer, and the TeleVue Delos 4.5 eye piece. With the current object M33 selected, and a Hubble Space Telescope image loaded, I'm able to see what it would look like in my telescope's view had I been looking through that particular set of equipment. You can choose additional display options in the lower right hand corner and it will overall known stars, object names, etc into the view.

In this final object view screen, the Sky tab, you can see a sky chart of where your object is in the night sky. You can turn on and off planets, stars, galaxies, etc using the display options to the right to fine tune the view and make it easier for you to spot your object in the night sky.
I hope this gives you a good indication of the use and benefit of having a detailed planning tool. AstroPlanner is available here and is priced at $45, which doesn't seem like that much for all the features that it offers.

I took advantage of a recent sale on ZWO cameras, and sold my old color camera to move into mono imaging. The benefit of using mono is increased resolution and sensitivity in the camera. One shot color cameras have a Bayer matrix over the sensor which is like a screen door with red, green, and blue filters placed over every third pixel. These pixels are merged into a single color photograph in the software after the image is taken.
In a mono camera, you shoot black and white, and use a individual color filters over the entire sensor so that all of the sensor is shooting in that one color. After you're done imaging, you merge all the colors into a single higher fidelity image. Below is one of my first attempted color images using LRGB filters (Luminance, Red, Green, and Blue).

M42 (Orion Nebula) shot in LRGB on my ES102mm ED telescope.