All Articles
Software deep dives, equipment reviews, tutorials, imaging sessions, and field notes — everything published on Mac Observatory.
109 articles
Mac Observatory Automation with ASCOM Alpaca: What Works in 2026
ASCOM Alpaca Is Quietly Unlocking Full Observatory Automation for Mac Users The biggest obstacle to running a fully automated observatory on a Mac has never
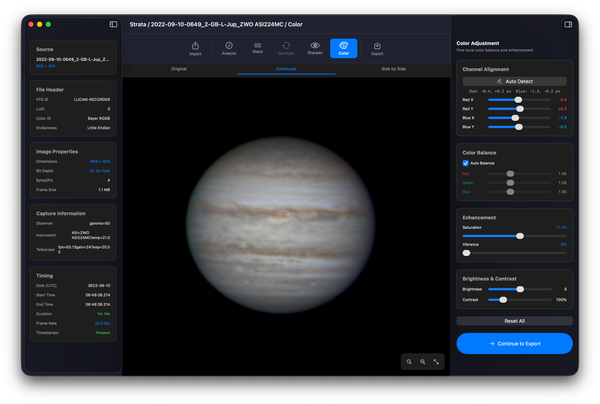
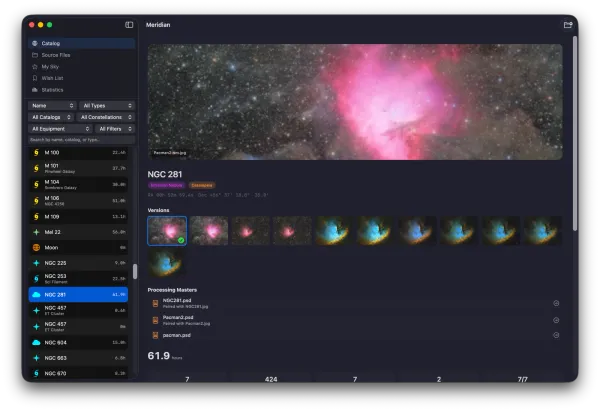
Strata Is Now in Beta — Native Planetary Stacking and Sharpening for macOS
Strata replaces the traditional Windows-only chain of AutoStakkert, RegiStax, and PIPP with a single GPU-accelerated macOS app. Now available as a free public beta on TestFlight.

How to Identify Unknown Objects in Your Deep-Sky Images on Mac
The full identification workflow — plate solving, catalog queries, and one-step annotation — runs natively on every Mac. Identifying an unknown object in a deep-sky image requires
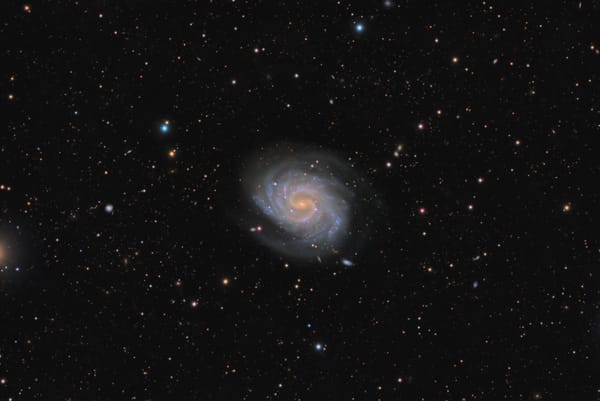
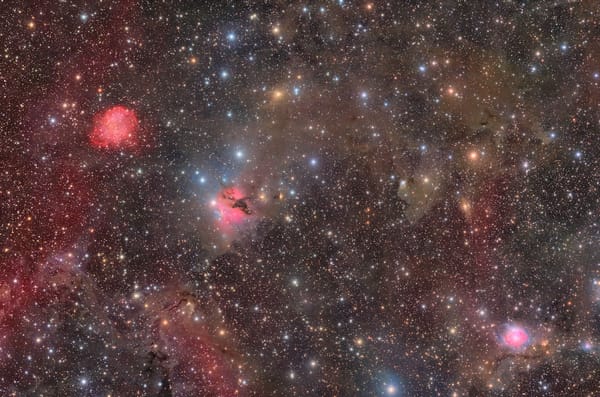
NGC 4535: The Lost Galaxy Sends a Signal
Over 31 hours of integration on the pale barred spiral in Virgo that William Herschel discovered in 1785 — and a short story about what might be looking back.
Deep-Sky Stacking Software for Mac: The Complete 2026 Guide
Deep-sky stacking software combines multiple long-exposure astrophotography frames — calibrated with darks, flats, and bias frames — into a single high-signal image by aligning star patterns and

The MacBook Behind the Black Hole: How Mac Supports Cutting-Edge Astronomical Research
Katie Bouman's viral photo told half the story — here's why professional astronomers chose Mac long before that moment. When Katie Bouman,
How to Organize & Track Your Astrophotography Data Library Across Devices and Cloud Storage
From scattered folders to searchable archives — a practical guide to managing integration time, calibration frames, and multi-session imaging data across local drives, cloud storage, and
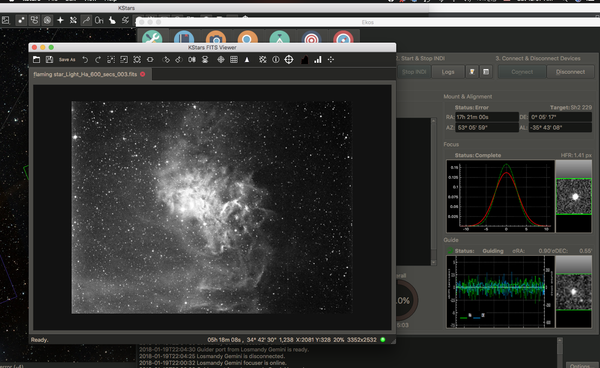
KStars/Ekos on Mac — How the Community Keeps the Free Imaging Suite Alive
Official KStars builds have struggled on macOS since late 2025. Community developers responded with custom Apple Silicon build scripts that work when official releases fail.
Where to find free raw astrophotography data for practice: public archives, sample datasets, and how to use them to build processing skills before your first session.
Free astrophotography practice data consists of pre-captured astronomical images — including light frames, dark frames, flat fields, and bias frames — shared by experienced astrophotographers to help
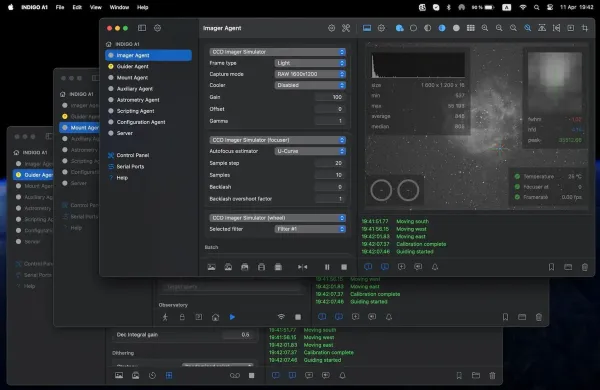
INDIGO A1: The Mac's Most Complete Astrophotography Suite Has Grown Up
Three years of relentless development have turned CloudMakers' all-in-one imaging app into a genuine native alternative to NINA — and the architecture under the hood
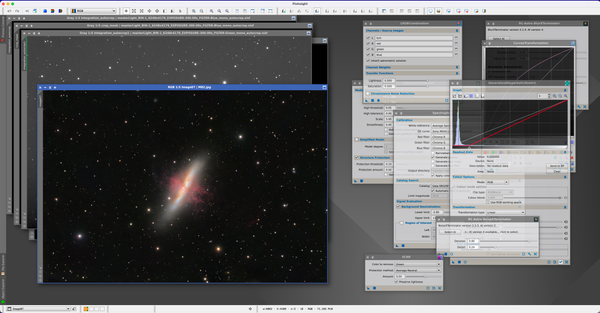
PixInsight on the Mac: The Definitive Deep Dive
The most powerful astrophotography processing tool ever built asks you to think like a scientist — not a photographer. Here's what Mac users need
Getting Started with Astrophotography on the Mac (2025–2026)
Astrophotography on macOS has come a long way since the early days of “figure it out yourself.” In 2025, you can do serious deep-sky imaging