This tutorial is the second part of a tutorial I wrote a few weeks ago. In the first part, I covered how to set up a Raspberry Pi unit with StellarMate or Astroberry disk images to use those devices for imaging remotely. In that tutorial, I show how to install the software, and configure the devices to capture images directly on them using your desktop computer inside your home to control the device through VNC (Screen sharing).
However, there are some limitations with this method. Raspberry Pi units are fairly underpowered, they have limited disk space, and if you’re unfamiliar with using Linux, installing new software can be an exercise in frustration.
This tutorial, aims to set up the Pi device, not as the imaging computer, but as the server that your imaging computer connects to. In other words, the Raspberry Pi acts as a server with drivers that broadcasts the driver over your local network so that a different computer can access and control the equipment through that device. Ideally, this would be your Mac or PC desktop inside your home.
What are the benefits of this connection method?
You can image using a fast computer with lots of processing power and RAM, ie. your desktop!
You have access to tons of storage space.
You don’t have to transfer images after capturing to your main computer, because the images are captured directly on your main computer.
You can access your telescope equipment from any device you have, laptop, desktop, secondary laptop, iPad, iPhone etc.
You can run multiple programs concurrently that can access an INDI based server. Other INDI based imaging programs besides Kstars/EKOSPHD2, PHD2 for guiding, some planetarium programs like Cartes du Ciel, and you can even image directly within PixInsight using INDI connections to your StellarMate device.
Setting this up is relatively trivial once you have your Pi device running as I explain in the first tutorial.
Putting the Stellarmate or Raspberry Pi into server mode
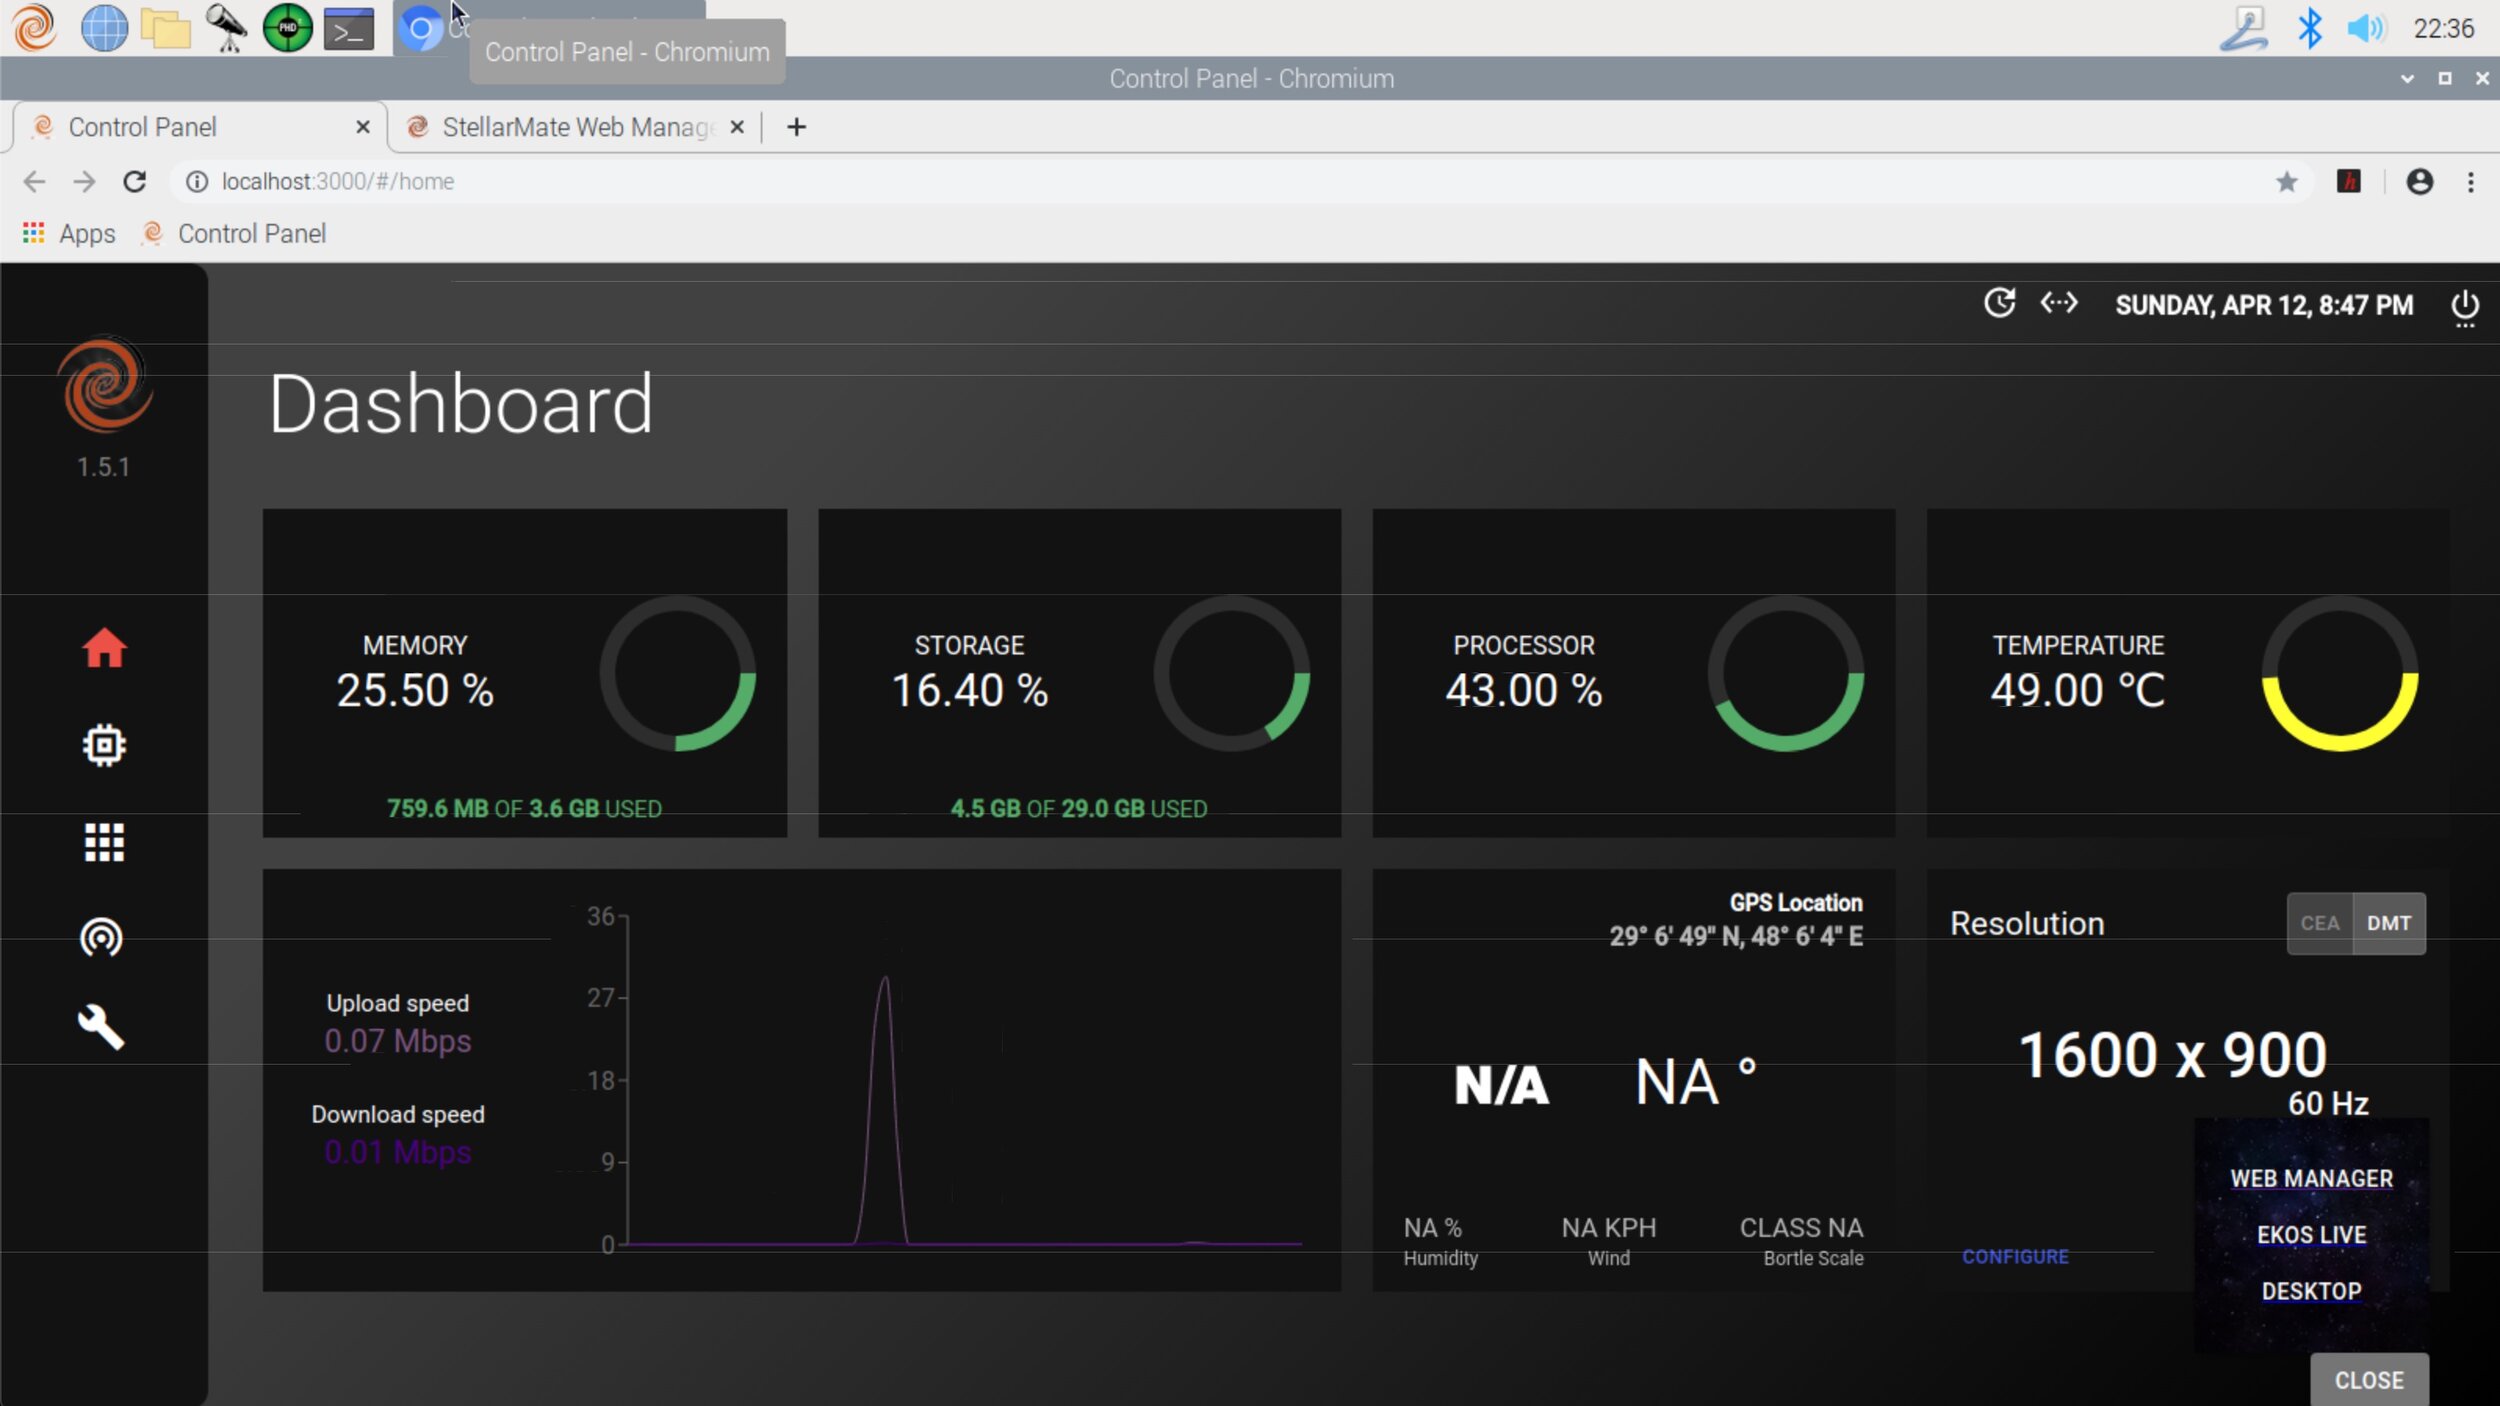
Connect and boot the Raspberry Pi device (connected to your telescope equipment) through VNC on your Mac or PC as described in part one. When first viewing the remote Pi through VNC you will want to close out KStars if it auto loads (there’s a preference to turn this off through the StellarMate dashboard), and look at the desktop of the StellarMate (Raspberry Pi) device.
You will see an icon there labeled “StellarMate Dashboard”. Double click that, and you’re presented with a web dashboard for your device. (UPDATE: In StellarMate 1.5.3 the Dashboard icon was removed for some reason. But if you click the blue globe web browser icon in the toolbar at the top, there will be a short cut called Control Panel. This takes you to the dashboard).
This dashboard view allows you to monitor the Raspberry Pi hardware, update the software, and install additional software such as ASTAP for astrometric plate solving with KStars on the Pi. But we don’t really need to use any of that functionality for this purpose.
In the lower right hand corner of the dashboard there is a menu you can select that opens up a few options. One of them is the Web Manager. This is where you create a profile for your equipment, and start the server on your Pi device.
Inside the web manager, you will need to create a new profile, by giving it a name, then press the plus sign to add the profile (upper right hand corder under New Profile).
Add your profile, then select the device drivers for your equipment from the Drivers drop down. You will select multiple drivers, making sure there is one for each piece of your equipment. If your main camera and guide camera are the same vendor and don’t see a unique driver for each camera, then you’ll just select that vendor driver. In my case, both my cameras are ZWO, and I only need to choose the ZWO ccd driver to use for both the main and guide cameras.
Once you have added all drivers for your equipment, press the floppy disk icon to save your new profile under the Equipment Profile. Note that you can make multiple profiles for different sets of equipment that you might have.
Lastly, if all equipment is connected to the Pi device, and you’re ready to start the server, Press the start button under the Remote Drivers box. The server quickly stars, and you are now finished configuring the pi device.
Install KStars/EKOS on your desktop Mac or PC computer
With your server now running, you can install KStars/EKOS on your Mac or PC computer that you intend to image with. This can be a laptop or desktop computer that is on the same network as your Raspberry Pi device running StellarMate.
Install and launch KStars. Configure your default time and location as described in the first tutorial where I cover setting up KStars on the Pi device. It’s the same process for KStars on your desktop computer.
Then launch EKOS by pressing the Toggle EKOS button in the top nav bar of KStars.
In the top portion of the EKOS window that loads, press the “wand icon” to run the profile wizard. Here we’re going to tell EKOS what hardware you’ve got running on the Pi Server, and how to connect to it.
The first window that pops up just describes what you’ll be doing. Press the Next button.
This window here gives you the option to select whether the telescope equipment is connected to the computer you’re on currently, or if it’s on a remote device. The Raspberry Pi is a remote device, so we will choose the bottom option.
In this next window we’re asked to choose the type of remote device. We’re going to pick StellarMate since we’re running the StellarMate OS installed on a Raspberry Pi. But if you’re running Astroberry, or ATIK base, you have options here to select those instead.
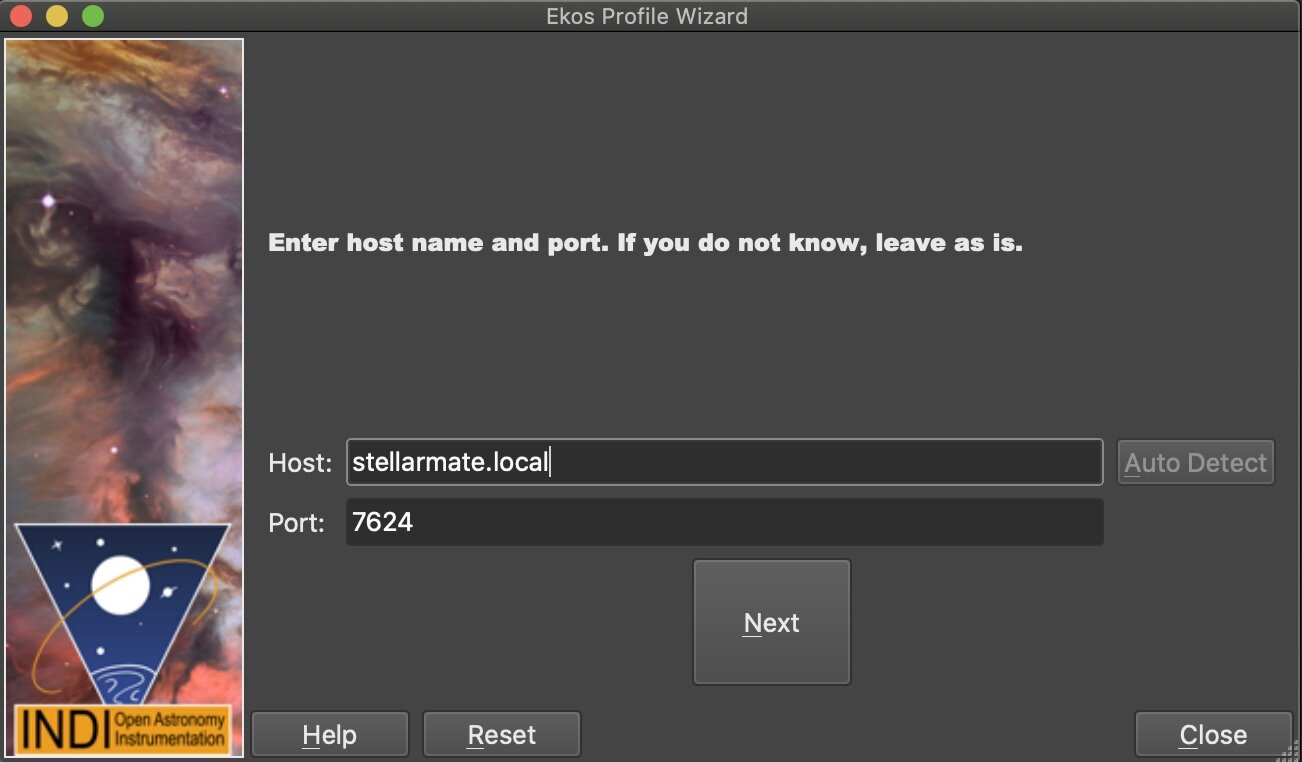
Next window shows the host address and port of the server. Leave these settings default if you have never changed the name of your device or port address on the Raspberry Pi. Press next.
The last option here is to give your profile a name, and select whether you will be using the EKOS guide software (internal guider), or external guide software PHD2 or Lin Guider. Press the Create Profile and Select devices button.
Now that your profile is created, we’ll add the pieces of equipment that are part of your setup and connected to the Pi device. I’ve added my mount, main camera, guide camera, filter wheel, Pegasus power box, MBox, and SQM devices. Make sure to add your telescopes with the Plus button at the bottom, this should include both your main telescope and guide scope. If you use an OAG, the Primary and Guide scopes will be the same. Now press the save button.
You’ll be back at the summary tab of EKOS, and from here you now press the Play button to start the connection to your remote equipment. Imaging will work exactly as it has when running directly on the Pi device as shown in the first tutorial, but you’re operating from your desktop instead. If you want a good overview of the capabilities of EKOS, see my overview here, and a tutorial here on capturing images.
A few things to note about remote imaging this way
You will find image capturing and focus will lag considerably compared to imaging directly connected to your equipment. Now you’re transferring every image over to your desktop as it’s captured. If you have a seriously high resolution camera like an APSc or full frame camera, where images are 50mb plus, you’ll notice a transfer rate of about 10-20 seconds per image. After all, you’re sending these images over WIFI, or possibly wired and it’s not as instantaneous as imaging directly.
There are a few things you can do to mitigate the speed if you’re impatient. As we all are in some ways. :) The speed does not impact the performance of capturing, and typical with short subs, like 30 seconds to 1 or 2 minutes, you have plenty of time between the subs for the transfers to take place. But this scenario is not going to be ideal for planetary capturing where you need to transfer large amounts of data rapidly. This is only ideal for DSO imaging.
To mitigate or speed up focus, you can select sub frame focusing, where EKOS will capture only the area around a single focus star, and transfer only a tiny image, not a full frame. You can also consider binning your focus images to 2x2, and even 3x3 for very high resolution cameras and gain a considerable speed up for these specific functions.
Binning also works for the align module, where you only need to plate solve your current pointing position. I bin 4x4 here without any issue on my ZWO ASI2600 camera. Smaller sensor cameras might only consider binning 2x2.
You will want to leave your main capture module set to bin 1x1 so that your captured images are full size. So expect a longer transfer here with each captured image.
Finally, and something I’ve personally done, is go to a wired connection in my back yard. You might wonder how this is achieved as most people do not have an ethernet connection in their back yard. Well, I use the TP-Link Powerline adapter, which allows you to run ethernet through your AC wall outlets. The kit comes with two adapters. One to place near your router, where you run an ethernet cable out of your router into the Powerline adapter, and plug that power line adapter into the wall outlet. The second one, I have plugged into the wall outlet on my back porch, and the ethernet comes out of that device and goes to my Raspberry Pi.
My outdoor outlet with ethernet signal going through the AC outlet into the Powerline device. Ethernet then comes out of that device and goes into my Raspberry Pi. You don’t even use up the outlet, as the Powerline unit has an empty one ready to plug something else into it.
Since both my mount and Raspberry Pi unit use ethernet, I bought a cheap Netgear Gigabit switch ($30) to split the connection so I can run ethernet to both my mount and Pi unit.
Proverbial box of wires featuring my switch, and Raspberry Pi.
And finally, the imaging rig set up and ready to image.


