What is the ASIAIR Mini?
The ASIAIR Mini is ZWO’s 4th generation ASIAir device. This is an all-in-one device that replaces a laptop, USB hub, power supplies, WiFi router, and complex capture software for your astrophotography setup. The interface of the ASIAIR device is accessed through your cellphone, tablet, or Mac desktop using the specialized ASIAIR application. You can see my previous review of the ASIAIR Plus here where I cover more of the basic operation of ASIAIR devices.
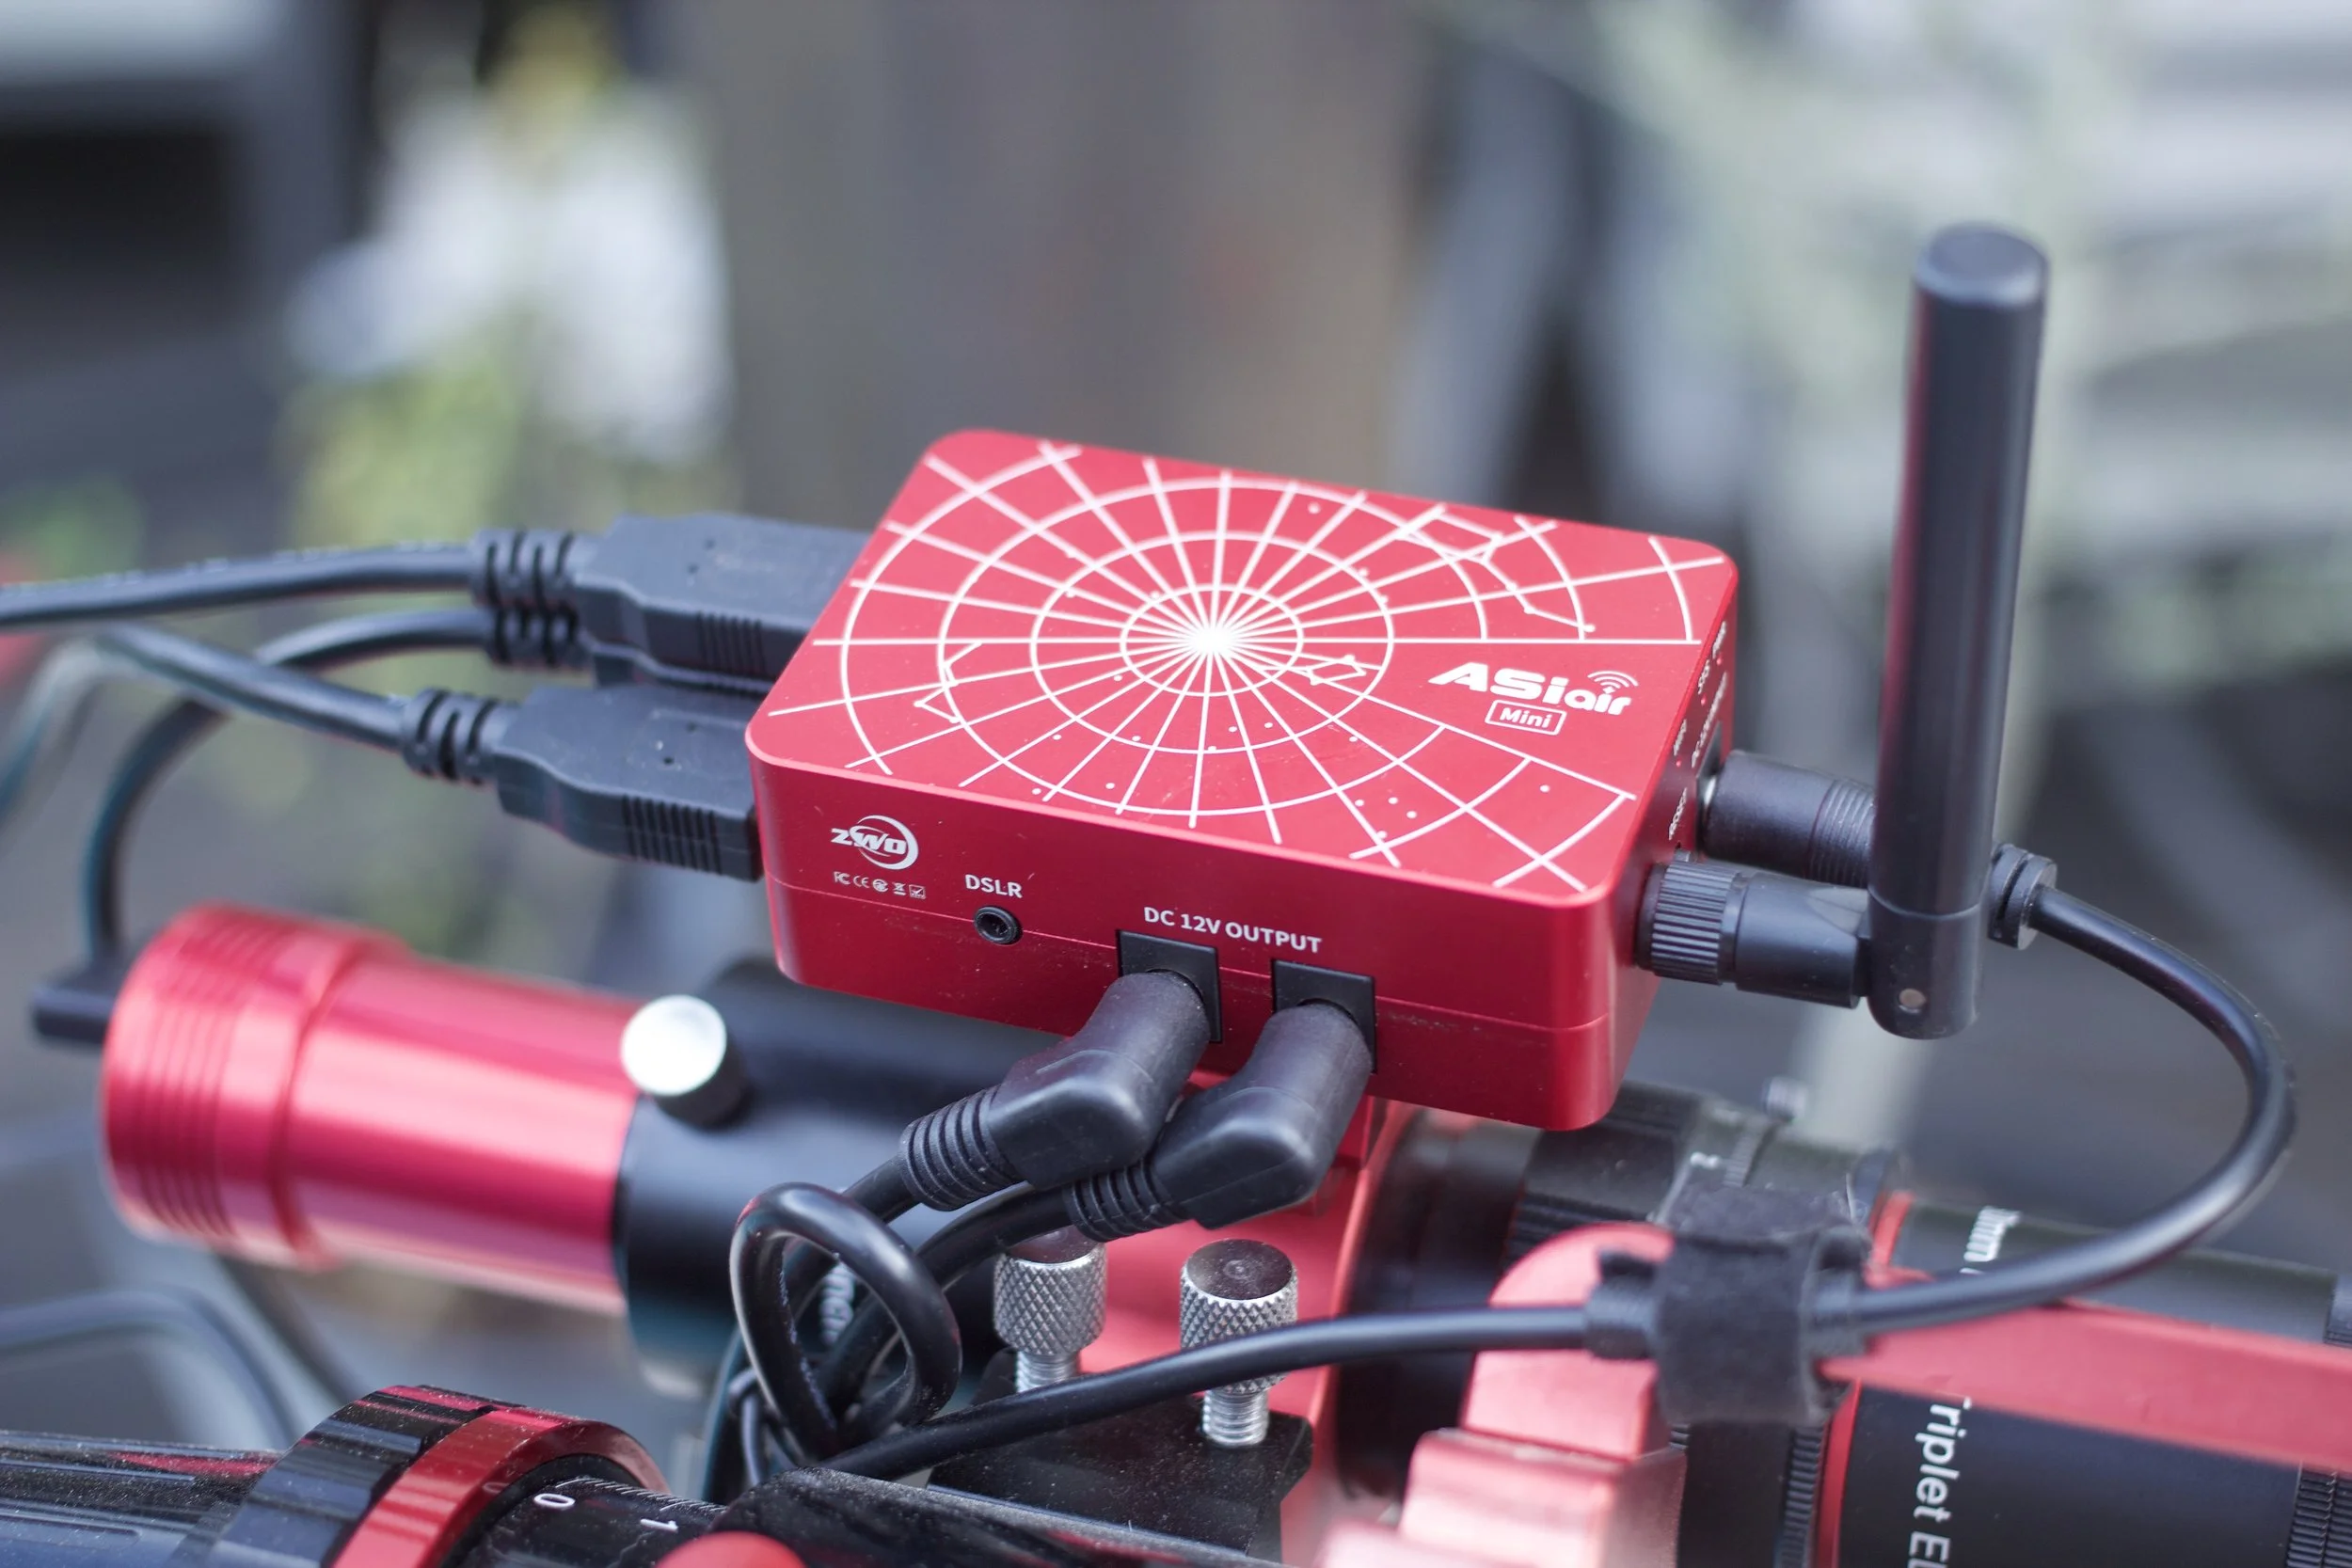
If you’re familiar with the ASIAIR devices then you might be asking what’s new here? For starters, the ASIAIR Mini is tiny, it fits in the palm of your hand. You might notice from the photos that in order to achieve this tiny size, some basic hardware items had to be removed. There’s no Ethernet port or power switch. And while those two things were taken away, it’s possible to shut down the unit from software, and the WiFi remains quite robust for connectivity.
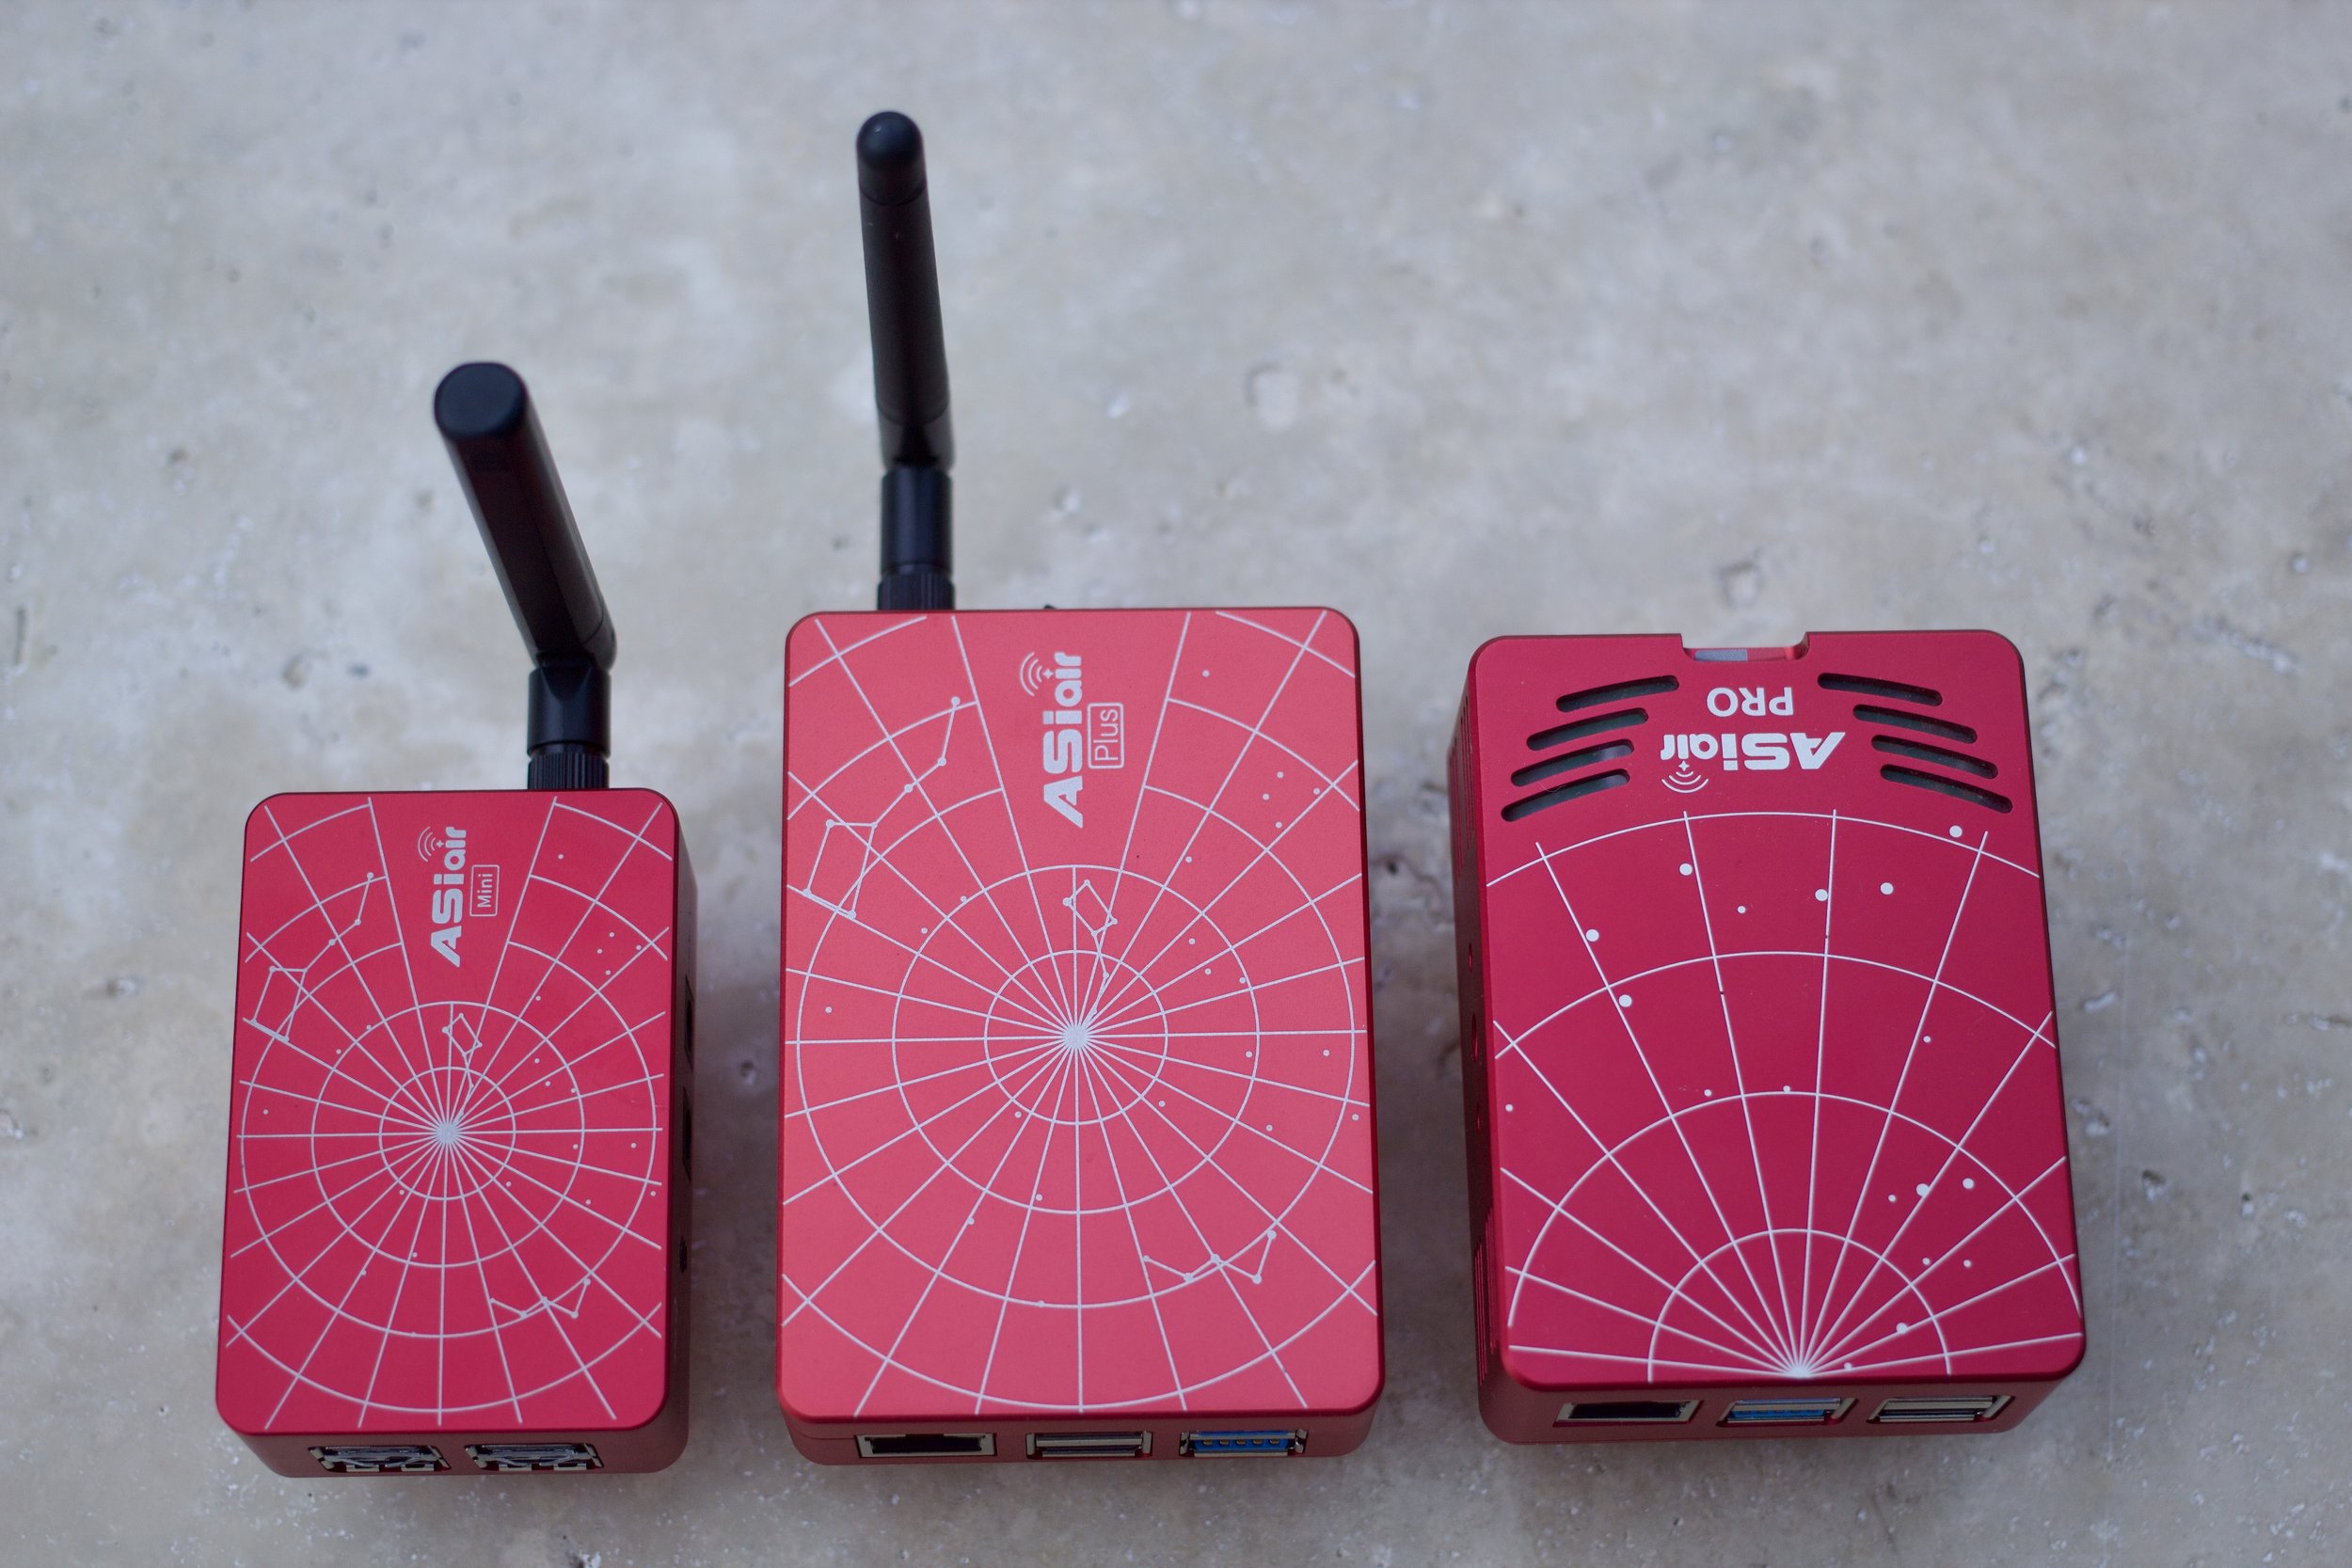
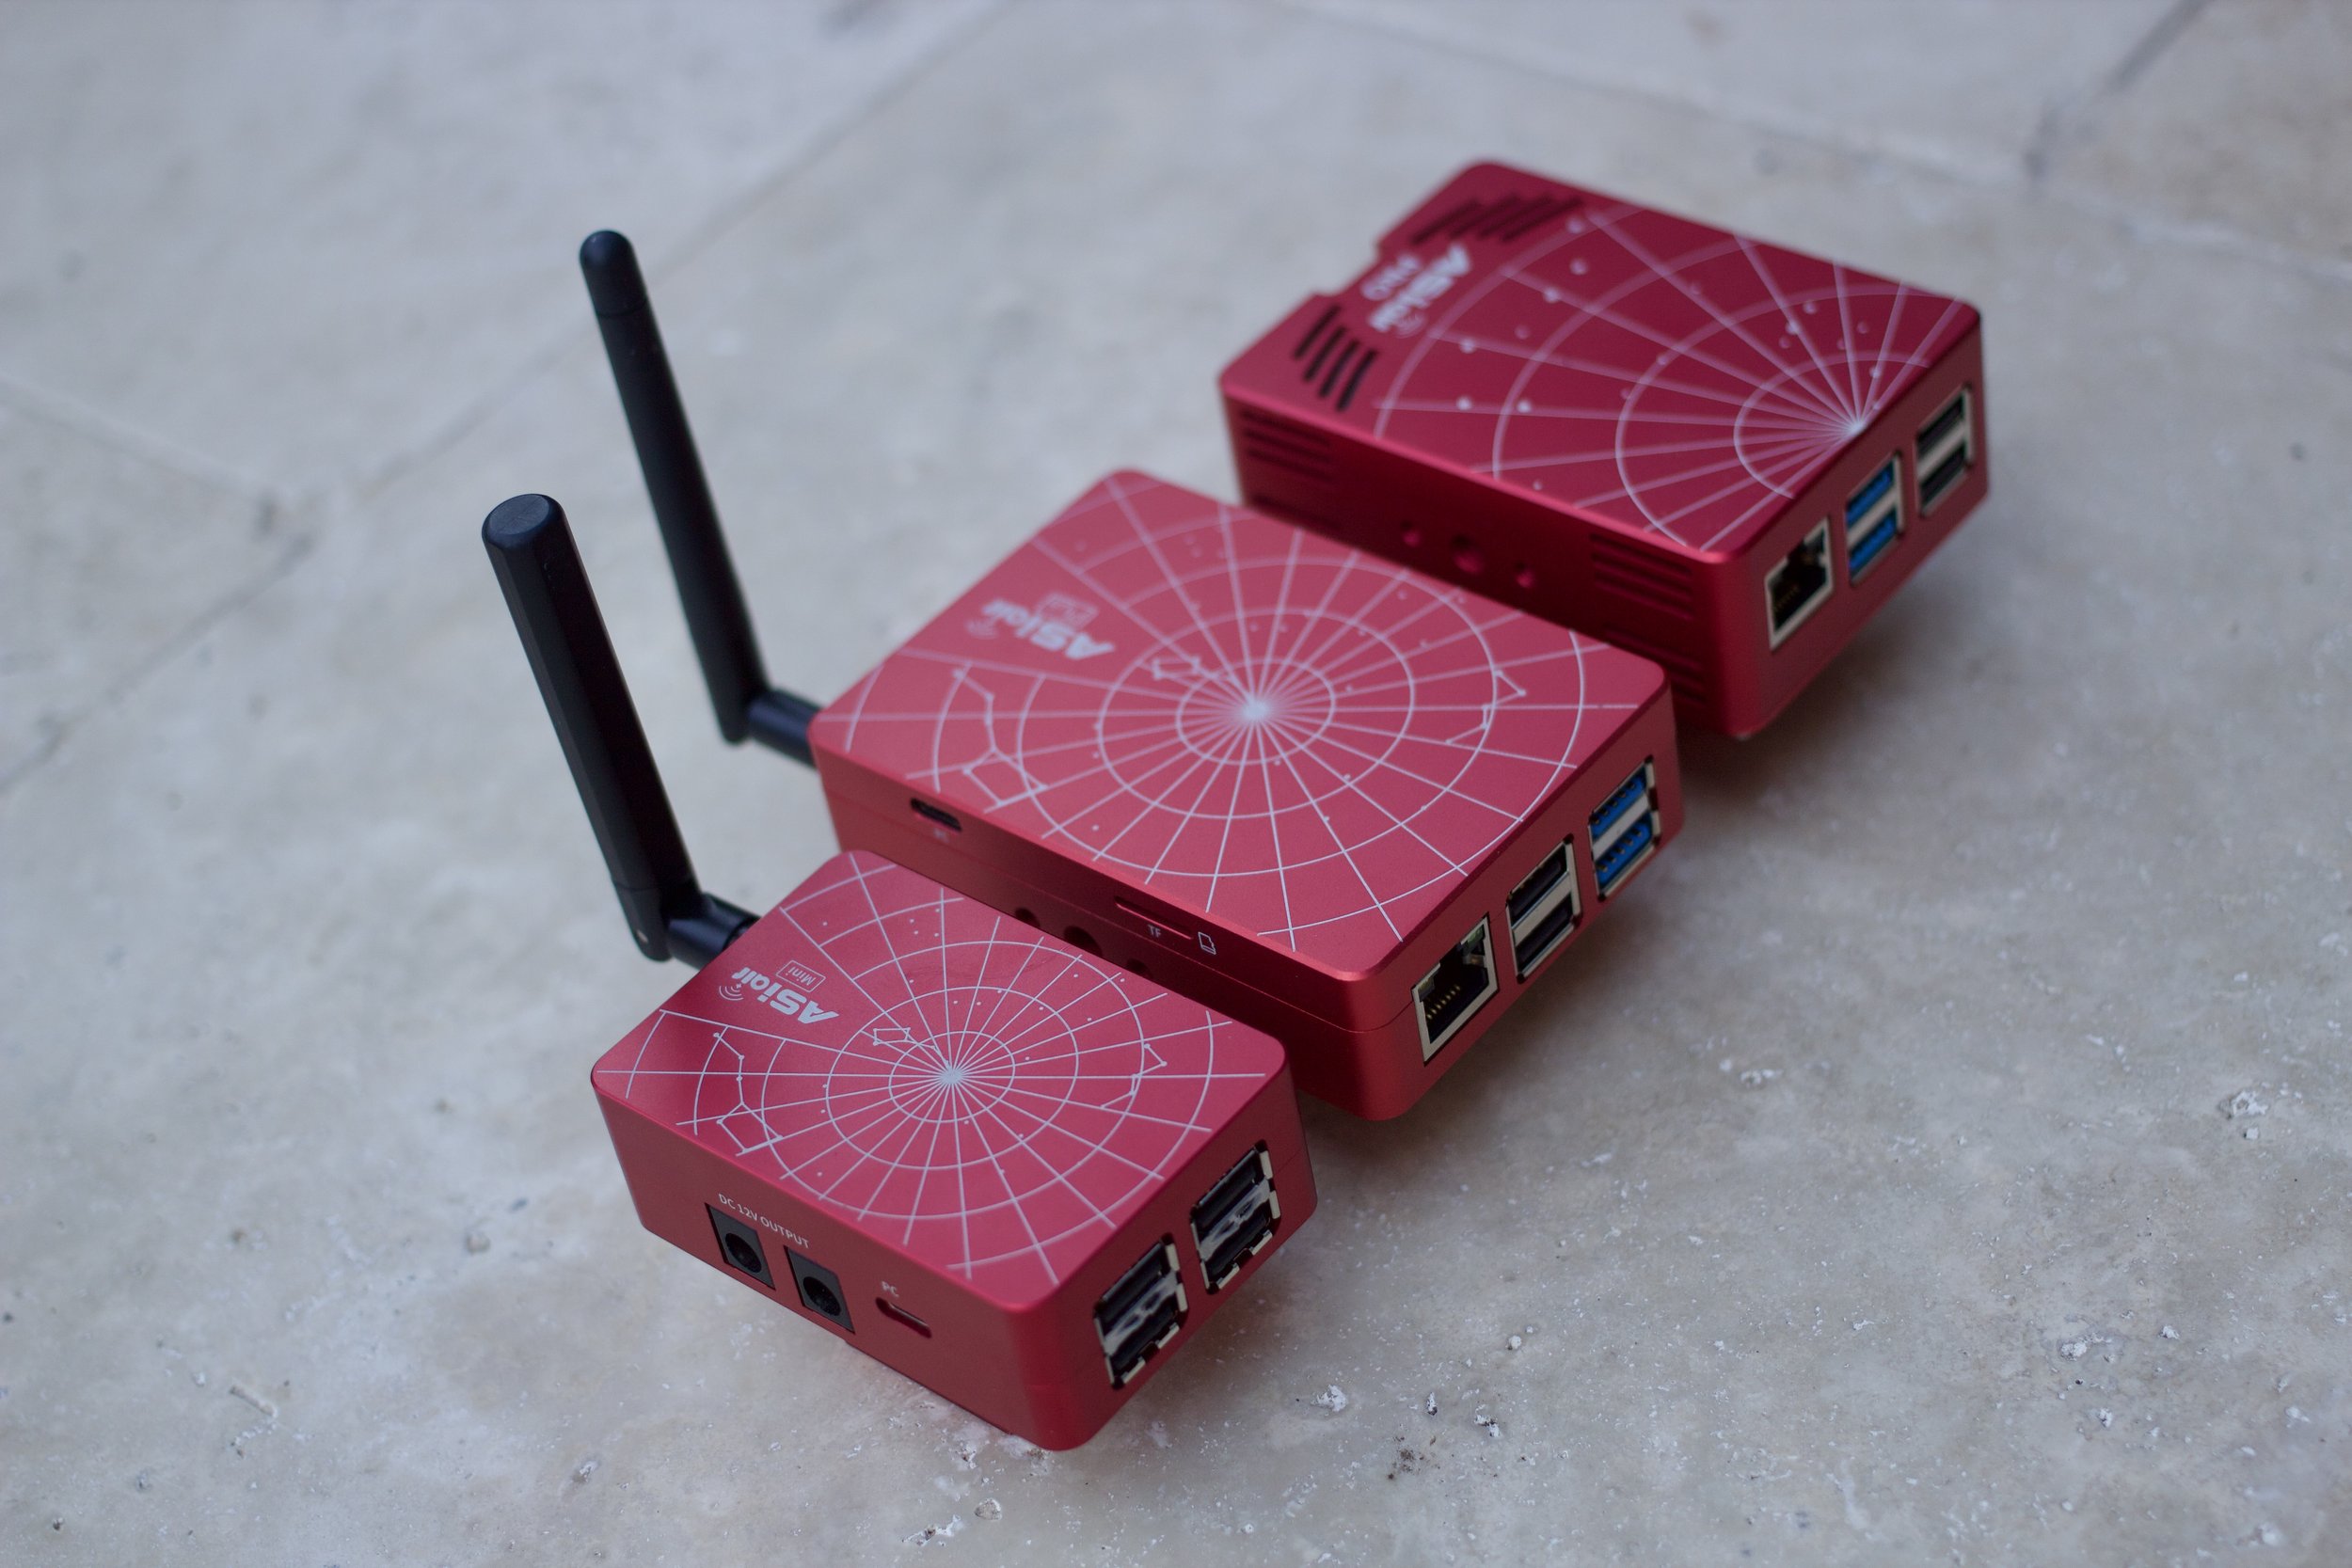
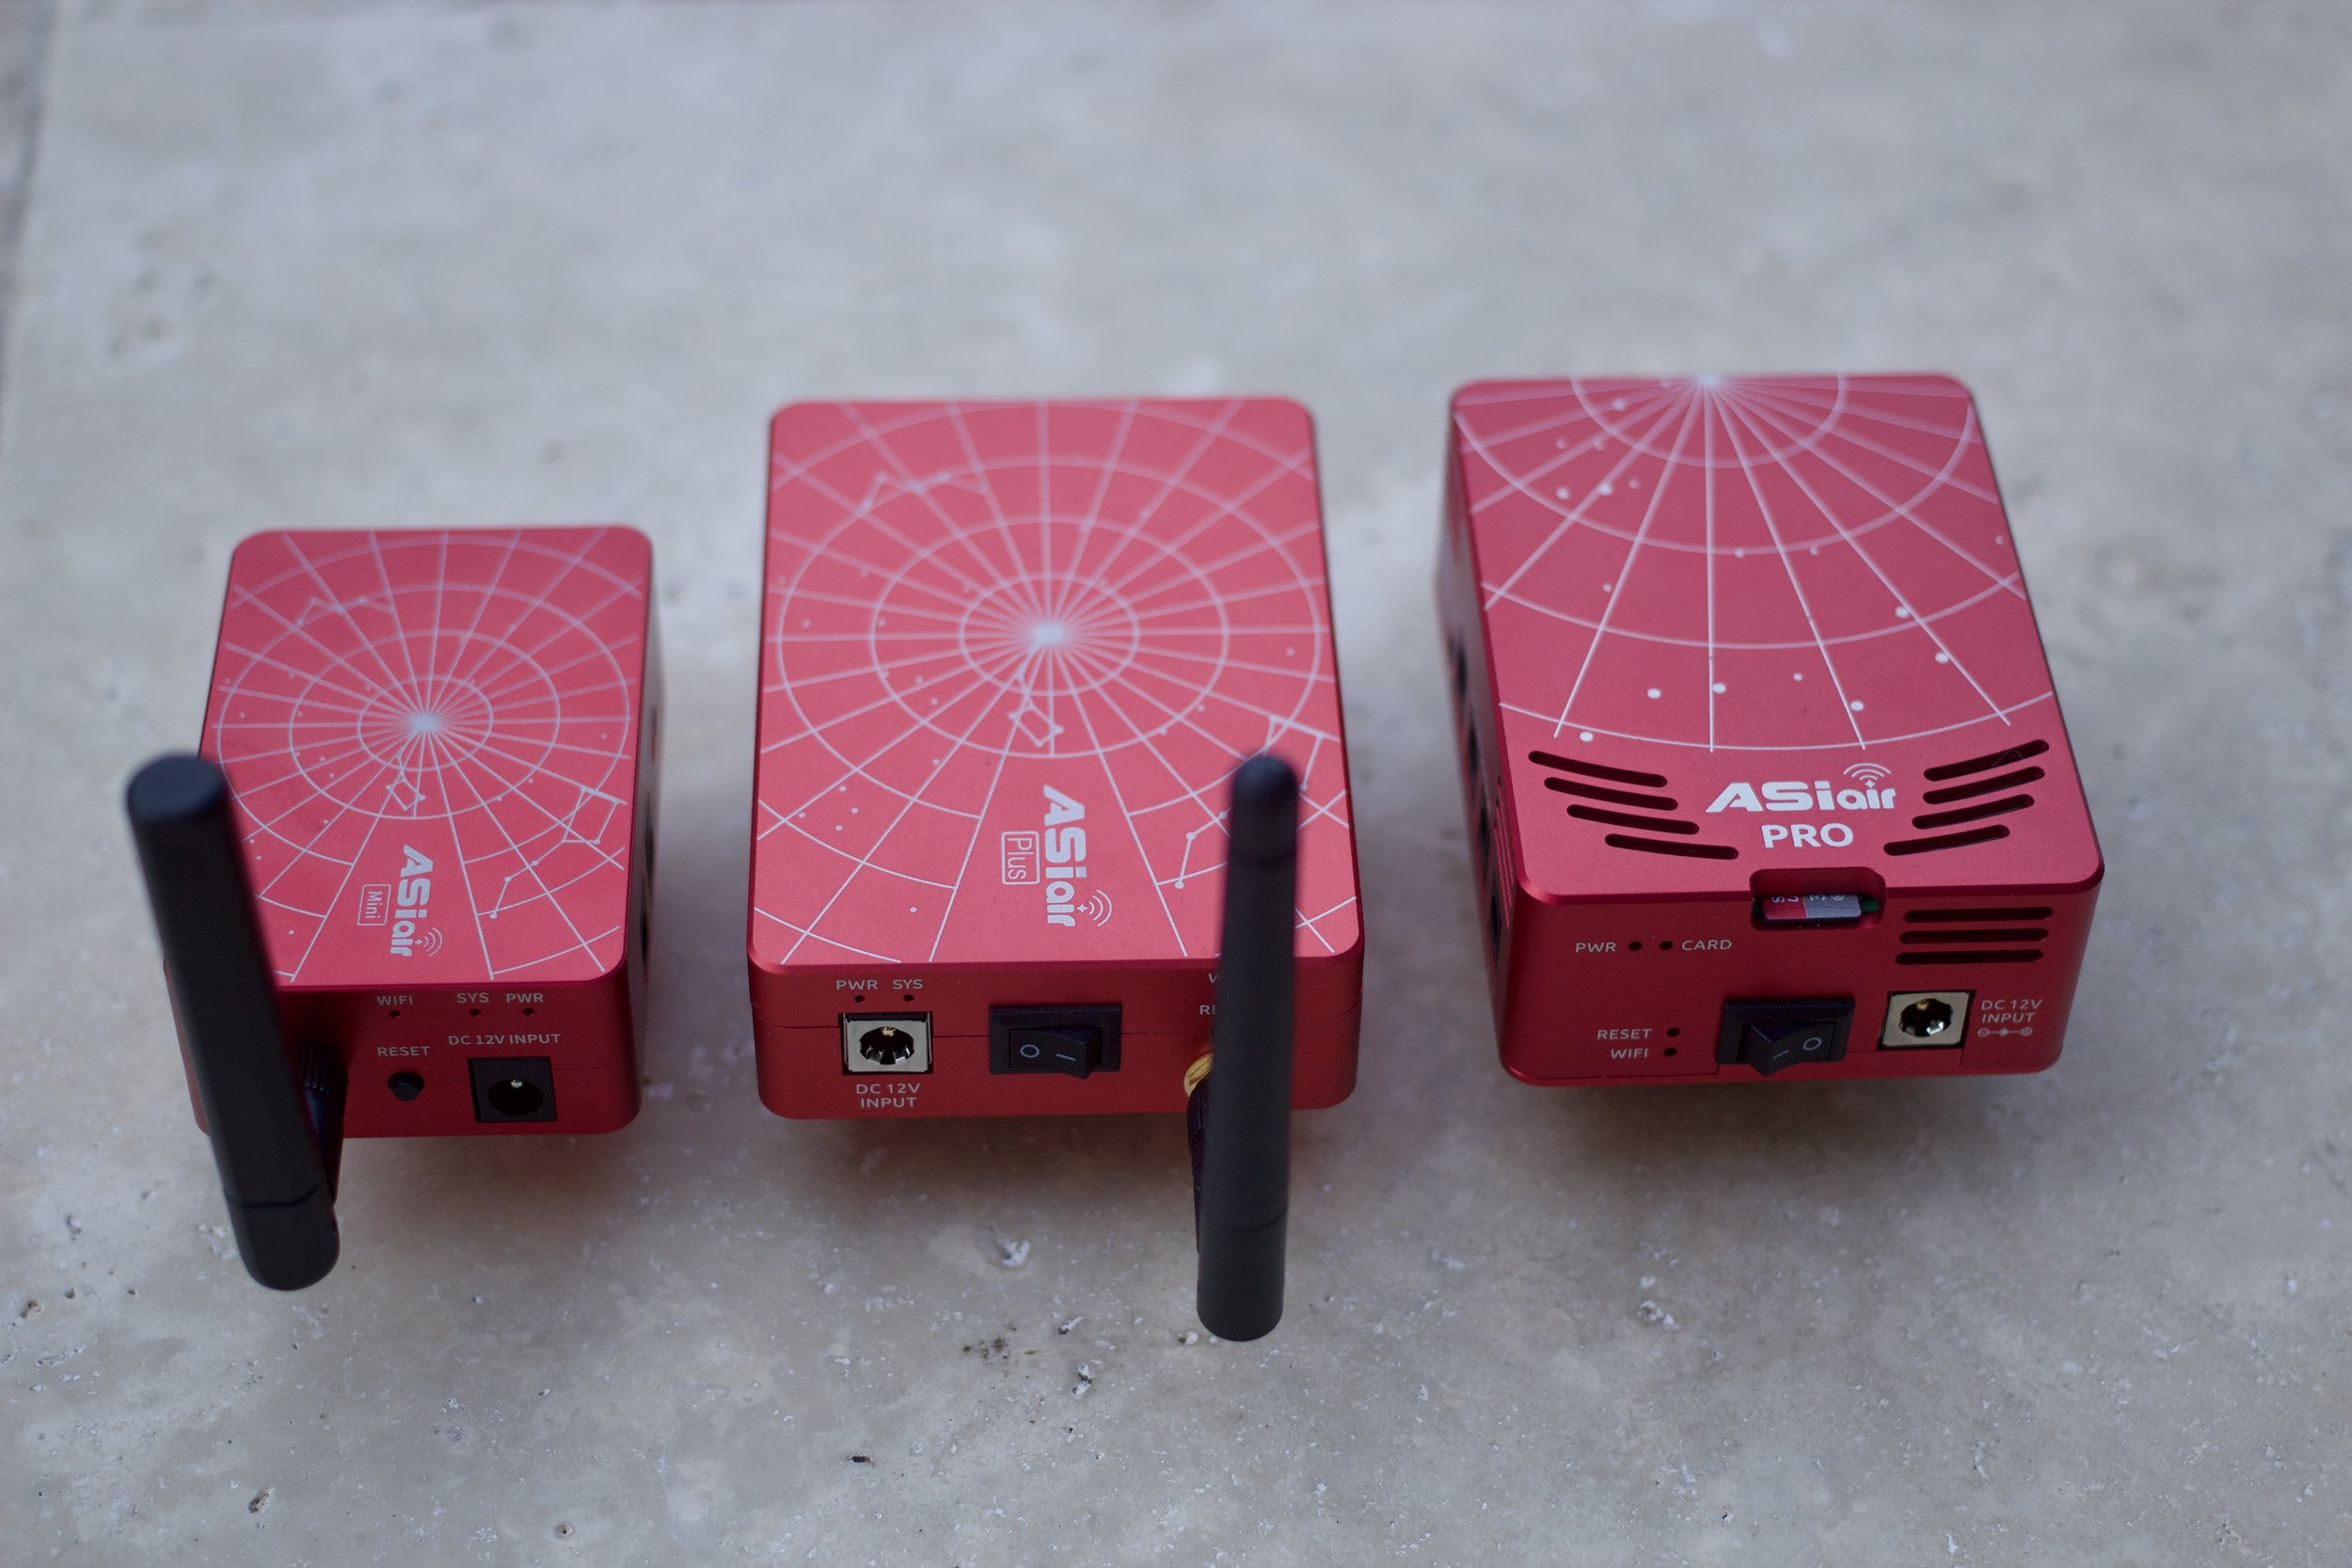
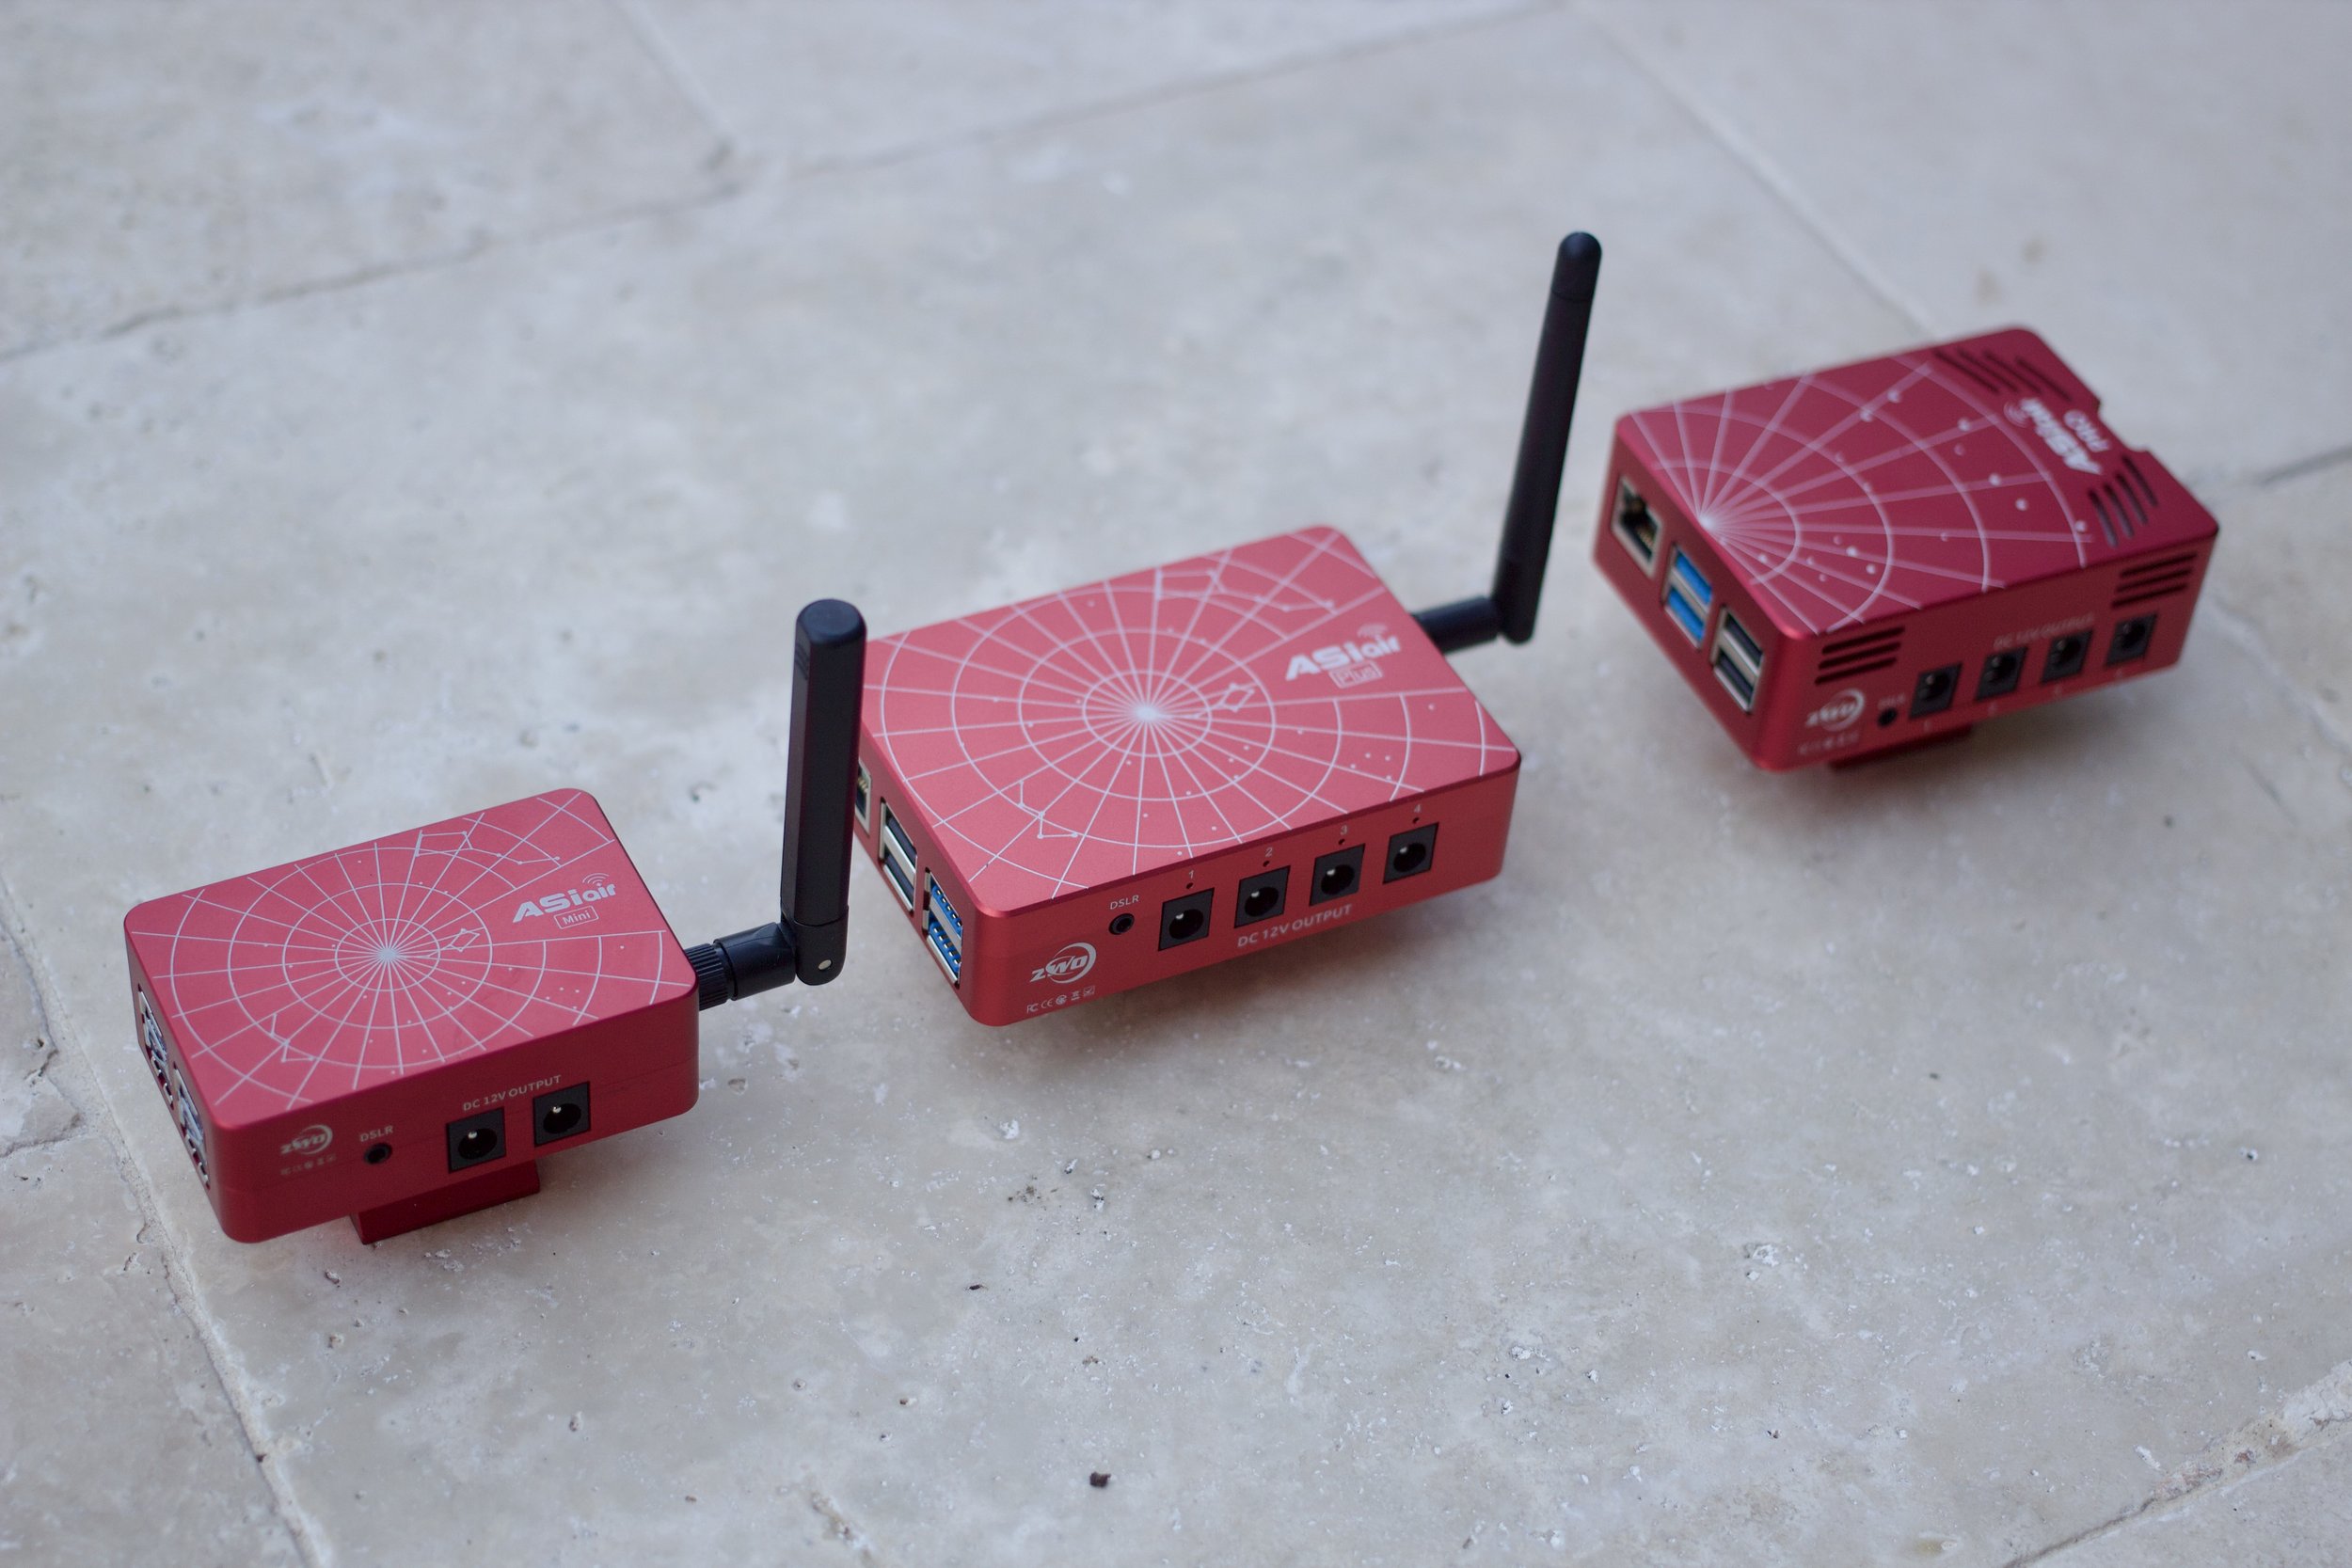
The Mini maintains 4 USB ports, 4 power ports, and a powerful WiFi antenna. In my testing the WiFi reach exceeded the ASIAIR Plus distance which already allowed me to control the unit from within my home. I was able to set up the telescope in the back yard, and control the unit from the front yard, a distance of at least 60 feet and through the walls of our home. The Mini’s USB ports are all USB 2. While this is a downgrade, it’s not as big of a drawback as you might think. Large color images from my ZWO ASI2600MC-Pro camera download within seconds after capture. Even during fast sequences like capturing bias frames or flats, the images were downloaded and stored on device faster than they could transfer over WiFi to display on my iPad. The largest drawback of going to USB 2 is that full frame cameras will not work with the live stacking feature. But those same full frame cameras will work great with deep sky imaging on the Mini. ZWO didn’t provide any reasoning for the switch to USB 2 only, but I would assume it allowed them to further cut costs and still maintain a very capable unit.
Small in Size and Cost at $199
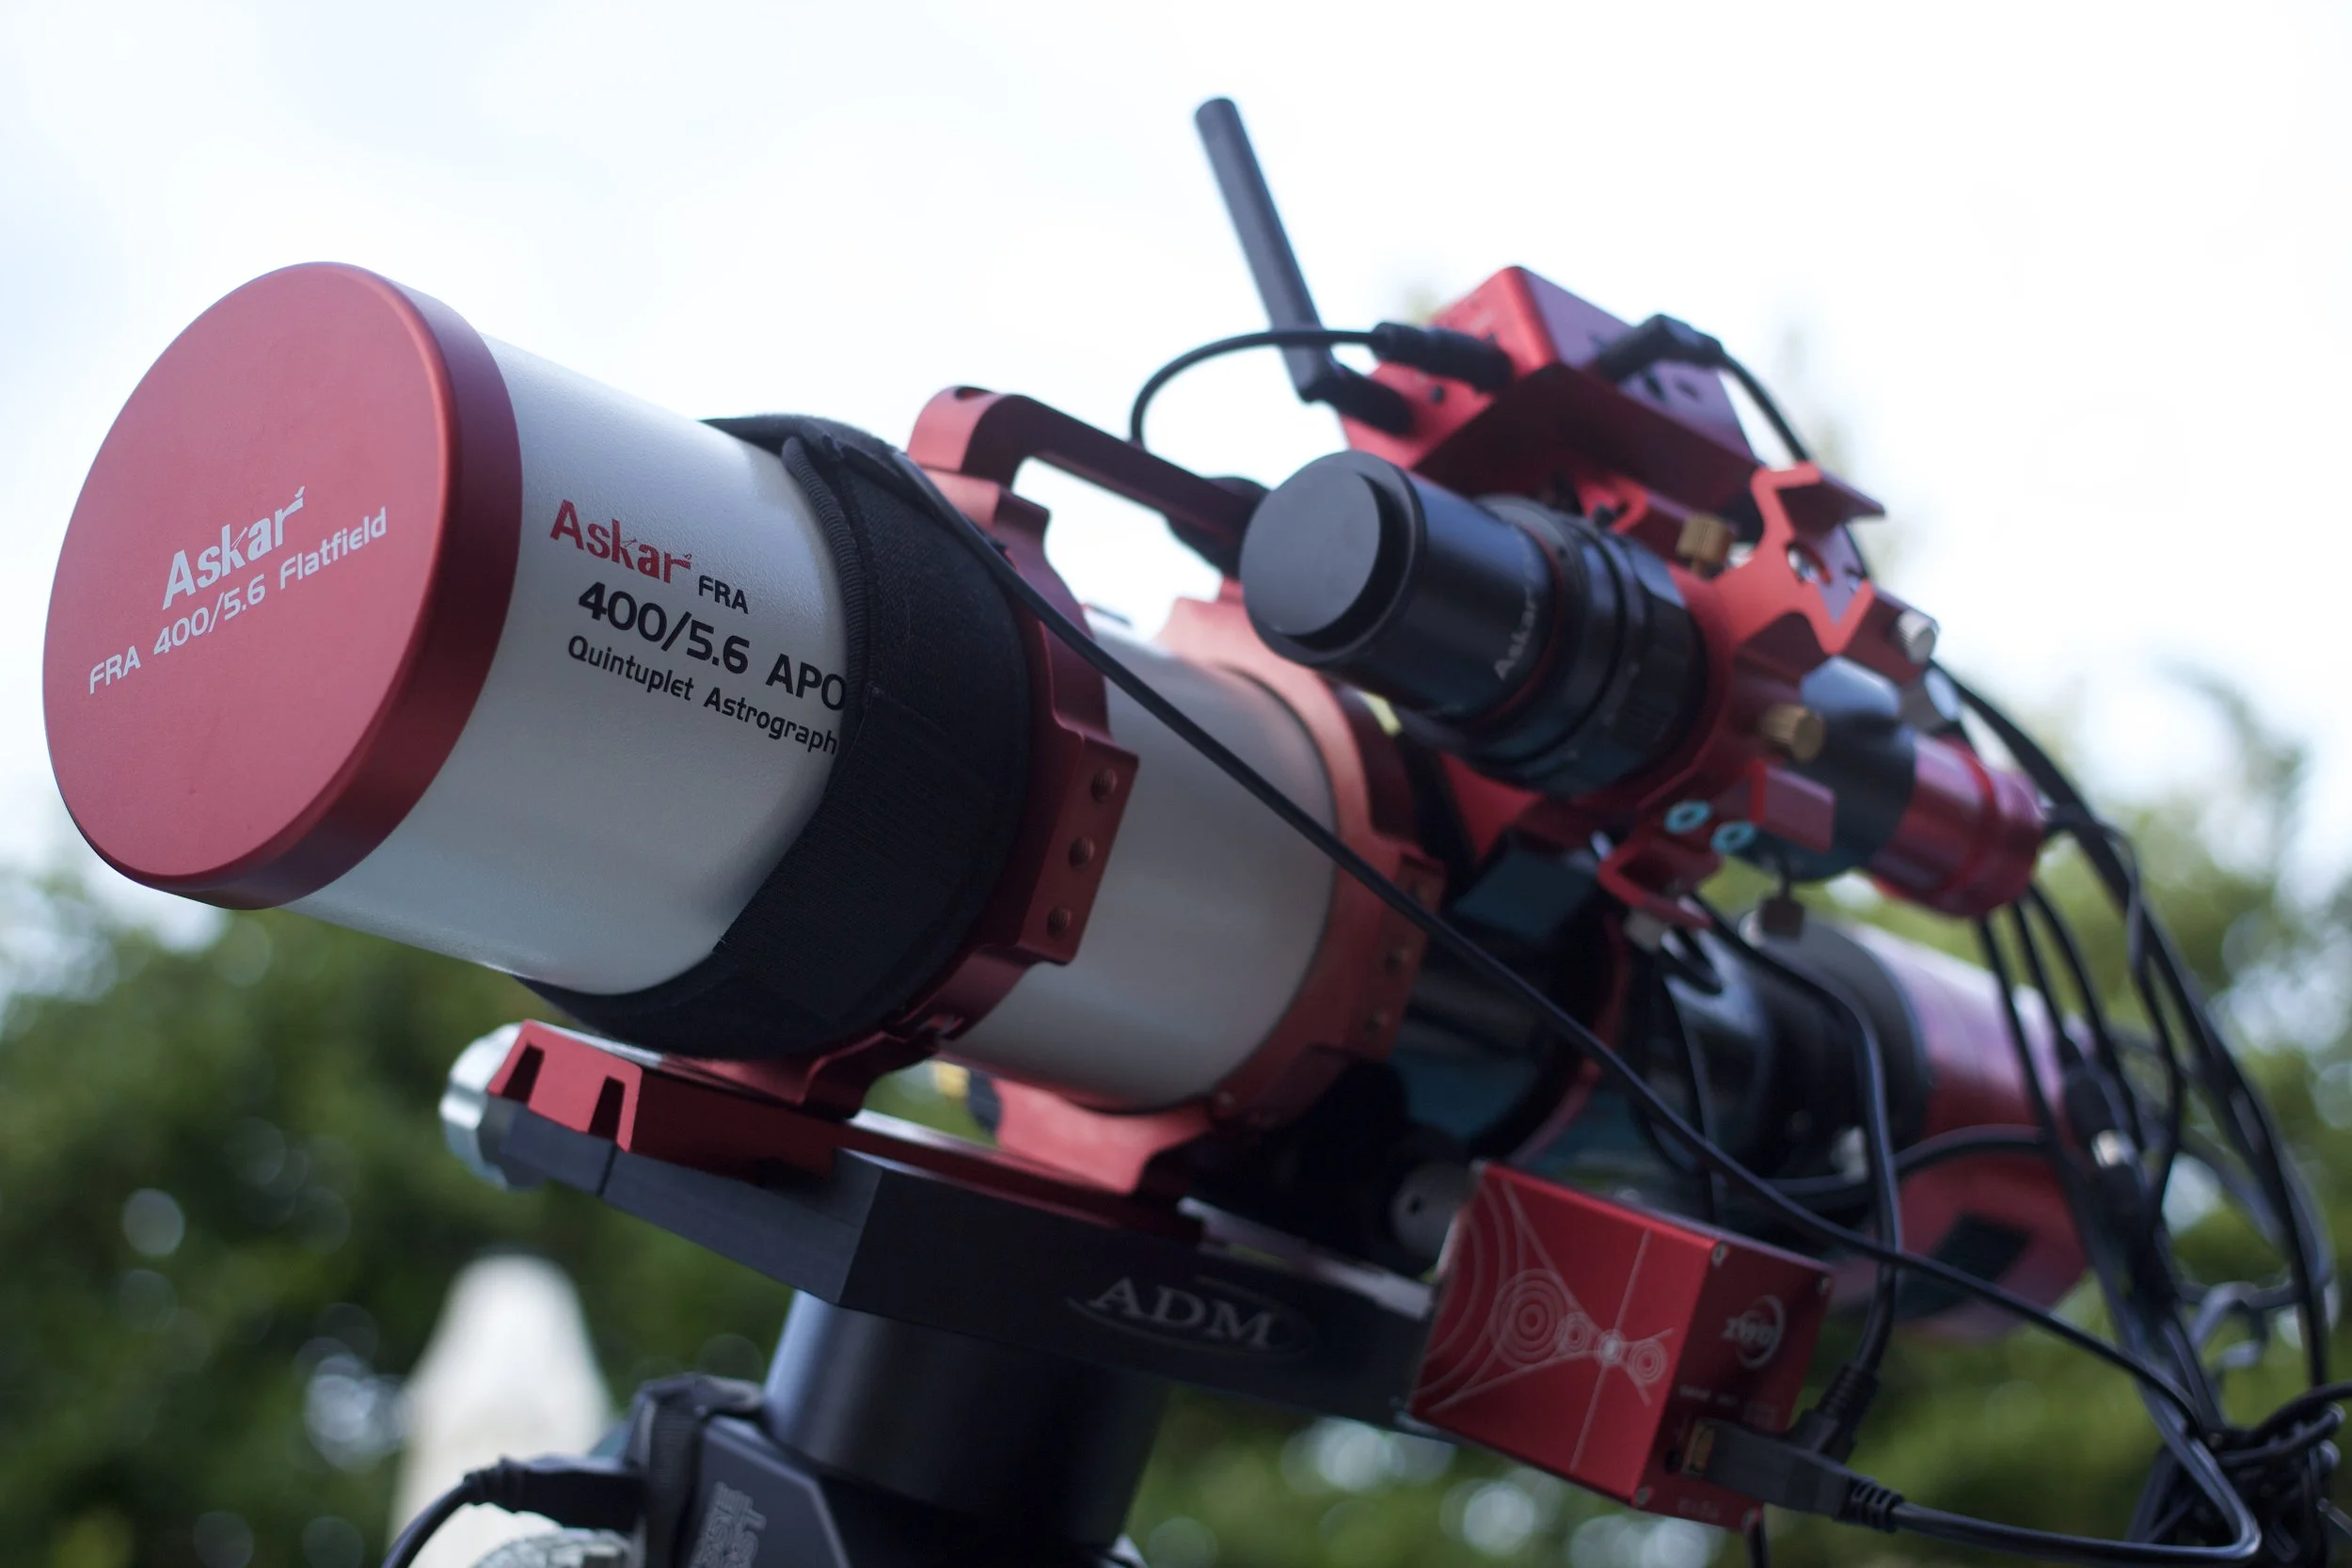
The largest feature of this device is arguably its “mini” price. At $199, you could afford to put one on each telescope you have, making setup of each scope a simple task of placing the scope on your mount. This might not be an option for everyone, but I personally like to maintain completed telescope setups where I have a telescope with control device and camera already tuned for use, and I only swap out the scope on the mount I want to use. One improvement ZWO could make in this regard, for single device users, is the creation of telescope profiles. This would allow you to save sets of equipment and configuration settings for each setup you use, thus making device swaps a lot easier.
ASIAIR Software 2.0 Update
Aside from the new size and lower price point, the real shining moment here is that all ASIAIR devices are getting a massive software update with the 2.0 revision set to be released any day now. 2.0 brings with it a ton of new features.
The new 2.0 interface on an iPad.
Some of the new features you can expect in the software update:
A new refined interface to address overall usability
A new mosaic planner
Dark library for your guide camera
DSO Image stacking on device
Object filtering by time and altitude for “Tonight’s Best” targets
Camera rotation assistant for perfect target framing
All sky polar alignment (no longer need Polaris for proper alignment)
Photo sharing within the ZWO network
Social features to see other astrophotographers nearby on a map
In addition to these major features, there are lots of minor issues that have been addressed. One of my own frustrations with the camera dew heater setting not saving has now has an advanced setting to turn this on automatically. I’ve also noticed that after reconnecting to the Mini you don’t have to wait on the current image to finish exposure before you can see it previewed, the software now loads the previously taken image into the view port to check progress on your captures.
These refinements are leading to a more positive experience for astrophotography users of all skill sets. Even for me, as I began to test and review this device, I had personally never delved into making mosaics for fear of the complexities involved. The ASIAIR Mini and the 2.0 software update really gave me a very positive experience in making my first mosaic.
Making a Mosaic
ZWO’s interface is logically broken down into multiple parts depending on what you want to do. On the right hand pane of the window there is a menu item highlighted in yellow, which allows you to change the current mode of the device.
Focus: allows you to manually or automatically focus with an EAF
PA: Polar alignment
Preview: allows you to pick and view targets at will with any exposure setting to test things out
Autorun: a simple method for setting up a string of captures. This can be a series of calibration frames, or light frames for any target already acquired through Preview
Plan: for more complex unattended operations you can define mosaics here, multiple targets, autorun sequences per target, and startup and shutdown timing.
Live: live stacking operations can be done in this section, with each subsequent image taken in succession being aligned and stacked to the previous to view targets in real time. Calibration frames can be applied to the live stacking process for the best viewing by yourself or with an audience at outreach events.
Video: Planetary video capturing can be done from this tab with controls for exposure, gain, white balance and more.
I didn’t explore Live stacking or Video in depth as I don’t often do that type of astrophotography. But I did delve deeply into all the other sections, and especially plan mode to make my first mosaic. Follow along the process outlined with the screenshots below.
At the end of my plan, there was a failure message. Three frames of my final mosaic tile didn’t complete, and there was no warning as to why. ZWO needs to improve the error messages to state what happens or a new user would be at a loss here. I suspect the real reason there was an error, is that the plan reached my end time setting of Astronomical Morning Light before it finished capturing the frames. Shutting down the equipment prior to sunrise was the correct behavior, as you don’t want to be capturing 5 minute exposures with the sun up in the sky. But I wish that the error message had told me this. One possible feature the ZWO team could introduce is a message prior to plan execution stating that the plan will not finish in the allotted time, and that it would need to continue into the next evening.
Regardless of that issue, I had no trouble completing my first mosaic! I’m really impressed with this feature, and will set out to do more in the future. The end result is really great.
My first mosaic ever created. Six panels covering the Heart and Soul nebulas.
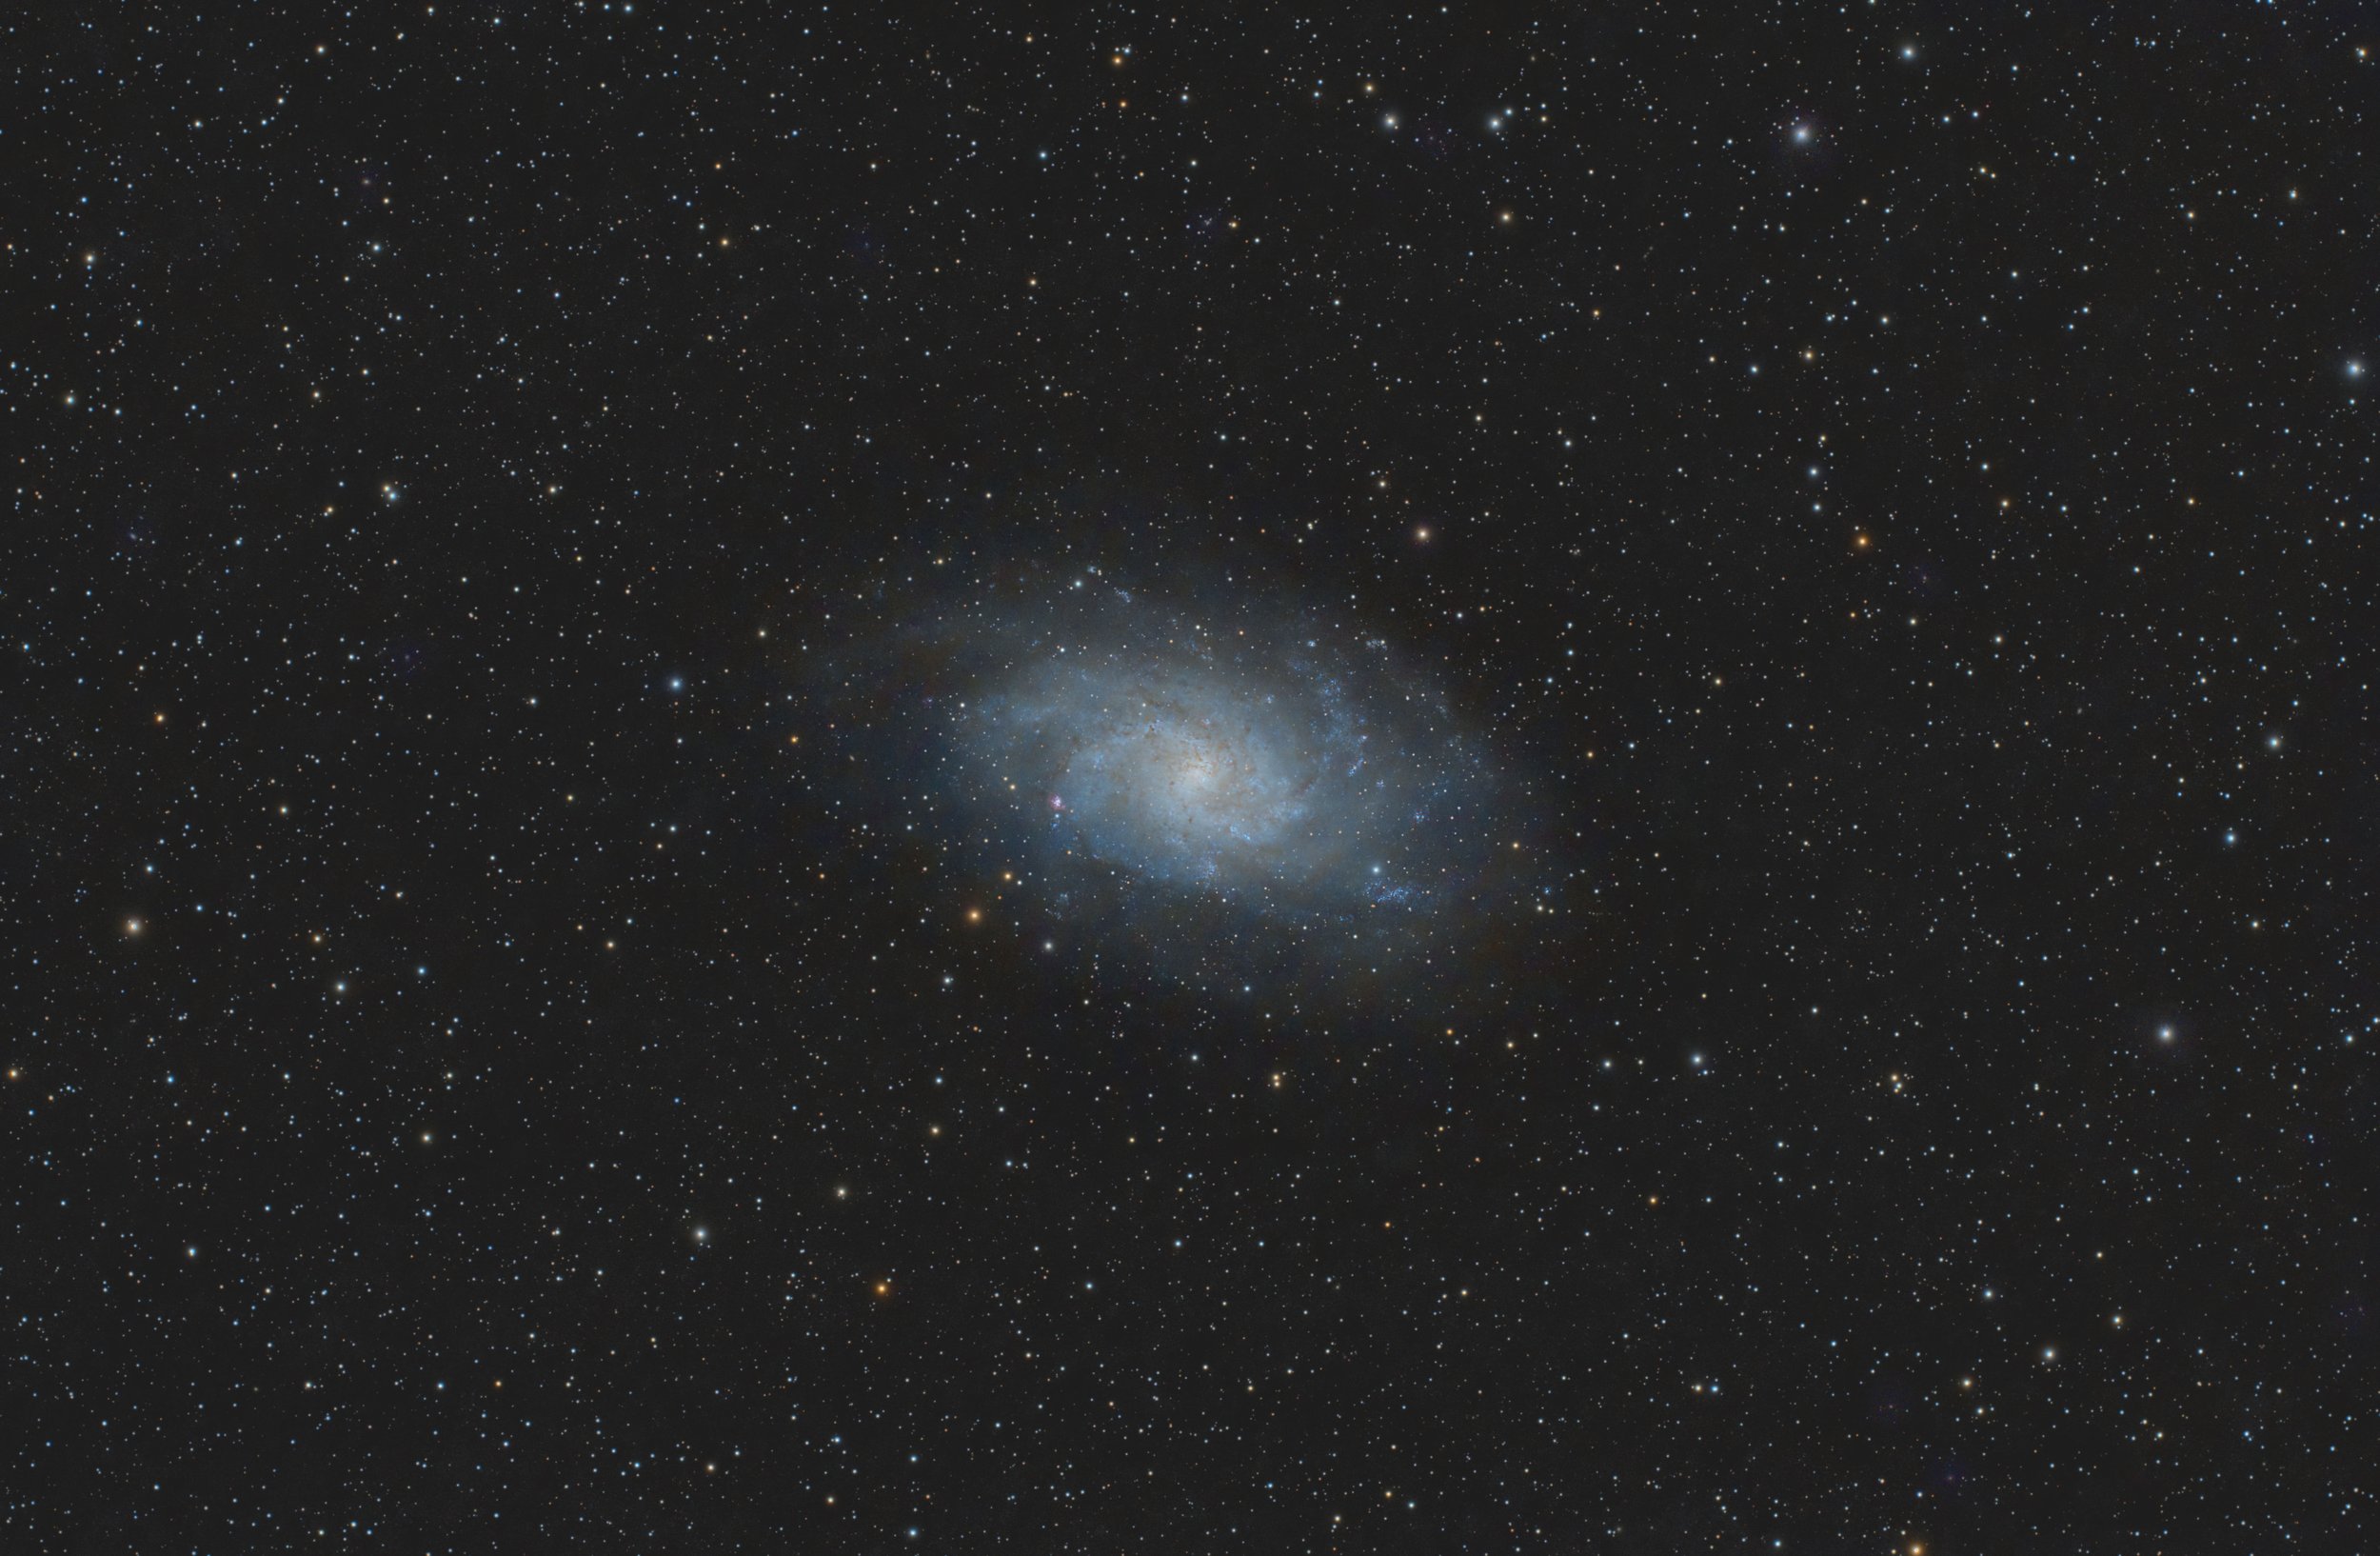
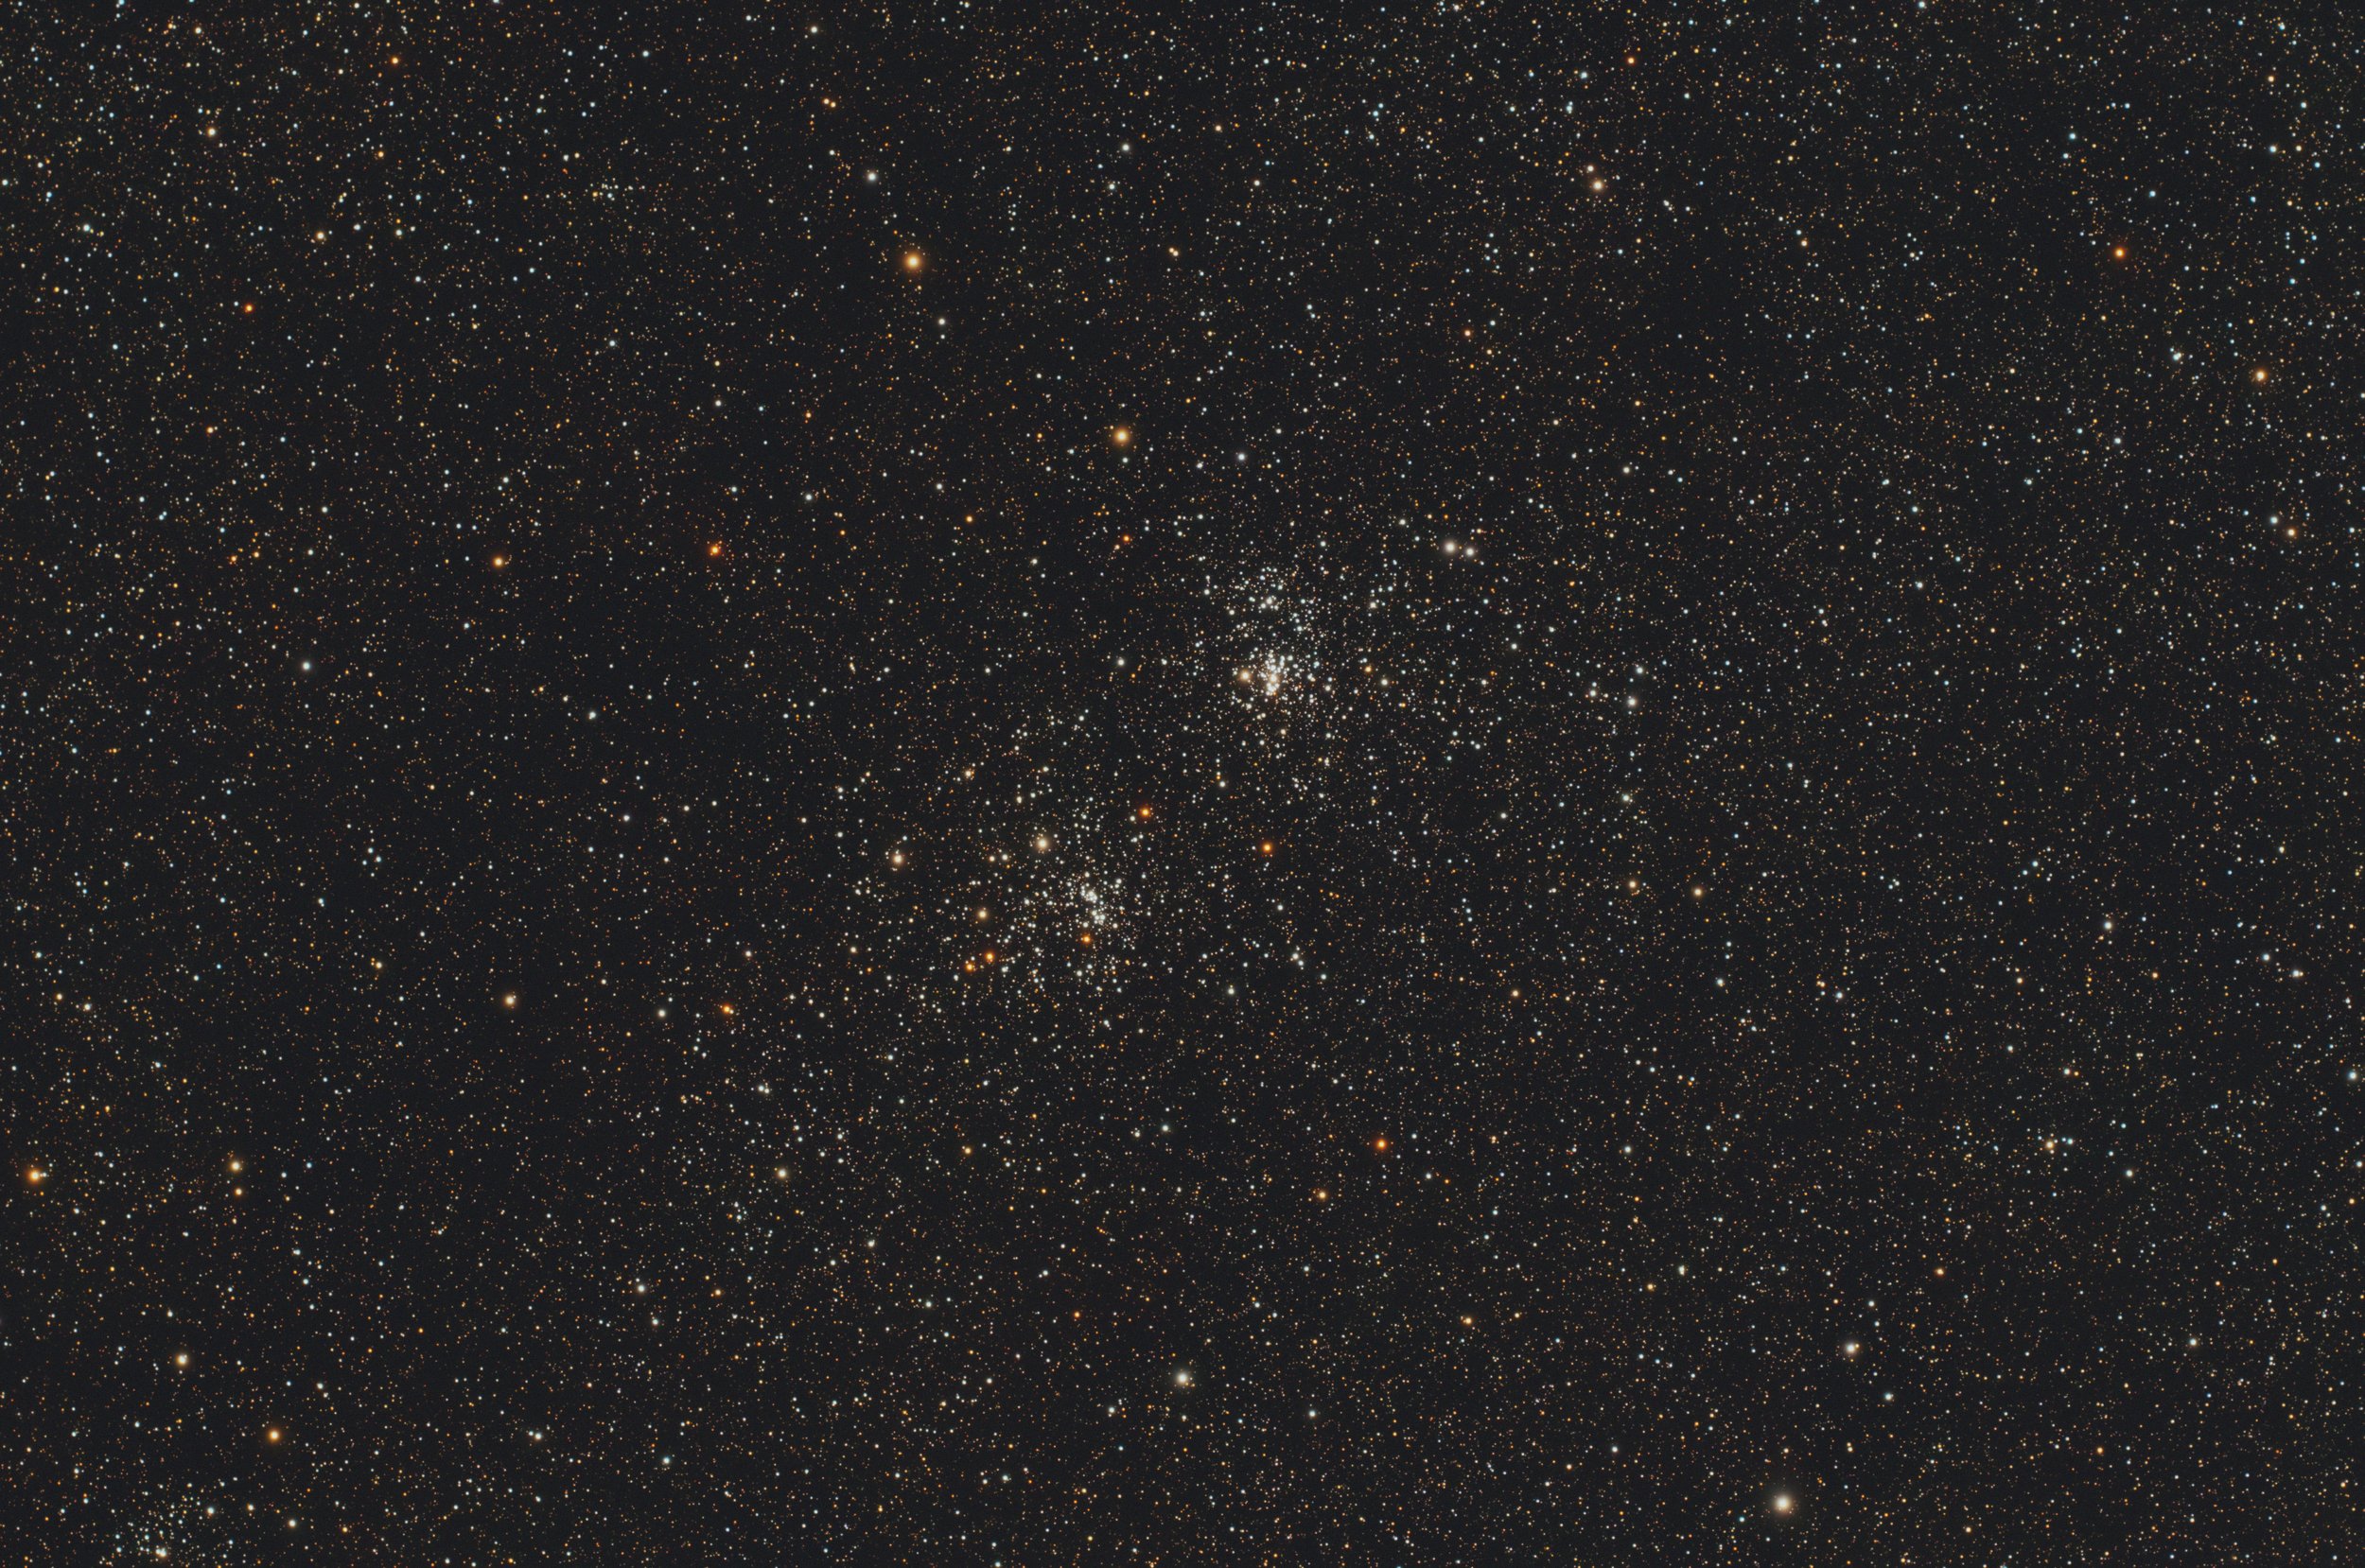
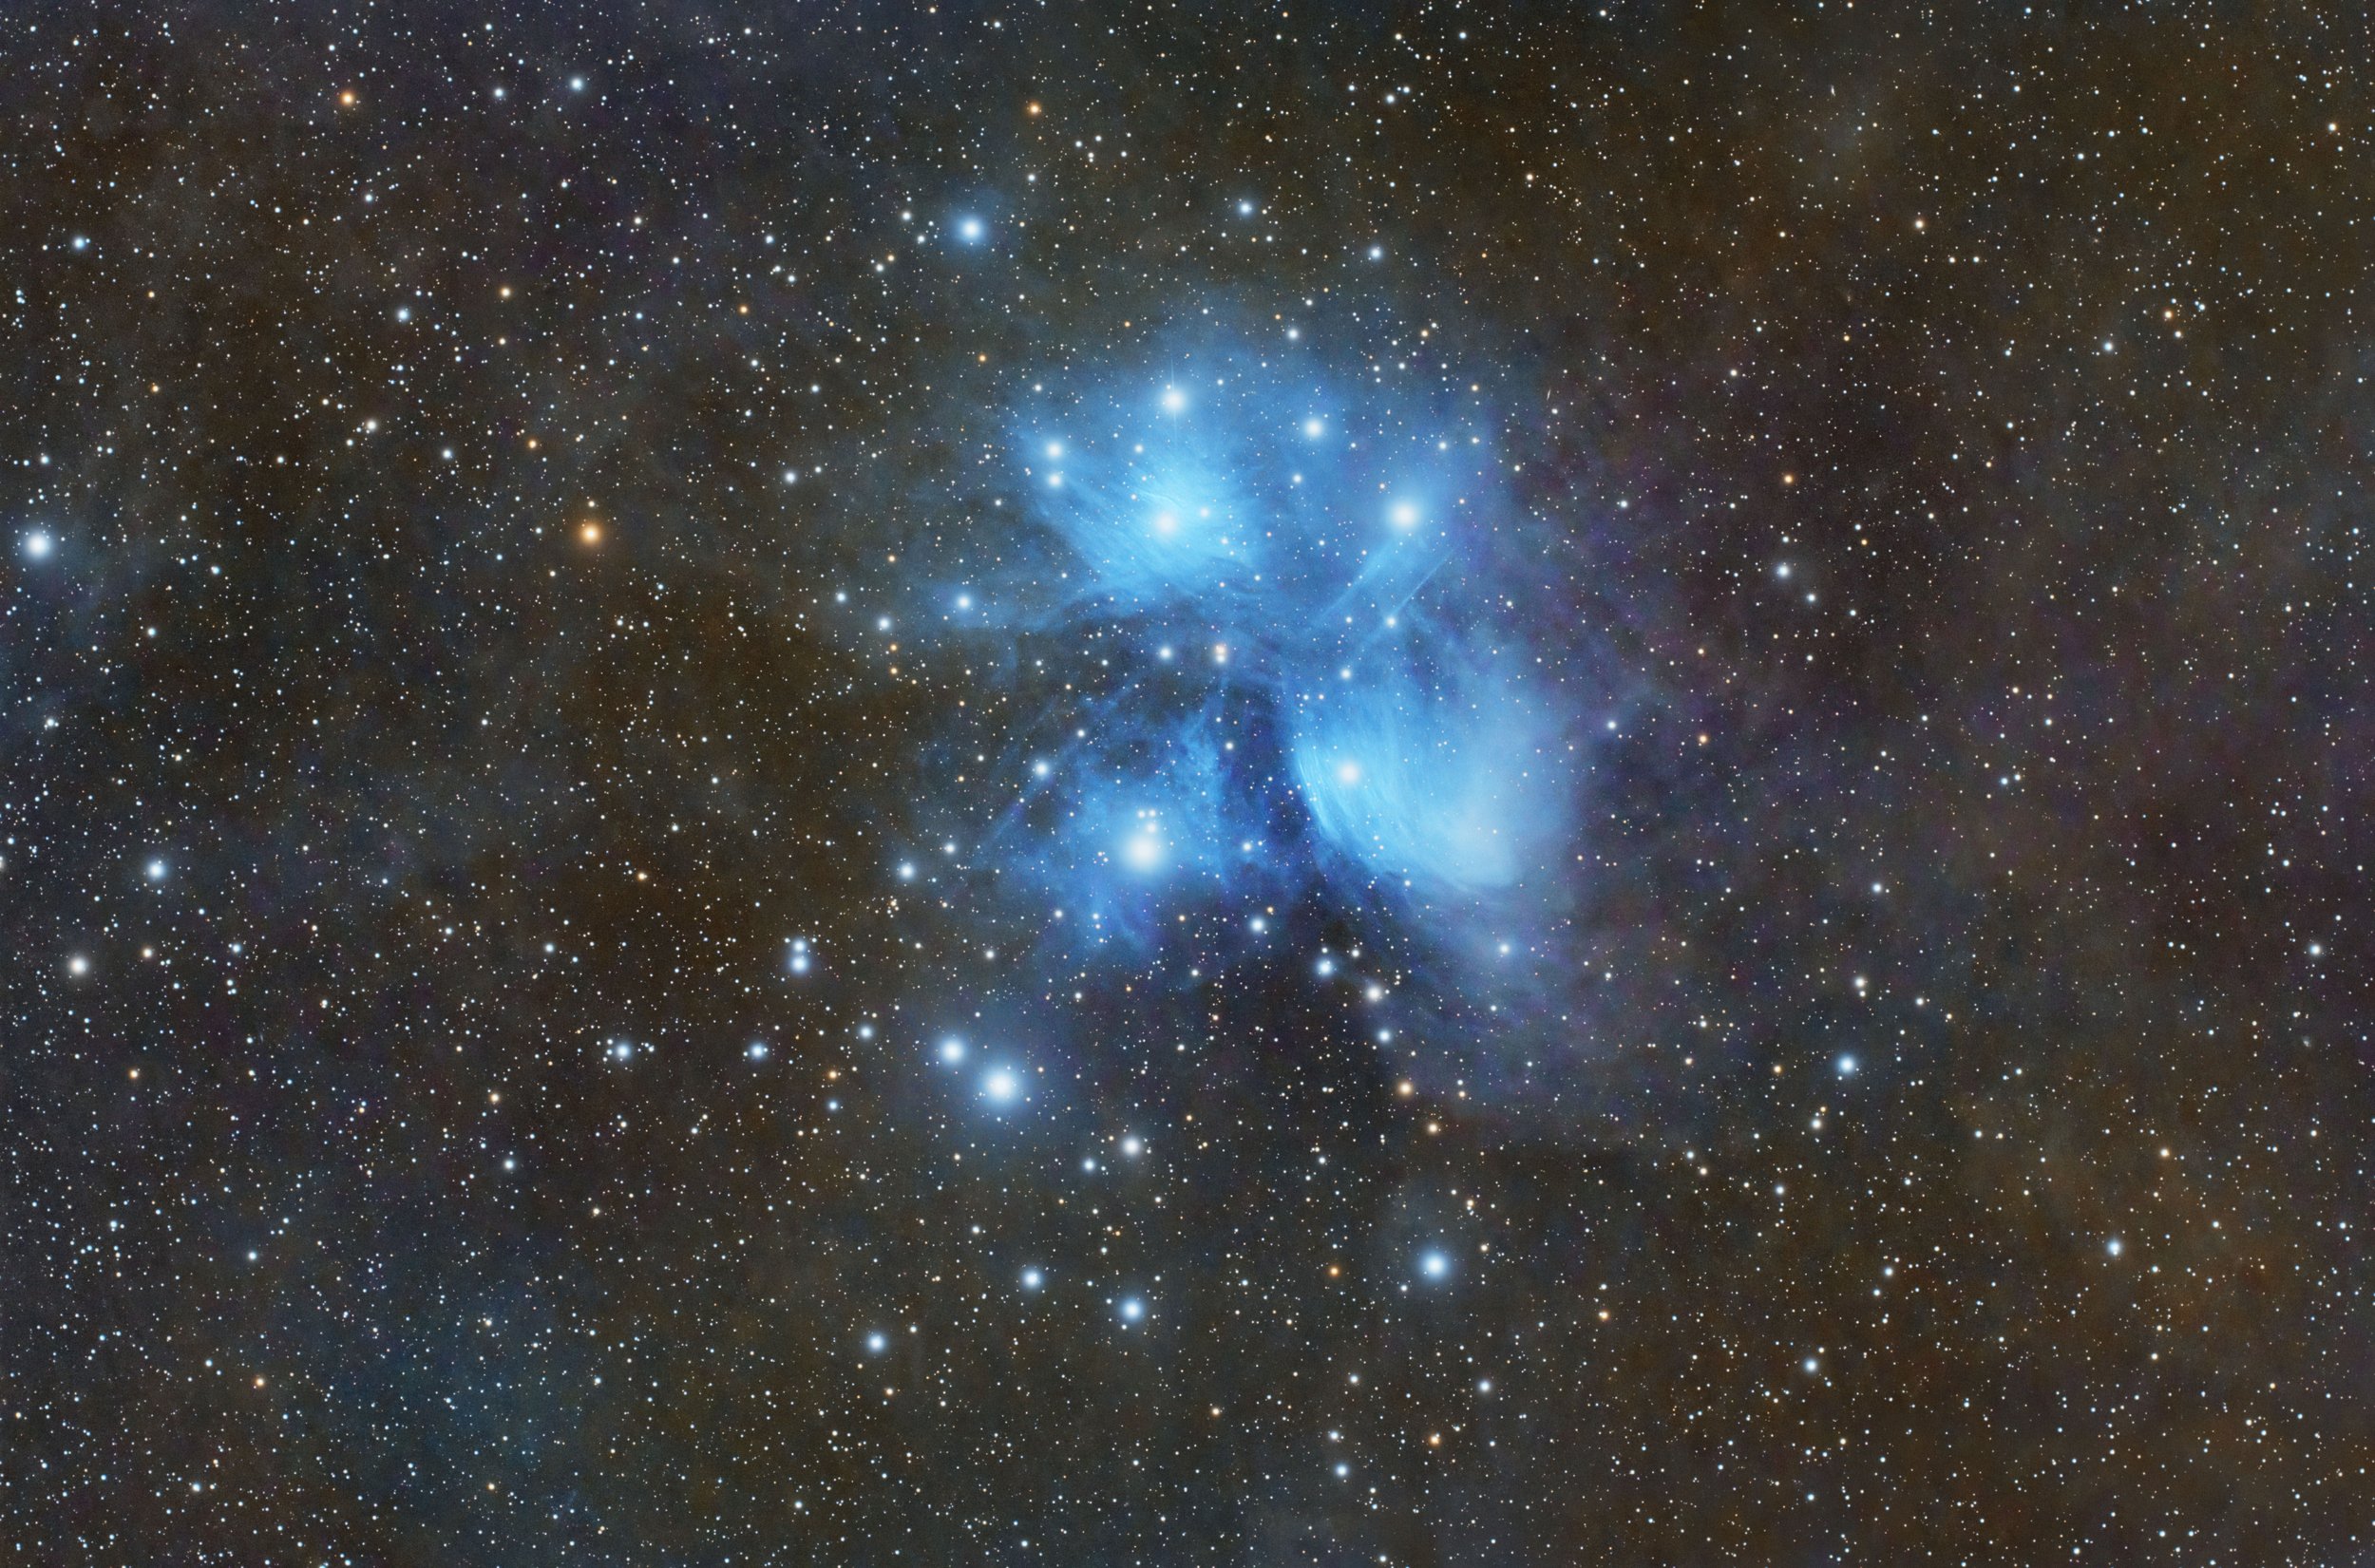
During my time with the ASIAIR Mini, I managed to capture some other targets. Using plan mode, I plotted out the targets one after the other with unique positioning and sequences for capture and to maximize my use of the night sky hours.
Some Final Thoughts and Hopes for the Future
I’ve tested all kinds of hardware and software combinations. My website’s primary focus is on using a Mac computer in Astrophotography. However, I’m also a firm believer of using the best tool for the job. As someone who is a tinkerer and is technically inclined, I’ve experimented with all kinds of setups ranging from Linux to Windows and Mac. I’ve also used every piece of software out there, from the simplest capture applications, to very complex setups using very complex software on all platforms. I’ve used NINA, Voyager, KStars, PHD2, AstroImager, Deep Sky Stacker and more. My setups have included every day gear from Celestron, iOptron, and Rainbow Astro on up to 10Micron and Astro-Physics mounts.
In many discussions in Astrophotography forums I often see users with high end systems complain that the ASIAIR is cheap, and somehow cheap equals bad. This is absolutely not the case here. The ASIAIR Mini is capable of controlling even the most advanced mounts from 10Micron and AP. I also often see complaints of lock-in to ZWO gear. And while it’s true, to use ASIair devices you do need to own ZWO cameras, filer wheels, and focusers. These limitations do not lock you in, or prohibit you from graduating to a more complex setup down the road if you think you need more flexibility in equipment choice. The ASIAIR can be a jumping off point for you when you’re more comfortable with the complexities of Astrophotography.
The ASIAIR Mini with the 2.0 software update is really a great option for beginners or the advanced. It’s simple. Easy to set up, easy to control, and easy to get good results. This is what we should expect from this complex hobby. There are so many issues to overcome as a beginner, one can get easily overwhelmed. The ASIAIR class of products makes a step in the right direction, and I hope others in the industry take note of what ZWO has accomplished.
Equipment list as tested:
ZWO Duo-Band Filter (for the mosaic)
Askar FMA135 guide scope
Final Note: Regarding my hopes for the future. I would love to see a new ASIAIR PRO introduced for true pro users. This device should be more powerful and have additional hardware ports. I would like to see features such as true GPS support, weather tracking capabilities including sky brightness measurements, dome control, custom horizons, and mount modeling capabilities for better tracking. In addition to these capabilities, I would like to see support added for non ZWO devices in the areas of focusers, filter wheels, cameras, power equipment and more. The increase in price for a true “Pro” unit should help cover the costs of additional testing required to accommodate more device support. A pro level device with pro level capabilities and the ease of use established by the current ASIAIR models would fully cover the hobby needs from top to bottom. I have no doubt ZWO could take the ASIAIR to the next level with a new Pro unit down the road.
Disclaimer: ZWO provided me an early production unit for testing and review. No requirements were placed on the review content, and I’ve been asked to return the unit after review.


